blakeh1
Well-Known Member
- Joined
- Oct 26, 2011
- Messages
- 925
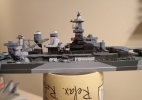
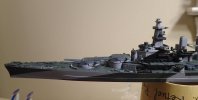
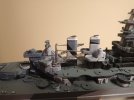
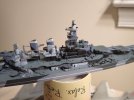
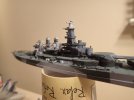
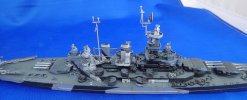
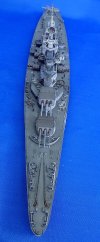
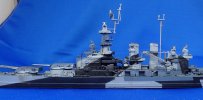
This is the Trumpeter 1/700 kit with White Ensign Models photoetch
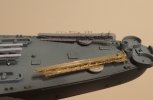
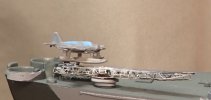
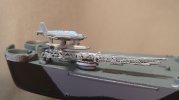
one of the pain points is some of the photo etch is just too fragile/small to work with, In some case things like the railing are so thin that it is impossible to cut off the etch set without damaging it
also even if I was able to get things off cleanly, the parts are so thin that just brushing against it will deform it and I would be afraid of handling it just moving it on the shelf
The main radar for example
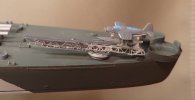
Other parts are still very useful and things like the cranes and catapults really benefit from it
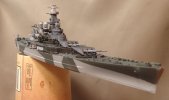
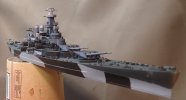
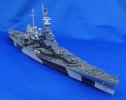
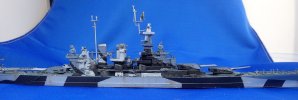
For the color scheme I am aiming for the measure 32 18-D camo scheme post Sept 1944
Thanks to Roland Thompson for much of this info and setting me on the path to finding the right colors/scheme
Apparently it had the same scheme earlier, but some of the patterns on the verticals are a bit different and the earlier version of the scheme had the pattern extend onto the deck instead of the deck being Deck Blue after the Sept 1944 repaint from what I understand
The only major change on the verticals pattern is the on the starboard hull in just behind the hawse pipe.
The panel at the waterline was a black pattern but was changed to Ocean Grey 5-0
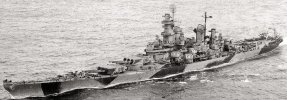
seen below in the before (black) and after (Ocean Grey)
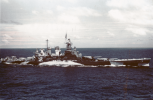
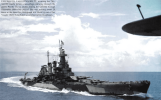
It was hard finding good references for this however showing various angles of the ship so some of it is my best guesstimate
It also does not help that Trumpeter's color guide is wrong in both colors and pattern in places
For example, they have it using Navy Blue in place of Dull Black
She used 5-L, 5-O and black
Also, can't use the modern day museum paint scheme as reference either since while close, they repeated the same pattern for both sides and like the Trumpeter guide, used 5-N instead of black and they also did not paint the deck and left it tan/brown
As for paints, I am using ScaleColors camo set of 5-L (Light Grey), 5-O (Ocean Grey) and black
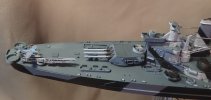
While I did pick up a bottle of the Deck Blue (20-B), I had already painted the Deck with Tamiya paints which turned out a near match for the Deck Blue
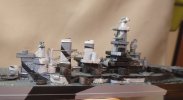
I started on the pattern for the superstructure


one of the pain points is some of the photo etch is just too fragile/small to work with, In some case things like the railing are so thin that it is impossible to cut off the etch set without damaging it
also even if I was able to get things off cleanly, the parts are so thin that just brushing against it will deform it and I would be afraid of handling it just moving it on the shelf
The main radar for example
Other parts are still very useful and things like the cranes and catapults really benefit from it
For the color scheme I am aiming for the measure 32 18-D camo scheme post Sept 1944
Thanks to Roland Thompson for much of this info and setting me on the path to finding the right colors/scheme
Apparently it had the same scheme earlier, but some of the patterns on the verticals are a bit different and the earlier version of the scheme had the pattern extend onto the deck instead of the deck being Deck Blue after the Sept 1944 repaint from what I understand
The only major change on the verticals pattern is the on the starboard hull in just behind the hawse pipe.
The panel at the waterline was a black pattern but was changed to Ocean Grey 5-0
seen below in the before (black) and after (Ocean Grey)


It was hard finding good references for this however showing various angles of the ship so some of it is my best guesstimate
It also does not help that Trumpeter's color guide is wrong in both colors and pattern in places
For example, they have it using Navy Blue in place of Dull Black
She used 5-L, 5-O and black
Also, can't use the modern day museum paint scheme as reference either since while close, they repeated the same pattern for both sides and like the Trumpeter guide, used 5-N instead of black and they also did not paint the deck and left it tan/brown
As for paints, I am using ScaleColors camo set of 5-L (Light Grey), 5-O (Ocean Grey) and black
While I did pick up a bottle of the Deck Blue (20-B), I had already painted the Deck with Tamiya paints which turned out a near match for the Deck Blue
I started on the pattern for the superstructure


Last edited:

