SatchboogieUK
New Member
- Joined
- Jan 29, 2012
- Messages
- 69
Hi Guys,
Not sure if 1/16th is the type of thing you're interested in at SMA, but this was my first attempt at a 1/16th vehicle so I thought I'd let you have a look.
I've always loved Adam Wilder's Panther F with the anti aircraft armour attached to the turret and engine deck. I was going to re-create it in 1/35th then I discovered Heng Long. I got the tank for £75, which if you buy Dragon's panther F and the Legend models PE anti aircraft set isn't much more expensive than the 1/35th version lol.
Anyway, here's the project from start to finish;
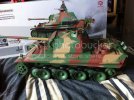
When I took it out of the box, it was very 'toyish' my first job was to strip all of the tool mounts and rails from the sides of the upper hull;
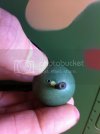
I then removed the MG from the ball mount and re-drilled the holes;
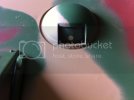
I then proceeded to fill and sand all of the holes in the sides of the hull, replaced the aerial as it was placed incorrectly on the engine deck, scratch built the spare track mounts for the sides of the chassis and primed the whole thing. I'd like to add at this stage, if you ever attempt to re-spray a 1/16th or 1/6th scale vehicle with an airbrush, be prepared to re-fill your paint cup... a lot!
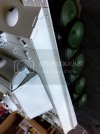
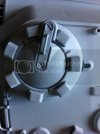
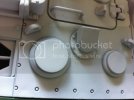
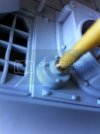
Here's a pic with the engine deck set in place;
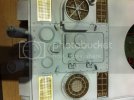
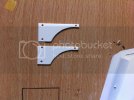
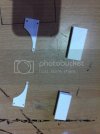
Now I started to scratch build the anti aircraft armour to cover the engine deck vents;
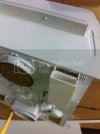
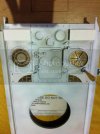
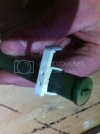
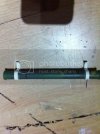
Then I rebuilt the mount for this thingy (I think its a canister for containing the barrel cleaning rod?)
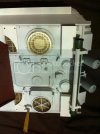
And here's the engine deck finished and ready for painting;
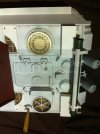
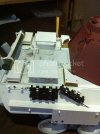
Here's a shot of the thing put back together (with the original turret) and I'd also built the side skirts and the skirt hooks by this stage;
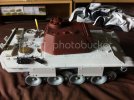
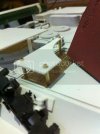
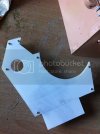
After the hull was almost completed I bought Asiatam's Panther F turret and built the AA armour plate to fit to the top of it;
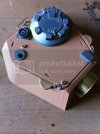
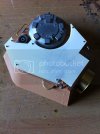
And finally I scratch built this chock holder thingy;
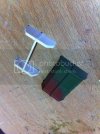
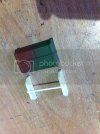
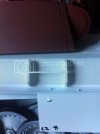
I'm ashamed to say that after this very shoddy picture of the basecoat was taken, I totally lost my mojo for this project. I put it back in the box, stashed it atop my wardrobe and left it for a good few months
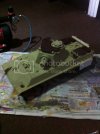
However the story doesn't end so tragically, over the past few weeks after work I've been slowly progressing with this one until yesterday when I finally finished it.
Here are the pics of the finished article;
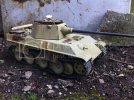
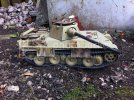
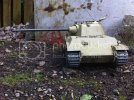
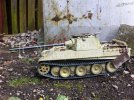
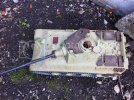
So there she is! best thing about this is that you can drive it around lol.
Hope you like it!
Cheers,
Jonny.
Not sure if 1/16th is the type of thing you're interested in at SMA, but this was my first attempt at a 1/16th vehicle so I thought I'd let you have a look.
I've always loved Adam Wilder's Panther F with the anti aircraft armour attached to the turret and engine deck. I was going to re-create it in 1/35th then I discovered Heng Long. I got the tank for £75, which if you buy Dragon's panther F and the Legend models PE anti aircraft set isn't much more expensive than the 1/35th version lol.
Anyway, here's the project from start to finish;
When I took it out of the box, it was very 'toyish' my first job was to strip all of the tool mounts and rails from the sides of the upper hull;

I then removed the MG from the ball mount and re-drilled the holes;


I then proceeded to fill and sand all of the holes in the sides of the hull, replaced the aerial as it was placed incorrectly on the engine deck, scratch built the spare track mounts for the sides of the chassis and primed the whole thing. I'd like to add at this stage, if you ever attempt to re-spray a 1/16th or 1/6th scale vehicle with an airbrush, be prepared to re-fill your paint cup... a lot!


Here's a pic with the engine deck set in place;

Now I started to scratch build the anti aircraft armour to cover the engine deck vents;


Then I rebuilt the mount for this thingy (I think its a canister for containing the barrel cleaning rod?)


And here's the engine deck finished and ready for painting;


Here's a shot of the thing put back together (with the original turret) and I'd also built the side skirts and the skirt hooks by this stage;


After the hull was almost completed I bought Asiatam's Panther F turret and built the AA armour plate to fit to the top of it;


And finally I scratch built this chock holder thingy;


I'm ashamed to say that after this very shoddy picture of the basecoat was taken, I totally lost my mojo for this project. I put it back in the box, stashed it atop my wardrobe and left it for a good few months

However the story doesn't end so tragically, over the past few weeks after work I've been slowly progressing with this one until yesterday when I finally finished it.
Here are the pics of the finished article;


So there she is! best thing about this is that you can drive it around lol.
Hope you like it!
Cheers,
Jonny.
