adampolo13
New Member
- Joined
- Dec 7, 2011
- Messages
- 2,633
Hello everybody,
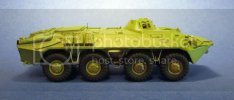
Since reviewing this Kit for inscale.org I've been having difficulty not cracking open the box and getting started. You can check out the review here http://inscale.org/public/?p=5223.
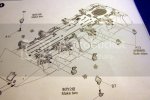
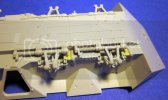
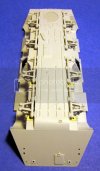
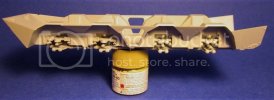
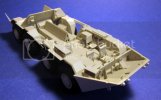
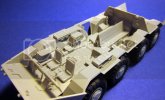
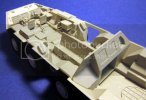
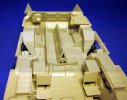
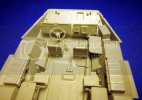
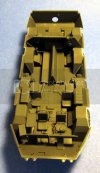
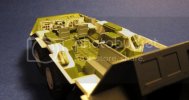
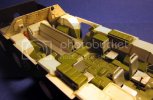
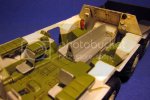
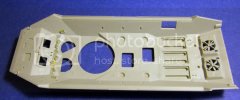
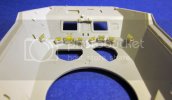
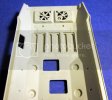
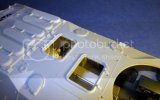
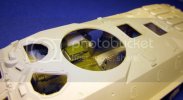
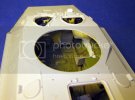
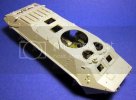
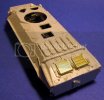
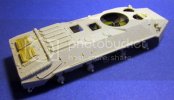
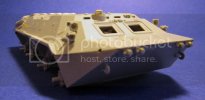
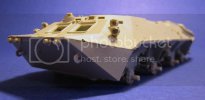
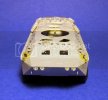
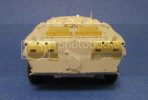
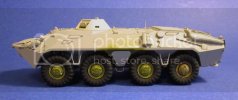
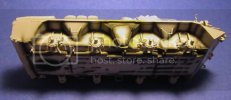
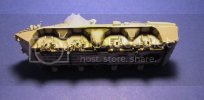
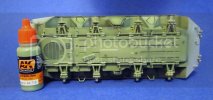
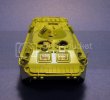
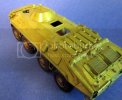
The good news is I was able to get a good start on the kit today. Since the hull is the same as prior releases, the instructions start by having you remove and fill in two area's of raised detail. You will see the result of my removal, filling, and sanding here.

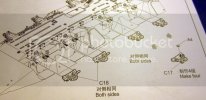
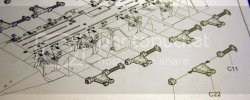
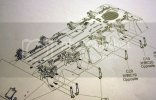
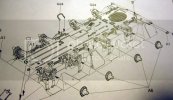
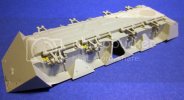
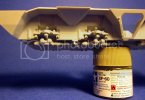
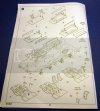
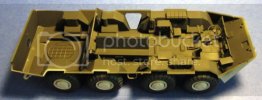
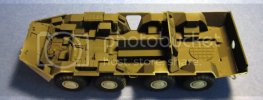
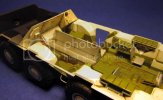
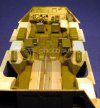
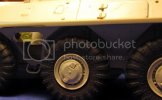
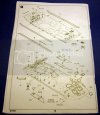
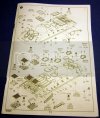
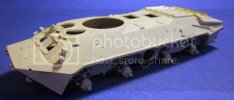
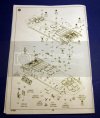
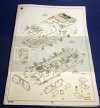
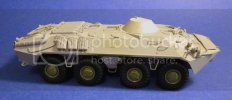
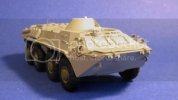
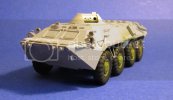
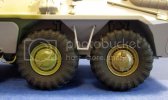
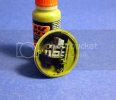
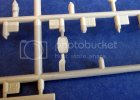
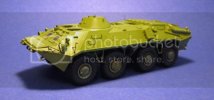
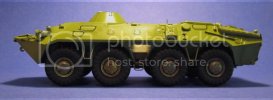
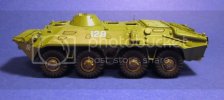
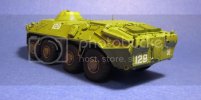
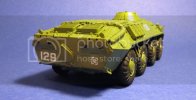
The instructions go on to have you install a number of different parts to the suspension. There are 5 pieces of photo etc to add and 45 pieces of plastic to add in the first two pages of instruction. As is standard with Trumpeter's newer releases there are almost to ejector pin marks and where they are present they are hidden.


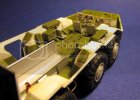
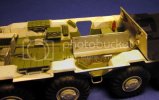
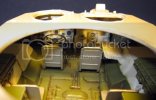
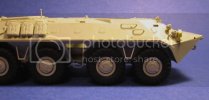
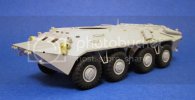
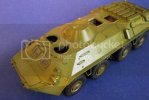
One thing to make note of, The instructions do call to attach the main doors on the side of the hull. I have left them off for now because I'd like to display this with the doors open.
I will take some more pictures at the completion of the next assembly.
Since reviewing this Kit for inscale.org I've been having difficulty not cracking open the box and getting started. You can check out the review here http://inscale.org/public/?p=5223.
The good news is I was able to get a good start on the kit today. Since the hull is the same as prior releases, the instructions start by having you remove and fill in two area's of raised detail. You will see the result of my removal, filling, and sanding here.

The instructions go on to have you install a number of different parts to the suspension. There are 5 pieces of photo etc to add and 45 pieces of plastic to add in the first two pages of instruction. As is standard with Trumpeter's newer releases there are almost to ejector pin marks and where they are present they are hidden.


One thing to make note of, The instructions do call to attach the main doors on the side of the hull. I have left them off for now because I'd like to display this with the doors open.
I will take some more pictures at the completion of the next assembly.

