1/48 KV1 Shelf Queen

JohnSimmons

For Spud: I was once Merseajohn
Joined
Jan 4, 2011
Messages
5,645
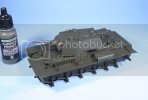
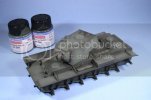
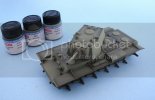
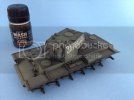
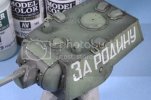
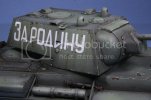
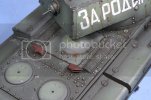
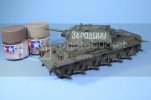
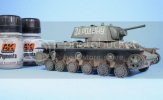
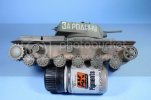
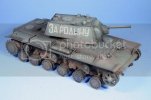
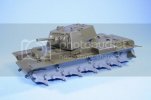
So even though I'm half way through my M26 I thought I'd stop and dust off the shelf queen so my conscious is clear lol. Here is the said shelfy, a Tamiya 1/48 KV1 shake and bake out of the box build:
IMG_6980_zps666f4804.jpg
IMG_6983_zps06b14597.jpg
IMG_6985_zpsdd1e950c.jpg
IMG_7002_zps87301523.jpg
I think I may have been a little trigger happy with the colour mod highlights....but I'm seeing through and thoroughly enjoying my first Soviet vehicle in the new man cave. Good times :)
JS
 
Hi John,

This is looking killer already. Not heavy handed on the color mod at all, weathering will bring it all together. I'll be watching this one mate!
 
Thanks man. Gloss coat, Decals and a wash have been added. Any idea what colour the Jack? Jacking block? Should be (small rectangle box on the side skirts)? ::)
 
Thanks Rookie. Here's how she stands now (pic taken with my phone sorry....although not that bad really lol):
566-0045A39E469C-6872-00000576388FD7A0_zpsf030484d.jpg

[attachment deleted by admin]
 
Very nice John, these 1/48 kits are awesome. ill be back on my Tiggy this evening :)
 
:eek: I keep forgetting this is only 1/48 scale ;) Looks great!

Sorry, I'm no expert on Russian armor, so I'm not sure about the jack and blocks.
 
Great work John!!! The color modulation is awesome. Like Big-John said the weathering brings it all together nicely.

Karl
 
Swwweeeeeet, man! I"m all about the color modulation and shading! Generally, the more radical, the better, in my weathering camp!

Looks great so far!!!
 
Awesomeness as usual John ;D ...Looks great mate ,hard to believe its 1/48 !!

Chris.
 
Thanks so much for the comments guys I really appreciate it! So I got the chipping done...all by hand, no sponge. It's ok its certainly more of a challenge at this scale rather than at 1/35! I've also added some AK streaking rust and a few splashes of AK rust wash here and there. Hope you like it:
IMG_7016_zps249ca94f.jpg
IMG_7026_zps9ac1acdf.jpg
IMG_7030_zps2155e1f6.jpg
IMG_7027_zps0571f5e2.jpg
And this is what I find on my chair most times I try to model!
IMG_7018_zpse564d325.jpg

[attachment deleted by admin]
 
Yo. Work continues on my little green friend. I got some pigs on her now:
IMG_7031_zpsaff631be.jpg
IMG_7035_zps74aec689.jpg
IMG_7040_zps6bccb130.jpg
IMG_7039_zpsb656d315.jpg
Cheers
sorry for the over exposed pics yuk :p

[attachment deleted by admin]
 
Played a lit-all catch up here on this John....what a fine job you have done so far!! Love these beasts!! THey just scream weathering!! Keep up the great work!!! ;)
 
You got a nice colour ;)
But tell me, you mix the Lifecolour paints with what ? Water ? And what amount paint/water ?
Sorry all this questions but i only try paint with Lifecolour one time and was not have a good result.
 
drooling-animated-gif-851.gif
 
lol - john.

MJ - that's looking great man. Really great. Makes me look at that gift you sent me....
 
:eek: :eek: The weathering is crazy just as You always do, mate!
Ah, and a very nice chair-heater You've got there, lol ;)
 
Lol cheers guys, Mfun I used Life Colors own thinner 50/50 just like I do with Tamiya paints, works like a treat ;)
 
JohnSimmons said:
Lol cheers guys, Mfun I used Life Colors own thinner 50/50 just like I do with Tamiya paints, works like a treat ;)

I will give a new opportunity to the Lifecolour paints in my next paint session...
 

Latest posts

Back
Top