bravotwozero
New Member
- Joined
- Sep 26, 2012
- Messages
- 9
Hello everyone,
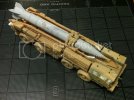
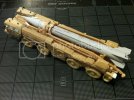
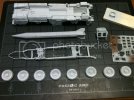
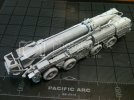
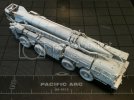
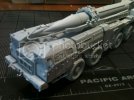
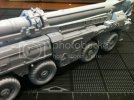
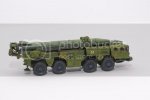
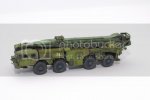
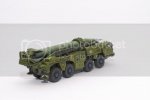
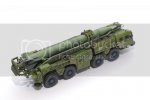
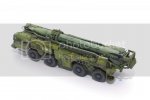
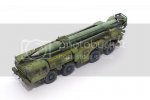
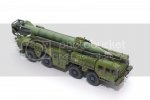
My first post here. I'm hoping to be able to finish kits in my stash. I'm starting with this one, which I've had since 2005. A 1/72 Armo SCUD B resin kit. I've mostly built plastic kits and this is my first venture to building a a resin kit. Wish me luck.
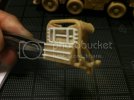
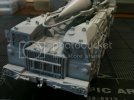
Right now, I am at the preparation stage. Removing the parts from mold blocks and cleaning them up. I am very impressed with the detail on most of the parts. The only thing that was disappointing for me was the front radiator grill.
Try as I might, this is the cleanest I could make it. I wish they had molded the grill separately or provided a photoetch part for it.
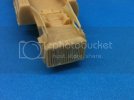
With my limited modeling skill, I'll probably leave it like this. The only saving grace for this is that there will be a ladder that will obstruct this portion later.
I started scale modeling way back in the 70s. I am amazed how far things have gone now. I used to be a loner kid, in my room, building kits with little or no interaction. Nowadays, with forums and all, I can even participate in forums like this and get feedback from around the world! Wow! Aside from the almost instant interaction, there is also a wealth of information available out there with a click of the mouse. For instance, I did a search for "SCUD" and found a link for a Walk Around site. Providing a ton of pictures that I can use as a reference!
This is the link that I found http://www.primeportal.net/artillery/tim_roberts/maz-543_scud_b_tel/index.php?Page=1 My sincere thanks to those dedicated individuals who maintain sites like this. Making researching way too easy.
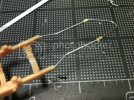
Which brings to my point here. This is one of the photos that I found interesting. I don't know the exact term for it but it looks like it is the cradle for the SCUD rocket. Compare the actual thing from the resin part.
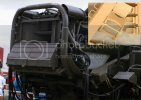
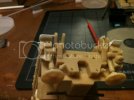
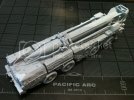
Without that reference photo, I would have happily just glued the part as is. Now, I ended up hollowing it out and maybe add further details. Here's how mine ended up.
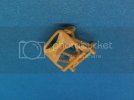
I'll try to post more pictures as I progress with this build. Thanks for reading and of course thank you very much Scale Model Addict for this great website!
-Joseph
My first post here. I'm hoping to be able to finish kits in my stash. I'm starting with this one, which I've had since 2005. A 1/72 Armo SCUD B resin kit. I've mostly built plastic kits and this is my first venture to building a a resin kit. Wish me luck.
Right now, I am at the preparation stage. Removing the parts from mold blocks and cleaning them up. I am very impressed with the detail on most of the parts. The only thing that was disappointing for me was the front radiator grill.
Try as I might, this is the cleanest I could make it. I wish they had molded the grill separately or provided a photoetch part for it.

With my limited modeling skill, I'll probably leave it like this. The only saving grace for this is that there will be a ladder that will obstruct this portion later.
I started scale modeling way back in the 70s. I am amazed how far things have gone now. I used to be a loner kid, in my room, building kits with little or no interaction. Nowadays, with forums and all, I can even participate in forums like this and get feedback from around the world! Wow! Aside from the almost instant interaction, there is also a wealth of information available out there with a click of the mouse. For instance, I did a search for "SCUD" and found a link for a Walk Around site. Providing a ton of pictures that I can use as a reference!
This is the link that I found http://www.primeportal.net/artillery/tim_roberts/maz-543_scud_b_tel/index.php?Page=1 My sincere thanks to those dedicated individuals who maintain sites like this. Making researching way too easy.
Which brings to my point here. This is one of the photos that I found interesting. I don't know the exact term for it but it looks like it is the cradle for the SCUD rocket. Compare the actual thing from the resin part.

Without that reference photo, I would have happily just glued the part as is. Now, I ended up hollowing it out and maybe add further details. Here's how mine ended up.

I'll try to post more pictures as I progress with this build. Thanks for reading and of course thank you very much Scale Model Addict for this great website!
-Joseph

