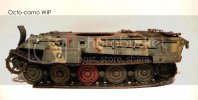
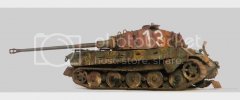
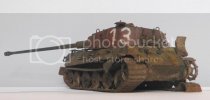
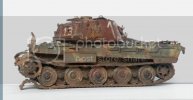
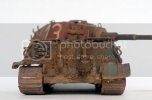
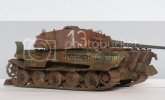
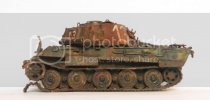
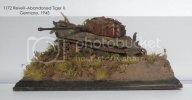
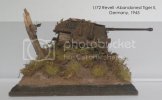
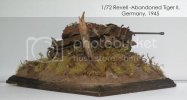
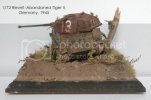
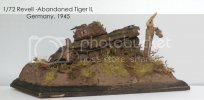
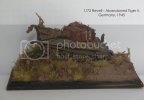
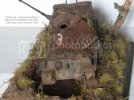
1/72 'Octo-Camo' KT

AJay

New Member
Joined
Jul 16, 2012
Messages
142
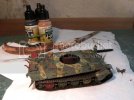
Hey guys, it's been a while but I'm back with a build I've been working on for the past few months.

It's Revell's King Tiger in 1/72 and it's my first armour model.

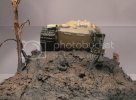
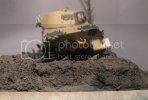
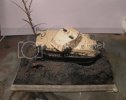
I wanted to paint it in the octopus pattern (loosely based on the one KT found in late-war Germany with this great looking camo), and to depict it abandoned by its crew.

So, here goes:
TigerIIWIP2.jpg

TigerIIWIP.jpg

KTWIPPY1.jpg

WIPPY.jpg

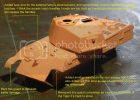
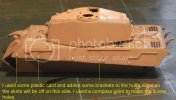
Below: See where the grey primer is? That's where I removed the jacking block and the holes where the jack was supposed to attach. The late-war King Tigers didn't have them ;)
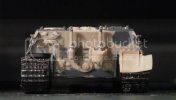
June2013WIPPY.jpg

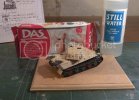
Starting to think about a base. I have since learned to think about this before anything else! ;) I may or may not use the water effects...we will see :)

blog1.jpg

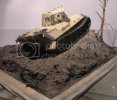
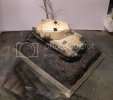
To begin with I covered the wooden base with white woodglue and let it dry. This gave me a grounding for the clay which I shaped into the desired shape using water (yes, the base warped....doe!). The I added some real garden soil mixed with white glue. It's very stark at the moment but there will be vegetation later.
basewip001.jpg

baseWIP8.jpg

baseWIP2.jpg

baseWIP14.jpg

basewip004.jpg

More to follow....................
 
And here are some more progress reports:

I have left the base for now as I now know how my KT will sit on the mud. Now I return to working on the German beast itself (albeit, the tiny beast).

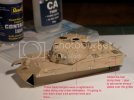
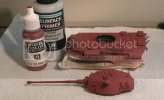
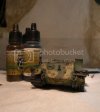
After some grey primer came my version of red-oxide primer.

KTinredoxide2.jpg

The the camo was done using my own mixes of Vallejo Air. That rusty bit of metal in the b/g is to colour match my chipping.

hullwip5.jpg

As you can see, she is taking shape. I have added some chipping and scratches

hullwip3.jpg

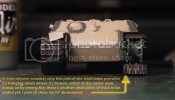
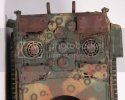
I have fitted the rear plates and rusted them up with artists pastels and oil paint

octoWIP2.jpg

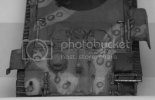
The next photo came out badly in the poor light, so I turned it b&w to show the rusting and streaking

octoWIP1.jpg

Here's where I am up to today. The hull is has had a home-made oil filter to bring together the camo (the filter was an orange colour believe it or not), chipping, rain streaks and rust streaks. I also added some staining where the missing skirts would have been.

octoWIP3.jpg

It's taken many, many hours to get this far, so hope you like it up to now. Next I'm dusting her up, working on the tracks, and then I'm onto the turret which will be left red-oxide.
 
Amazing work, AJay- cheers! That's a nicely dramatic base, and the teensy panzer is remarkably painted. ;D
 
That base looks decent. It looks like a place that had the heck bombed out of it. That tree looks good to. It is a real branch right?
 
Thanks for the comments, guys! :) Yep, the tree is a real branch from the garden, as is the mud. I'm going to try and use natural items for the base as it can't get more real - just have to make sure it's in scale.
 
1/72 scale :eek: ...the details you added are amazing for this scale and I would be fooled if you did not mention the scale because at first I was thing this a a 1/35 scale kit. I never seen this amount of detail added to such a small scale. Very impressive and looking forward to seeing this diorama completed.
 
Thank you to everyone who has commented on my build, I really appreciate it! Comments like these help to keep me inspired, especially with a build that's as long-drawn out as this one. :)
 
Hi mate, this is looking great, hard to believe it's your first armour model.

Cheers
JT
 
Thanks, JT! It's been a frustrating learning curve at points but I'm almost finished now :) Photos soon to follow.............
 
1/72 'Octo-Camo' KT - NOW COMPLETED!

So this build took way too long!
I got bogged down with too many details and bit off more than I could chew. However, I'm pleased to say I've completed my 'Octo-camo' King Tiger. It's not perfect, but I'm quite proud that I stuck with it through the rough times (which there were plenty) and minimal triumphs...lol

To summarize, I used all the new techniques I've learned to date, so have learned a lot and won't be making the same mistakes again. As to the warped display base, that's one of them - I still need to re-paint it black.

Okay, so here are the pics - there's rather a lot. The first ones of the tank are NOT great pics as I used artificial light, but the vignette ones are natural light, so much better quality.

kt12.jpg

kt13.jpg

KT8.jpg

KT9.jpg

KT10.jpg

kt11.jpg

KTfinishedNovember2013.jpg

KTfinishedNovember2013-2.jpg

KTfinishedNovember2013-3.jpg

KTfinishedNovember20136.jpg

KTfinishedNovember2013-5.jpg

KTfinishedNovember2013-8.jpg

KTfinishedNovember2013FRONT.jpg

I don't know if you can see it, but I have some Vallejo still water in the crater in front of my King Tiger - that was a headache to use; I definitely need more practice with that product.

Anyway, I'm glad this build has concluded, and it's straight on with the next.
 
Well you should definitely be proud of this one, because its awesome! I love the way that hill looks, and the whole scene is very detailed. And the tank itself looks filthy and rusted within an inch of its life, excellent work!
 
Can't believe how much detail you put into such a small scale! :eek:
 
Cave_Dweller said:
Well you should definitely be proud of this one, because its awesome! I love the way that hill looks, and the whole scene is very detailed. And the tank itself looks filthy and rusted within an inch of its life, excellent work!

Thank you so much for the kind words - they are very much appreciated! :)
 

Latest posts

Back
Top