Ravhin
New Member
- Joined
- Aug 21, 2012
- Messages
- 332
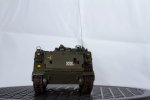
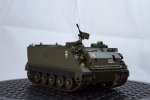
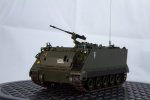
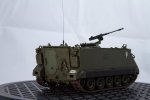
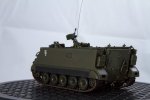
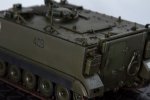
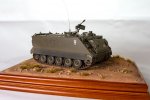
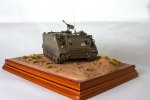
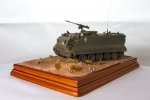
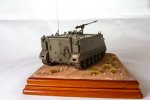
And in a departure from my usual sci-fi I have started the Academy 1/35th scale M113, building it as a car used in the BIMEC - Batalhão de Infantaria Mecanizado of the Portuguese army.
I'm doing this build in the context of a course promoted by a LHS, http://www.greenmodels.net/ , whose main purpose is to focus on the nuances of Portuguese material.
The Academy kit is very complete, with loads of parts and full interior, but for this build I decided not to do any interior, focusing solely in the exterior of the car. Cross referencing the manual and the pictures of the car I'm building, most of the parts are included, even if not referenced in the manual, with the exception of the grenade launchers which will have to be made from scratch.
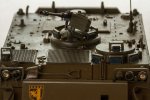
The building is now almost complete missing only the antena and AK optics which will be added after the top coat. Paint has also started having the car primed in Vallejo black primer.
(warning: The pics may look awful in some monitors specially laptop ones. They looked good in my monitor but when I checked them in my work's laptop they where far darker and with a considerable loss of contrast. I fixed this by calibrating the monitor but I guess not everyone will be doing that )
)
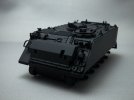
This is a very different kind of build from what I'm used to, being that I can actually see how the model looks before painting. I like that very much. When building gundams or the likes, I do find it a bit unmotivating at times that you must have almost all the work done before you see it taking shape.
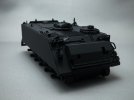
The kit is somewhat old (some 20 years), and though I don't know if it's still a trend on more modern tools, it has a ton of mould lines and ejector pin marks everywhere Even without the interior it still took me some 15-20 hours just to put it together. I do hope that more modern kits don't have so much of these problems.
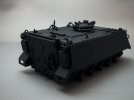
The fit is nice, and didn't gave me much trouble, with the exception of the front cover which was a paint to put in place. Another person in the same course did have problems in the back of the car due to warping in the chassis, but in 5 kits that was the only one with that issue.
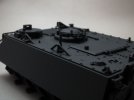
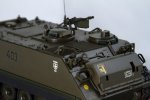
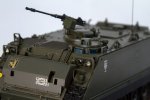
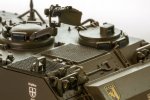
Not a lot of putty was needed, except in the commander's cupola periscopes which has some nasty sink marks, and a couple of ejector marks here and there. Nothing some Mr Dissolved Putty couldn't fix.
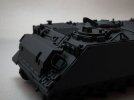
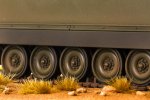
The wheels are already painted in the colour of the car using a colour from a zmodels paint set specifically made for Portuguese armour. The rubber was then hand brushed with Vallejo black.
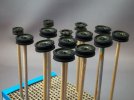
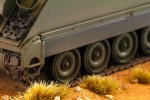
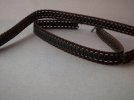
The tracks included in the kit are really bad. It does bring two options, rubber, which are awful and not accurate, as well as individual links which all have 5 points to clean up plus other accuracy issues. In the end I went with AFV rubber tracks which are much more accurate than the ones that come in the kit.
They where first painted with Tamiya flat brown and then the rubber pads where hand brushed with Vallejo black.
And this is it for now. For my first experience in building armour I'm enjoying myself very much. It will certainly not be the last.
I'm doing this build in the context of a course promoted by a LHS, http://www.greenmodels.net/ , whose main purpose is to focus on the nuances of Portuguese material.
The Academy kit is very complete, with loads of parts and full interior, but for this build I decided not to do any interior, focusing solely in the exterior of the car. Cross referencing the manual and the pictures of the car I'm building, most of the parts are included, even if not referenced in the manual, with the exception of the grenade launchers which will have to be made from scratch.
The building is now almost complete missing only the antena and AK optics which will be added after the top coat. Paint has also started having the car primed in Vallejo black primer.
(warning: The pics may look awful in some monitors specially laptop ones. They looked good in my monitor but when I checked them in my work's laptop they where far darker and with a considerable loss of contrast. I fixed this by calibrating the monitor but I guess not everyone will be doing that

This is a very different kind of build from what I'm used to, being that I can actually see how the model looks before painting. I like that very much. When building gundams or the likes, I do find it a bit unmotivating at times that you must have almost all the work done before you see it taking shape.

The kit is somewhat old (some 20 years), and though I don't know if it's still a trend on more modern tools, it has a ton of mould lines and ejector pin marks everywhere Even without the interior it still took me some 15-20 hours just to put it together. I do hope that more modern kits don't have so much of these problems.

The fit is nice, and didn't gave me much trouble, with the exception of the front cover which was a paint to put in place. Another person in the same course did have problems in the back of the car due to warping in the chassis, but in 5 kits that was the only one with that issue.

Not a lot of putty was needed, except in the commander's cupola periscopes which has some nasty sink marks, and a couple of ejector marks here and there. Nothing some Mr Dissolved Putty couldn't fix.

The wheels are already painted in the colour of the car using a colour from a zmodels paint set specifically made for Portuguese armour. The rubber was then hand brushed with Vallejo black.

The tracks included in the kit are really bad. It does bring two options, rubber, which are awful and not accurate, as well as individual links which all have 5 points to clean up plus other accuracy issues. In the end I went with AFV rubber tracks which are much more accurate than the ones that come in the kit.
They where first painted with Tamiya flat brown and then the rubber pads where hand brushed with Vallejo black.

And this is it for now. For my first experience in building armour I'm enjoying myself very much. It will certainly not be the last.

