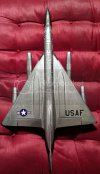
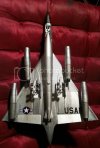
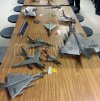
smokeriderdon
Well-Known Member
- Joined
- Nov 16, 2012
- Messages
- 406
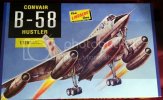
So, my son and I were at the hobby store a bit ago and I said to him "I want to get something I have not done before. Something like one of the older bombers, like a B-58." When I said that to him, I wasn't looking directly at him. I hear him pick up a model box and he says "Like this dad?" I turn, and lo and behold he is holding this model. LOL Sold!
So, I have never actually built a Lindberg. I know they are an old company, not even sure if they actually exist anymore. I remember seeing their models frequently as a kid, but never picked one up. So I open the box and clearly this is an OLD tooling. And inside is a fold out pamphlet for a company called Round 2 Models. The pamphlet shows a slew of old AMT models. My guess is this company is simply issuing the old kits in their original boxes under license or some such.
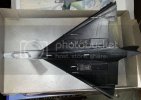
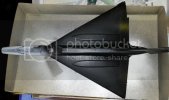
Anyway, here it is:
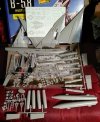
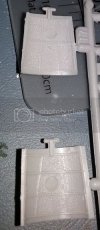
So I go through, randomly test fitting parts etc, and I realize that even with flash on some parts, this thing is going to fit rather well. I LOVE the way the wings fit with hooks that slide into slots. Looks like the join will be rather tight. But, I rapidly find that there is NO detail in the landing gear wells. They forfeited detail for making the gears retractable. Argh. Not much I can do about that as I want to do this OOB and I cant imagine there is a lot of after market stuff for this kit anyway.
So I have done the pilots and what little is there for the cock pit...


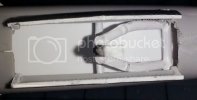
And here is what the front well looks like...

As I said, I want to do this OOB, so I am going to have to live with that. I wont be displaying it on a mirror.
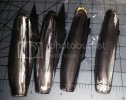
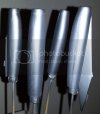
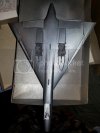
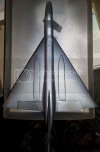
So, to make it even more fun, a few days ago I knocked the box over spilling parts everywhere. My son and I found all but one part. One of the front engine cowlings. Great. So I went and bought another one. FOR ONE PART. *banging head on desk* But, the bright side being that this is the first time I will be using Testors Metalizer. I will have something to experiment on before doing the "real" model. And maybe later I will do an engine repair diorama or the like with the second kit.
Finally, I am going to try to get this done by the first week of April. My local IPMS club meeting is then with the theme of anything that could launch a nuke. Perfect!
So, I have never actually built a Lindberg. I know they are an old company, not even sure if they actually exist anymore. I remember seeing their models frequently as a kid, but never picked one up. So I open the box and clearly this is an OLD tooling. And inside is a fold out pamphlet for a company called Round 2 Models. The pamphlet shows a slew of old AMT models. My guess is this company is simply issuing the old kits in their original boxes under license or some such.
Anyway, here it is:


So I go through, randomly test fitting parts etc, and I realize that even with flash on some parts, this thing is going to fit rather well. I LOVE the way the wings fit with hooks that slide into slots. Looks like the join will be rather tight. But, I rapidly find that there is NO detail in the landing gear wells. They forfeited detail for making the gears retractable. Argh. Not much I can do about that as I want to do this OOB and I cant imagine there is a lot of after market stuff for this kit anyway.
So I have done the pilots and what little is there for the cock pit...


And here is what the front well looks like...

As I said, I want to do this OOB, so I am going to have to live with that. I wont be displaying it on a mirror.
So, to make it even more fun, a few days ago I knocked the box over spilling parts everywhere. My son and I found all but one part. One of the front engine cowlings. Great. So I went and bought another one. FOR ONE PART. *banging head on desk* But, the bright side being that this is the first time I will be using Testors Metalizer. I will have something to experiment on before doing the "real" model. And maybe later I will do an engine repair diorama or the like with the second kit.
Finally, I am going to try to get this done by the first week of April. My local IPMS club meeting is then with the theme of anything that could launch a nuke. Perfect!


