Quaralane
Well-Known Member
- Joined
- May 22, 2009
- Messages
- 11,263
Next up on the bench is another very quick build.
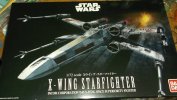
This time, it's the 1/72 scale X-wing from Bandai
Unlike the TIE Advanced, there are a LOT of parts on this one.
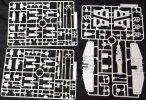
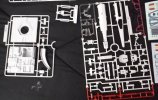
Like the TIE Advanced, you get both waterslide decals and stickers.
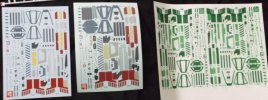
For this build, though, I opted to scan and recolor the decals for a "Jade Squadron"
The wing assemblies went together very quickly.
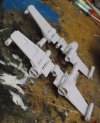
As did the middle section of the fuselage.
One of my few complaints with this kit is that the red striping for the fuselage is actually molded in red.
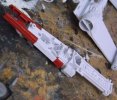
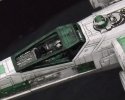
Painted the pilot seat with a tan color, then gave the cockpit a black wash for detail.
The instrument panels were detailed from the kit's sticker sheet.
I also painted the red stripes on the fuselage in white to aid in using my green decals later.
The canopy frame was painted in green, then given a black wash.
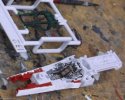
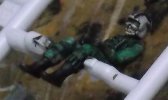
In keeping with the "Jade Squadron" theme, I painted the pilot's flight suit green, then pained the gloves and boots with dark grey primer.
The helmet was left the color of the base plastic, while the skin was painted in a light flesh.
The whole figure was then givem a black wash to bring out detail
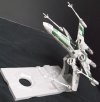
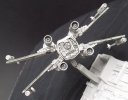
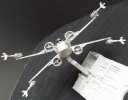
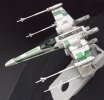
With assembly complete except for the laser cannons, I started putting on the green markings.
The engines were given a black wash for detail, but not painted
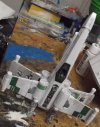
As with the side panels, the main instrument panel was also detailed from the kit's sticker sheet.
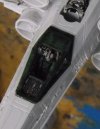
The astromech droid was given green markings as well, along with a black wash on the head for more detail.
(On a side note here, insert the R2 BEFORE sliding the back well plate into place, or his feet won't fit into the leg slots afterwards.)
With the decalling complete, the rest of the ship was given a black wash that was wiped down with a paper towel to get a bit of a streaking effect.
The proton torpedo launchers were drybrushed with Vallejo Smoke.
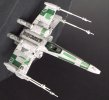
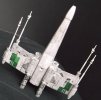
Finished build pics:

Youtube Link:
http://www.youtube.com/watch?v=dtnOAqSVUDk
This time, it's the 1/72 scale X-wing from Bandai

Unlike the TIE Advanced, there are a LOT of parts on this one.


Like the TIE Advanced, you get both waterslide decals and stickers.
For this build, though, I opted to scan and recolor the decals for a "Jade Squadron"

The wing assemblies went together very quickly.

As did the middle section of the fuselage.
One of my few complaints with this kit is that the red striping for the fuselage is actually molded in red.

Painted the pilot seat with a tan color, then gave the cockpit a black wash for detail.
The instrument panels were detailed from the kit's sticker sheet.
I also painted the red stripes on the fuselage in white to aid in using my green decals later.
The canopy frame was painted in green, then given a black wash.

In keeping with the "Jade Squadron" theme, I painted the pilot's flight suit green, then pained the gloves and boots with dark grey primer.
The helmet was left the color of the base plastic, while the skin was painted in a light flesh.
The whole figure was then givem a black wash to bring out detail

With assembly complete except for the laser cannons, I started putting on the green markings.
The engines were given a black wash for detail, but not painted

As with the side panels, the main instrument panel was also detailed from the kit's sticker sheet.

The astromech droid was given green markings as well, along with a black wash on the head for more detail.
(On a side note here, insert the R2 BEFORE sliding the back well plate into place, or his feet won't fit into the leg slots afterwards.)
With the decalling complete, the rest of the ship was given a black wash that was wiped down with a paper towel to get a bit of a streaking effect.
The proton torpedo launchers were drybrushed with Vallejo Smoke.
Finished build pics:


Youtube Link:
http://www.youtube.com/watch?v=dtnOAqSVUDk
