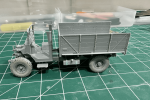
You are using an out of date browser. It may not display this or other websites correctly.
You should upgrade or use an alternative browser.
You should upgrade or use an alternative browser.
British CWT 30 Austin Truck
- Thread starter Fravin
- Start date
Fravin
Member
- Joined
- Aug 6, 2023
- Messages
- 31
Great! I would like to introduce me first. I'm from Brasil and I've building models since 1998. I love army's vehicles, armored or not, but I do aircrafts too. After a five years off the workbench I started this project, An CWT30 by Austin. It's a brand new kit, launched this year. It's forcing me to taking control over the basic modeling skills back, so, please be kind with any error I could made.
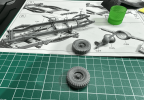
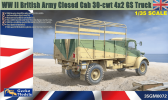
This is the kit:
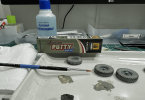
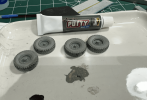
And this is how it started
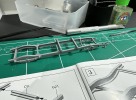
An them, I decided to replace the plastic pins by copper ones
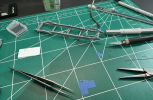
This is the kit:

And this is how it started

An them, I decided to replace the plastic pins by copper ones

Fravin
Member
- Joined
- Aug 6, 2023
- Messages
- 31
Thank you so much. Pandemics was a tough period down here. The job shortage forced me to sell all my modeling tools. I'm starting all over again. Loved to find this community, you do a good job here!Welcome Aboard !
Pantherman
Well-Known Member
- Joined
- Feb 10, 2022
- Messages
- 3,303
Hi and welcome to the forum. PanthermanThank you so much. Pandemics was a tough period down here. The job shortage forced me to sell all my modeling tools. I'm starting all over again. Loved to find this community, you do a good job here!
Nighthawk
Member
- Joined
- Aug 3, 2023
- Messages
- 50
Hi and welcome, if you want to get technical then if the driver is wearing a steel helmet doesn't that count as an armoured vehicle? Show me in the rule book where it says that it doesn't!Can I post a truck tahat I'm building in this subform? Technically it's not an armored vehicle, but it's from the army.
Should I?
Fravin
Member
- Joined
- Aug 6, 2023
- Messages
- 31
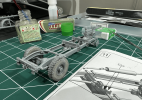
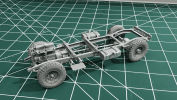
So, the build keeps going on!
The Geckgo kit isn't that good as I thought, the molding is fine, but the fittings aren't good.
The rear shaft has little connection points, it's not easy to built it on square.
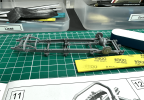
The engine goes tricky as little parts have to be put together.
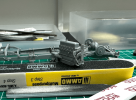
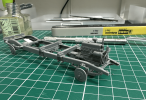
After a lot of sanding, everything goes on, and the result is satisfying.
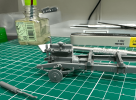
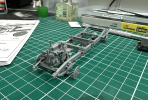
Thanks for following!
The Geckgo kit isn't that good as I thought, the molding is fine, but the fittings aren't good.
The rear shaft has little connection points, it's not easy to built it on square.

The engine goes tricky as little parts have to be put together.


After a lot of sanding, everything goes on, and the result is satisfying.


Thanks for following!
Fravin
Member
- Joined
- Aug 6, 2023
- Messages
- 31
Pantherman
Well-Known Member
- Joined
- Feb 10, 2022
- Messages
- 3,303
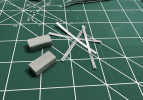
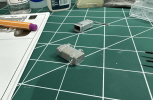
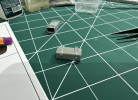
Nice touch. PanthermanI removed the details on the fuel tanks and added a few metal strips to it, adding more depth to the build.
View attachment 104181
View attachment 104182
View attachment 104183
Pantherman
Well-Known Member
- Joined
- Feb 10, 2022
- Messages
- 3,303
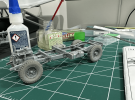
Nice work. PanthermanChassis ready!
View attachment 104291
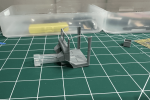
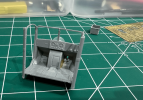
So, moving to cabin build.
View attachment 104292
View attachment 104293
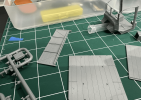
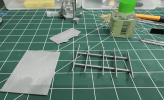
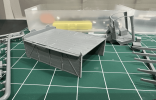
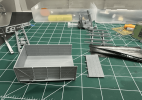
While the parts are gluing, let's start the truck's bed...
View attachment 104294
View attachment 104295
View attachment 104296
View attachment 104297
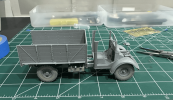
And then, I did a dry fit, just for curiosity...
View attachment 104298
View attachment 104299
Pretty cool!
Similar threads
Latest posts
-
-
-
-
-
ready to throw away the testors "orange tube"
- Latest: OldManModeller
-
-


