DavidsScaleModels
Well-Known Member
- Joined
- Sep 16, 2022
- Messages
- 165
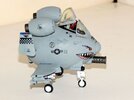
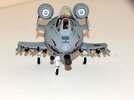
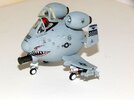
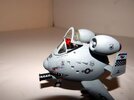
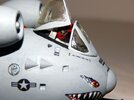
As I continue with my commission builds this next one is another Egg Plane. A couple of years ago I built a 1/48 A-10 for a client that wanted it to match the aircraft he flies in the online at the Digital Combat Simulator website. It had custom decals and was fully illuminated. You can see that build at: https://davidsscalemodels.com/build-log/1-48-a-10-thunderbolt-ii-dcs/
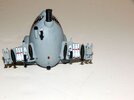
He liked the novelty of the Egg Plane's and decided he wanted an A-10 with the same scheme. He located an A-10 egg plane from a company called 'Chilled Toon". The thing is this kit is not your typical plastic injection type like the Hasegawa egg planes. This is a 3-D printed resin kit. This requires a little more work to build. Also regular model adhesives do not work on resin. The aircraft will be put together using CA glue.
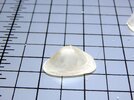
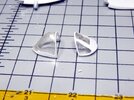
The kit comes with all the pieces including the canopy all printed with resin. The first thing I worked on was the canopy. The kit comes with two different canopies. One closed and one 2-piece open version. It does include a pilot/cockpit and it was decided to use the open canopy. The clear resin is very thick and has a frosted look. I started by wet sanding the pieces with 800 then 1000 and finally 2800 grit sand paper. Once the sanding was completed I polished the inside and outside with Meguire's PlastX polish. This cleaned up the canopy very well. However, due to the thickness the view thru the canopy is still distorted. It would have been better if they printed the canopy in half of the thickness. I know 3-D printed parts are typically a little more brittle but at half the thickness I feel the canopy would still be workable.
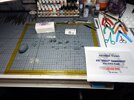
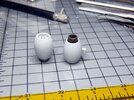
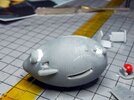
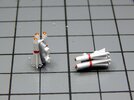
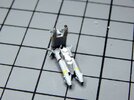
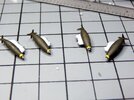
Next came cleaning up all the parts. The 3-D printing process prints in layers. This leaves the parts with very fine lines between the layers. I wet sanded all the parts with 1000 grit sand paper. On the fuselage right behind the gun housing due to the difficult angle there was a slight hole. I filled this with some putty and there were a few areas that had small divots from the printing process which were also filled with putty. The weapons were already mounted on their mounts so cleaning these up was a little tedious. The gun required some sanding and the gun mount needed some clean up with a file so the pieces can fit together. I also had to modify the cockpit/pilot a little. The pilot sat too far forward and would not fit under the windscreen of the canopy. I trimmed the rear side to move the pilot back a bit and used a small piece of sheet styrene to fill the front gap.
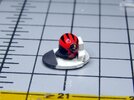
Finally I started painting the base coat on the separate pieces. I used the original decals I made for the 1/48 version I previously build and scales/shaped them for the egg plane. I painted the pilot helmet and applied the squadron logos to the sides. I am now working on assembling the kit and then apply all the decals. I should be able to finish this over the next week.
You can see all the photos and details in my build log at: https://davidsscalemodels.com/build-log/chilled-toon-a-10-egg-plane-brrrt/


