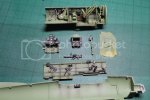
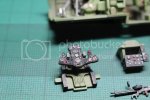
Thanks guys, well here goes....
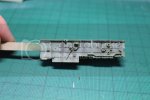
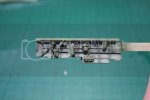
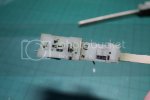
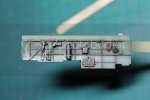
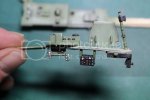
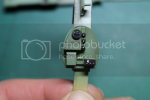
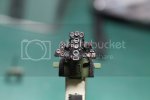
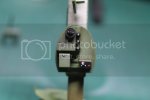
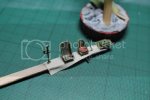
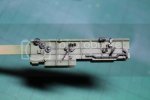
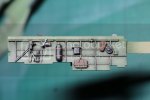
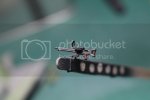
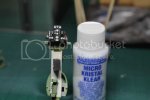
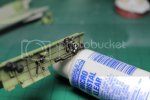
As is the case with most aircraft builds, I’ve started with the Val’s cockpit. I’ve removed all of the relevant parts from the sprues and have cleaned up any seam lines etc. The Hasegawa kit’s cockpit is fairly well detailed, and although there is a resin replacement available from CMK. I think with some careful painting, and with the addition of seatbelts, it will be enough to keep the cockpit busy and attractive. I did make a couple of amendments to the cockpit. I drilled out the rear gun barrel and trigger guard to add a bit more details to the gun. I also filled and sanded a few sink marks that were going to be visible on the final model.
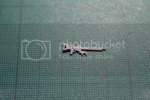
I primed the cockpit parts using Vallejo’s grey primer. I’ll leave these parts to the side to dry, ensuring that the primer has had time to cure.
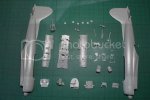
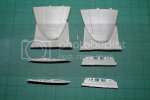
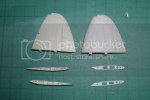
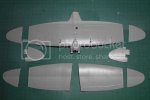
To add a bit of interest to the model I’ve decided to use CMK’s resin wing fold set. The resin has some nice detail but did require a bit of cleaning up to get them to an acceptable level. I removed the wings and horizontal stabilizers from the sprues, and cleaned up any flash before cutting the wing tips off the kit parts. Hasegawa have kindly molded in a seem on the inside of the wings to help with removing the unwanted parts. The inside surface of the wings will still require some work to ensure that the resin inserts fit okay. I’ll need to thin the kit parts quite a bit though, but I’ll keep that for another day.
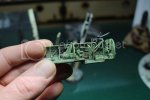
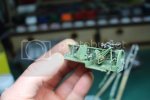
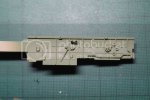
Now that the primer has had time to dry. I airbrushed the basic cockpit color. In this case I’m used Tamiya XF-71 JN Cockpit green. The guns and ammo have been airbrushed using X-10 Gun Metal, the control surfaces have been finished with XF-1, and the remaining silver parts have been covered with XF-16 Flat Aluminium.
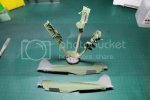
That's about all for tonight. Thanks for taking a look. If you have any questions or comments/suggestions please feel free to speak up. Until next time....
Chris


