Tony lee
New Member
- Joined
- Mar 10, 2011
- Messages
- 869
Here we go again,are you bored yet? ;D
I'm building this kit along side the Emil,little bit on this one, then a little bit on that one. Keeps you on your toes if nothing else.
The Max is another one of Dragon's line of armor that needs attention and patients to build so don't think you can slam bam this one. Dry fit and dry fit again is the key word.
AM consist of Fruilmodel tracks and the Voyager PE set.
This kit has been out awhile so I had the benefit of reading about any problems that other had building it.
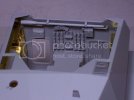
Never havin to be in a hurry to get something built and my habit of studying the instructions and dry fitting parts before I commit I really didn't have any problems. You can see some red filler there in the back but I was after a smooth surface for the PE ammo lockers to mount on and being a neat freak I smeared just a tad of filler over the two joints you'll have after the three sections back there are joined.
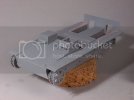
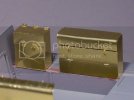
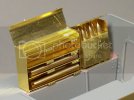
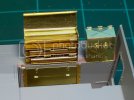
The PE lockers are smaller than the kit parts so in order for the door to fit the storage slots I had to put in a spacer(the white stock under the brass strip)
With the descent details on the Dragon parts I just used those on the rear casement instead of the brass stuff.
The 105mm gun breech and base mount:
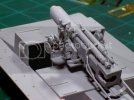
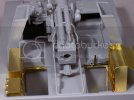
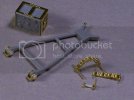
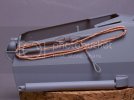
Just for kicks I drilled and pinned the scissor scope bracket so it can be folded back out of the way.
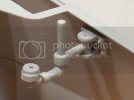
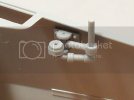
Built the PE seat frames,the back rest will raise and lower so the driver and radio operator can get up front easier. The kit fighting floor is just plain and photos show it had a slatted floor so out came the balsa wood planking to make up for the short fall.
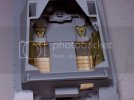
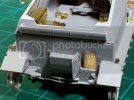
Looking through the rear hatch that will be left open.
Before starting the exterior work I assembled and fitted the tracks.
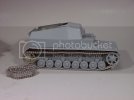
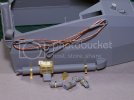
Moving on to the fender hardware started with these little jewels,the armored head lights:
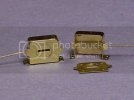
Some what more detail than the kit supplied lights,wouldn't you say?
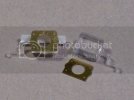
All just a dry fit for now:
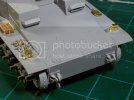
Right fender:
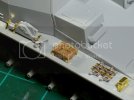
Left fender:
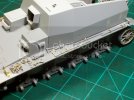
Now you're caught up with the Max to date.
That's it for today
Tony lee
I'm building this kit along side the Emil,little bit on this one, then a little bit on that one. Keeps you on your toes if nothing else.
The Max is another one of Dragon's line of armor that needs attention and patients to build so don't think you can slam bam this one. Dry fit and dry fit again is the key word.
AM consist of Fruilmodel tracks and the Voyager PE set.
This kit has been out awhile so I had the benefit of reading about any problems that other had building it.
Never havin to be in a hurry to get something built and my habit of studying the instructions and dry fitting parts before I commit I really didn't have any problems. You can see some red filler there in the back but I was after a smooth surface for the PE ammo lockers to mount on and being a neat freak I smeared just a tad of filler over the two joints you'll have after the three sections back there are joined.


The PE lockers are smaller than the kit parts so in order for the door to fit the storage slots I had to put in a spacer(the white stock under the brass strip)
With the descent details on the Dragon parts I just used those on the rear casement instead of the brass stuff.

The 105mm gun breech and base mount:


Just for kicks I drilled and pinned the scissor scope bracket so it can be folded back out of the way.


Built the PE seat frames,the back rest will raise and lower so the driver and radio operator can get up front easier. The kit fighting floor is just plain and photos show it had a slatted floor so out came the balsa wood planking to make up for the short fall.


Looking through the rear hatch that will be left open.
Before starting the exterior work I assembled and fitted the tracks.

Moving on to the fender hardware started with these little jewels,the armored head lights:

Some what more detail than the kit supplied lights,wouldn't you say?

All just a dry fit for now:

Right fender:

Left fender:

Now you're caught up with the Max to date.
That's it for today
Tony lee

