Tony lee
New Member
- Joined
- Mar 10, 2011
- Messages
- 869
Right back again with a WIP that I sat aside when the weather turn off cold.
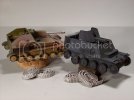
Folks this is really a nice kit even if you build it right out of the box. Mold seams are very light and the fit has been super good.
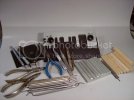
The AM i'm using on this one is an Eduard PE set for the Academy M7 (there's a PE set out now just for the Dragon kit)but the fit is close enough to work. Also resin stowage by Legend.
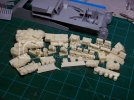
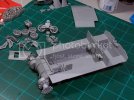
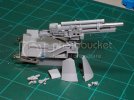
Lets get some shine on the subject:
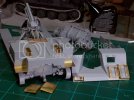
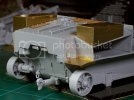
Suspension primed and ready to install:
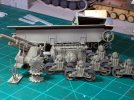
Base coat applied to some of the components:
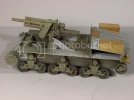
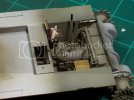
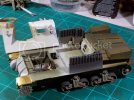
Starting to take shape now:
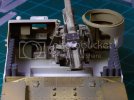
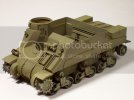
Oh btw i'm using Tamiya and the LifeColor U.S. olive drab set.
I'm not a rubber band track fan but I heard that Fruils don't really work well with the live track system on U.S. armor but the DS(Dragon Styrene) tracks can be modified and fitted so what the heck i'll give it a shot.
The tracks were two links too long so with Xacto knife and razor blade I went to work. You can see by the marks how I cut those two links out and I used just a drop of Pro Weld to fuse them back together as can be seen or not be seen on the upper track. The seam is placed just above the two ends of the lower track.
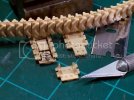
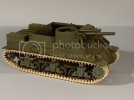
Add the paint and by golly they look pretty good.
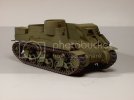
Tools painted and laid out on the back for a test fit:
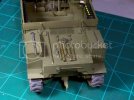
Interior gets some paint and goodies:
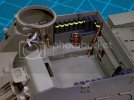
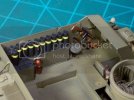
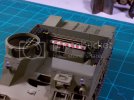
Tools and 50 cal in place:
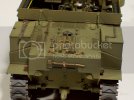
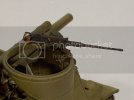
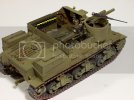
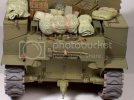
After playing around with the stowage for a few days I settled on this arrangement:

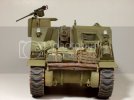


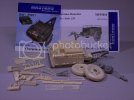
And since just about all M-7s had an ammo trailer behind it I got one of Masters Productions resin kits.
At this time the bottom fell out of the weather and it came to a halt. Next step is a sealing coat of "Future"
floor wax before applying the decals, washes etc. etc.
I'll pick this build back up and finish it before long,temps are gaining every week now.
Later folks
Tony lee
Folks this is really a nice kit even if you build it right out of the box. Mold seams are very light and the fit has been super good.
The AM i'm using on this one is an Eduard PE set for the Academy M7 (there's a PE set out now just for the Dragon kit)but the fit is close enough to work. Also resin stowage by Legend.


Lets get some shine on the subject:


Suspension primed and ready to install:

Base coat applied to some of the components:


Starting to take shape now:


Oh btw i'm using Tamiya and the LifeColor U.S. olive drab set.
I'm not a rubber band track fan but I heard that Fruils don't really work well with the live track system on U.S. armor but the DS(Dragon Styrene) tracks can be modified and fitted so what the heck i'll give it a shot.
The tracks were two links too long so with Xacto knife and razor blade I went to work. You can see by the marks how I cut those two links out and I used just a drop of Pro Weld to fuse them back together as can be seen or not be seen on the upper track. The seam is placed just above the two ends of the lower track.


Add the paint and by golly they look pretty good.

Tools painted and laid out on the back for a test fit:

Interior gets some paint and goodies:


Tools and 50 cal in place:


After playing around with the stowage for a few days I settled on this arrangement:


And since just about all M-7s had an ammo trailer behind it I got one of Masters Productions resin kits.

At this time the bottom fell out of the weather and it came to a halt. Next step is a sealing coat of "Future"
floor wax before applying the decals, washes etc. etc.
I'll pick this build back up and finish it before long,temps are gaining every week now.
Later folks
Tony lee

