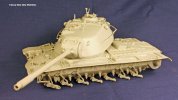
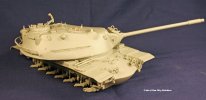
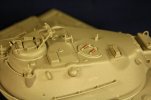
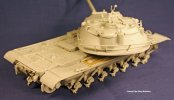
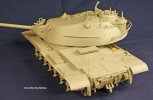
Dragon M-103A1 (Finished)

Elm City Hobbies

Active Member
Joined
May 7, 2009
Messages
3,239
Got this in my last batch of orders, the new Dragon M-103A1. And while there are some places I will try and improve on the kit (some say that it was Dragon's "B" team that was in charge of this...the "A" team of course doing all the WWII German tanks), but for the most part, should be a fairly easy, straight forward build.

IMG_4468-vi.jpg
 
Re: Dragon M-103A1 - 2nd Entry

Cool, be interested to see how this black label kit goes together.

Count me in
 
Re: Dragon M-103A1 - 2nd Entry

Well, a little bit of a start, probably the most time consuming part of the build.

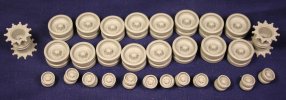
Kit has 300 or so parts, and there are about 96 parts just in the road wheels, returns rollers and drive sprockets.

IMG_4491-vi.jpg
 
Re: Dragon M-103A1 - 2nd Entry

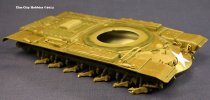
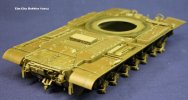
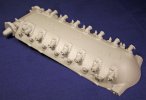
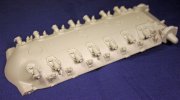
Little bit more work done last night, lower hull is complete.

IMG_4492-vi.jpg

IMG_4493-vi.jpg

So far, no complications at all, kit pretty much falls together.
 
Re: Dragon M-103A1 - 2nd Entry

Grendels said:
Nice texture on that hull!

Wish I could take credit for that, but that is all Dragon....hull and turret both. Will see how much of it is left after paint, but looks good so far.
 
Re: Dragon M-103A1 - 2nd Entry

Looking very yummy! I am looking forward to your build!
 
Re: Dragon M-103A1 - 2nd Entry

Couple of more photos.

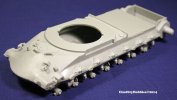
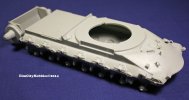
Upper and lower hull mated together. Had to be clamped and the seam will need some work, but the fit is quite well!

IMG_4494-vi.jpg

IMG_4495-vi.jpg
 
Re: Dragon M-103A1 - 2nd Entry

One to follow...though I'm not really much into post WWII armor, I like the looks of this one. Nice progress so far!

Cheers
 
Re: Dragon M-103A1 - 2nd Entry

Time for paint. Sorry for the lack of photos in between, but once you get on a roll building, hard to stop to take photos.

IMG_4815-vi.jpg

IMG_4817-vi.jpg

Couple of small bits of scratchbuilding. Replaced the molded on springs for the loader's hatch with some copper wire wound around a drill bit. And some of the lifting rings on the turret don't have any hinge detail, so just some thin brass sheet cut to fit.

IMG_4818-vi.jpg

One of the major flaws of the kit is the exhaust housing (center left of the picture, just behind the turret) is too tall, so the turret can't be put full forward without it being well canted forward.

I may see if I can't pop off the exhaust and sand it down some.

IMG_4819-vi.jpg

IMG_4820-vi.jpg
 
Re: Dragon M-103A1 - 2nd Entry

what a beast, look at that turret :eek:

Nice build so far mate!

Cheers
 
Re: Dragon M-103A1 - 1st Entry

Thin on updates along the way I know. You get building/painting and forget to take any progress photos along the way.
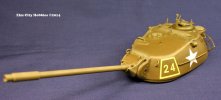
IMG_4878-vi.jpg
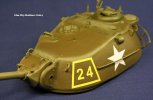
Paint and decals on.

IMG_4879-vi.jpg
Laid on the satin a little too heavy, pooled and dried at the bottom left point of the star. Guess where there will be a pack, tarp, etc, etc, put! LOL
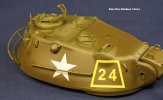
IMG_4880-vi.jpg
Small break in the decal, will have to hide it with some chipped paint.
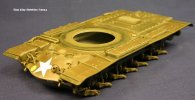
IMG_4881-vi.jpg

IMG_4882-vi.jpg

IMG_4883-vi.jpg
Exhaust (Middle back of the upper hull) bottom was sanded down as far as I could go without removing detail to clear the turret. Turret still rubs (alot) but I can now at least put the turret full forward without it looking like it is being tilted forward.

This and the slight warped fenders are probably the most frustrating part of this kit. But once in place and a few things modified, looks the part.
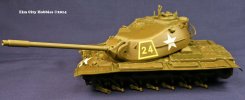
IMG_4884-vi.jpg
Ready for washes, and some dirt and dust!
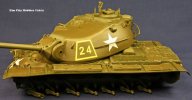
IMG_4885-vi.jpg
Done all with Vallejo. Followed the directions on their US OD Green paint set. Primer, 2 shadows, OD Green and then a highlight. Was unsure of it once the 2 shadow colors were on, but once the OD green goes on to clean up the shadow overspray a bit, and then the highlight color, it doesn't look half bad.
 

Latest posts

Back
Top