EE-T1 Osorio

Aaron Jefick

Member
Joined
Oct 11, 2012
Messages
94
Hello everyone in the forum, as I had mentioned in one of my previous projects I was very interested in modern tanks. especially the rare and unusual. in this project I face the EE-T1 Osório was a Brazilian prototype of a tank. was developed as a private venture funded by Engesa signature. which was not supported by the Brazilian government and the tank was not seen in action by the Brazilian Army except for a few demonstration units.

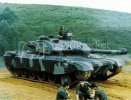
Currently there are only 2 variants found in the 2nd Regiment tanks, which are in operating condition, the variant that I build after checking a lot of information and do not want to do another version desert corresponds to the EE-T1 Osorio:
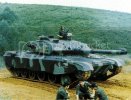
osrio_1_zps5a4cba29.jpg

For this project use the Trumpeter model. unique in the market for this model and which is used for further processing, which by the way, in the hull are many.

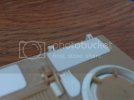
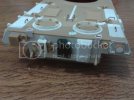
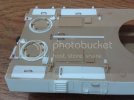
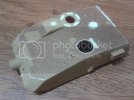
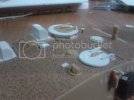
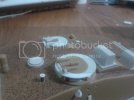
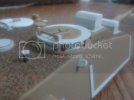
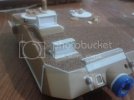
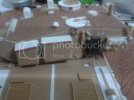
I started by the ventilation system as this model represents the prototype tests Arabia, and is different to the real model:
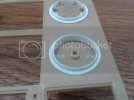
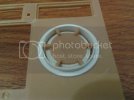
1398504_10201981125623671_1936547800_o_zps78c46da3.jpg

1398715_10201981125703673_541720696_o_zps70351422.jpg

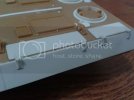
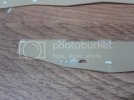
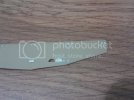
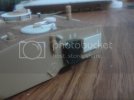
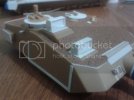
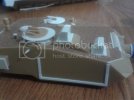
Also I have to repair the sides that are smooth and angled as presented by the model:
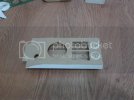
1421264_10201981127943729_381916183_o_zps0b674ee7.jpg

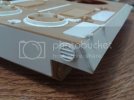
I eventually leads to repair the front fenders:
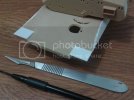
1417768_10201981130263787_697606332_o_zps47fb86f1.jpg

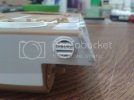
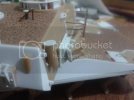
And change all the rear:

1071481_10201981129583770_1919855689_o_zps226a208c.jpg

It is good work this weekend, I hope to finish by year's end, greetings and thanks for watching.
 
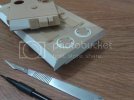
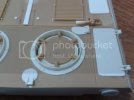
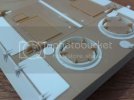
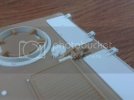
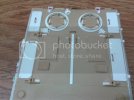
Hello fellow excellent start to the week, this weekend could only move forward with the back gates, well photos:

2013-11-24145700_zps423c34c3.jpg

2013-11-24195543_zps16fc2a15.jpg

2013-11-24210858_zpsc84b13a1.jpg

2013-11-24210824_zps9f4a2f7a.jpg

2013-11-24210811_zps1d482734.jpg

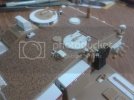
And also started work on the back with the exhaust:

2013-11-24210653_zps4b90e203.jpg

2013-11-24210504_zps132e3684.jpg

the finished assembly; I hope to continue in the week to present the advances that have an excellent day, greetings from Mexico.
 
Love the detail in the scratch building!
I'm inspired to think up something I should scratch build now!

nice work so far!
 
Good day guys.

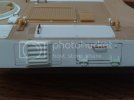
My work also delay me much I had to make corrections to verify the model reference photos; I returned to build the rear; I had to remove the round grille exhaust that this version does not carry it and I am so:

2013-12-03223345_zps715be2aa.jpg

the grille is placed in a place where I believed for a moment that was 2 gates so I had to shut down again and put the exhaust grille:

2013-12-03223357_zps9ee19638.jpg

If you look at the picture you can clearly see that the grid leak is on the right side of the tank.

osrio_1_zps5a4cba29.jpg

This is the work I have done, and you put the handles and all nuts on this side

2013-12-03223426_zps66d35cd8.jpg

2013-12-03223413_zps9a5c68b9.jpg

Well is little progress but much work I have done as I have hope you like the model, greetings. Thanks for watch.
 
Good day mates, thanks for the comments, a preview of what I've done.

2013-12-09144712_zps1d235008.jpg

2013-12-09144703_zpsdcdd3d26.jpg

2013-12-09144653_zpsc44fcfa8.jpg

2013-12-09144722_zps7b064b2f.jpg

Here is a picture of the set:

2013-12-09144643_zps2ca99f68.jpg

The holes you see are sealed with cyanoacrylate which is transparent but are sealed, thanks for the comments and suggestions, greetings from Mexico.
 
That's some excellent plasticard work you've got going on here, very detailed and precise. I love it! :)
 
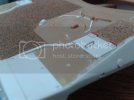
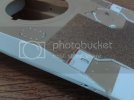
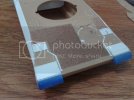
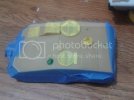
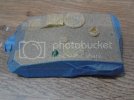
Well I started masking the entire surface to not take the slip in the turret.

1486842_10202203632506204_338051105_n_zps87e68743.jpg


Paint two light coats with Rust Oleum, if you look you will find that the result is translucent, which leaves adequate area:

20131220_161425_zps66b65526.jpg

without the masks you can see the result:

20131220_183442_zps4a4c93d3.jpg

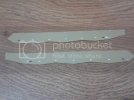
As the paint dried, pass to fix the sideskirts so that they look like the real model, moving panels and rivets remaking.
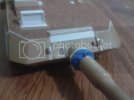
20131222_171138_zps669b8444.jpg

20131222_171126_zpsd707d5d0.jpg

The result of the skirts.

20131222_171105_zps1c087f4d.jpg

After a little work with the crew hatches:

20131222_170957_zps09ee5b1f.jpg
20131222_170935_zps90a421a3.jpg

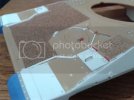
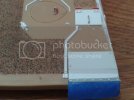
Work sheath 105 mm cannon which is the leading version, this entanglement for some blue tape and put your settings with styrene No. .020

20131222_170907_zpsb91eca30.jpg

20131222_170920_zpsd3bdc02a.jpg

20131229_201212_zps005cd4a6.jpg

20131229_201159_zps6956e154.jpg

20131229_200341_zpsef24909c.jpg

20131229_200317_zps48df723a.jpg

20131229_201102_zpsf00146c2.jpg

20131229_200235_zpsc0ecfd8c.jpg

20131229_200226_zpsb20860c1.jpg

20131229_200247_zps0bfb6345.jpg

It is the work I have done but still missing is near the end of this model. Greetings from Mexico
 
Wow, this is some excellent scratch building. Very clean and precise details.
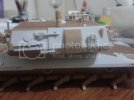
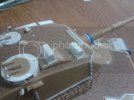
I love this build - and I will keep an close eye on the process.
Cheers
 
Hello, thank you very much for the comments, complete the work of the rear of the turret was finished doing a difficult job opening system which is different the top of the bottom.

20140114_213215_zpsc6e954de.jpg

An image of smoke dischargers.

20140114_213140_zps1f136f22.jpg

Viewers crew.

20140114_210703_zps6f732837.jpg

Overview of the side boxes.

20140114_213236_zps14b0e367.jpg

View of the turret´s surface.

20140114_213302_zpsb85ccf75.jpg

detail of the barrel

20140114_213355_zps2d9680b0.jpg

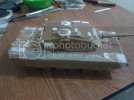
General view of the model:

20140114_210650_zps7c601311.jpg

And from there I get my torture .... wheels.

1579695_10202347458501764_1290111390_n_zpsc4935a3d.jpg

But nothing that a session of sanding can not fix.

1517614_10202445080942264_1465032893_n_zpse2a8d23a.jpg

Ok, the weather has not helped me at all to paint and acrylic as employment is only a problem starting the paint job is all for now thanks for the comments greetings from Mexico.
 
Hi, guys, I start the paint work with Ak, Primer :

10172807_10203039451921167_443859286545942807_n.jpg


10171778_10203039451441155_4002210254876177716_n.jpg


10298909_10203039449841115_1634673635157017103_n.jpg


10253760_10203039457241300_6389066770279179755_n.jpg


1625599_10203039460281376_6760067101235433454_n.jpg


The wheels after the nightmare to remove mold marks.

1017771_10203039460681386_2590481394678816129_n.jpg


Thanks for watsh Greethings from Mexico.
 
Some approaches work finished; Your review except.

10404465_10203422327092807_420520579456038388_n.jpg


10502455_10203422325332763_8655065213806543598_n.jpg


10443382_10203422323412715_2058182481647829387_n.jpg


10422314_10203422319892627_8158945864875867929_n.jpg


10411970_10203422318532593_7869694737231175849_n.jpg


10486473_10203422316772549_1464488502524431125_n.jpg


10509720_10203422314052481_1884822760616666551_n.jpg


10488194_10203422311132408_9085798817788962303_n.jpg


10409709_10203422295532018_2989532972432698427_n.jpg


10346374_10203422328012830_5852025940728924069_n.jpg


10505354_10203422328412840_4016314057418802749_n.jpg


The mirrors was what cost me more work to do:

10402701_10203334087246866_613406848881162490_n.jpg


Thanks for watching this work, greetings for all.
 

Latest posts

Back
Top