trekriffic
Well-Known Member
- Joined
- Jan 6, 2012
- Messages
- 1,042
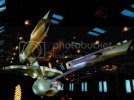
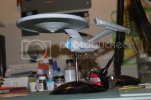
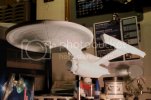
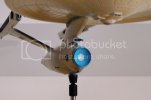
So while I wait for CultTVMan to ship me my lighting kit for the 1/350 Enterprise (money order mailed Friday) I thought I would go ahead and put together the 1/1000 refit that's been sitting inside the cupboard over the clothes drier for the past few years:

I figured it would keep me from losing my modeling "edge" while I assemble the aftermarket bits I'll need to do justice to the big Grey Lady.
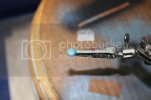
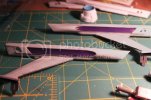
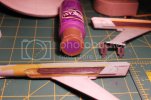
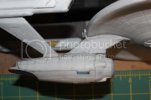
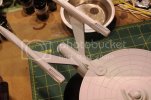
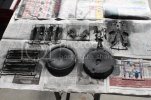
Anyway, the first thing I did was spray Testors Flat Black to the inside surfaces of the parts. Although this model will not be lit I remember someone doing an unlit build awhile back who didn't light block and noticed when looking at the model with backlighting the light shined thru being as how the model plastic is white and the paintjob is white too:
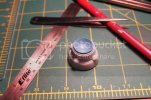
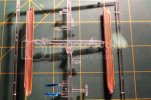
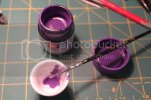
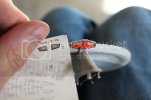
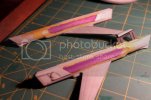
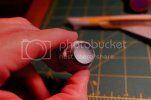
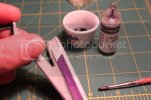
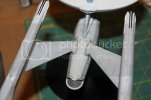
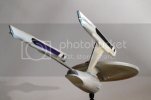
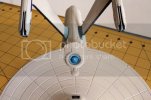
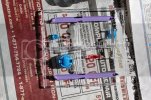
I also painted the inside surfaces of the clear parts. I brushed Tamiya Sky Blue acrylic on the deflector housing, impulse crystal, and arboretum windows. The Warp grills were painted with Testors Napoleonic Violet. The impulse engines were painted Testors Italian Red. I'll paint a coat of fluorescent white acrylic behind the blue on the deflector dish and the impulse crystal. I'll probably do the same for the warp grills. The impulse engines will get a coat of yellow behind the red. I may try and sand a little of the red off to thin it before painting it yellow so the center would have a yellow glow but that might be tough with such a small part:
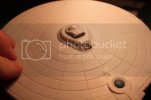
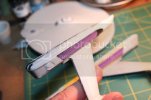
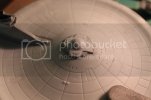
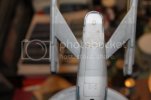
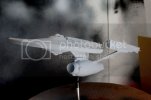
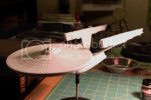
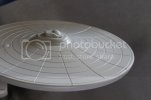
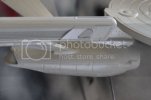
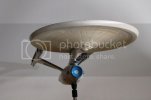
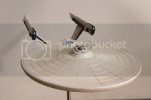
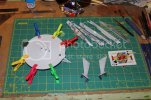
I glued the nacelle pylons and dorsal halves together with Testors liquid cement. Then I glued the dorsal to the lower saucer to get a good tight snap fit before dobbing CA around the inside of the joint. Then I brushed on some Tenax liquid around the outside where the dorsal mates to the saucer. Then I glued the saucer halves together with Testors cement and clamped the edges to dry:
That's it so far. Comments welcome as always.

I figured it would keep me from losing my modeling "edge" while I assemble the aftermarket bits I'll need to do justice to the big Grey Lady.
Anyway, the first thing I did was spray Testors Flat Black to the inside surfaces of the parts. Although this model will not be lit I remember someone doing an unlit build awhile back who didn't light block and noticed when looking at the model with backlighting the light shined thru being as how the model plastic is white and the paintjob is white too:

I also painted the inside surfaces of the clear parts. I brushed Tamiya Sky Blue acrylic on the deflector housing, impulse crystal, and arboretum windows. The Warp grills were painted with Testors Napoleonic Violet. The impulse engines were painted Testors Italian Red. I'll paint a coat of fluorescent white acrylic behind the blue on the deflector dish and the impulse crystal. I'll probably do the same for the warp grills. The impulse engines will get a coat of yellow behind the red. I may try and sand a little of the red off to thin it before painting it yellow so the center would have a yellow glow but that might be tough with such a small part:

I glued the nacelle pylons and dorsal halves together with Testors liquid cement. Then I glued the dorsal to the lower saucer to get a good tight snap fit before dobbing CA around the inside of the joint. Then I brushed on some Tenax liquid around the outside where the dorsal mates to the saucer. Then I glued the saucer halves together with Testors cement and clamped the edges to dry:

That's it so far. Comments welcome as always.

