SatchboogieUK
New Member
- Joined
- Jan 29, 2012
- Messages
- 69
Hi Everyone,
I'm new to the forum, but I've been visiting for the past few days after subscribing to ScaleModelAddict's youtube channel (He is one seriously talented modeller! as are many, many others who's work I've seen on this forum) so this is my first post. I've been modelling since I was a kid, my dad got me into 1/72 scale tanks when I was about 8 or so, I couldnt paint them to save my life but I loved building them and after I built up a collection of a few hundred of them I moved onto 1/35 scale. Over the years I've practiced painting my own kits and now, 15 years or so later I'm still terrible lol.
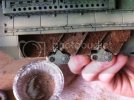
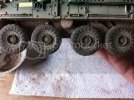
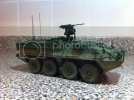
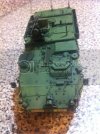
Anyway, I've been working on Trumpeter's M1126 for the past few days and I though I'd make an account on SMA to show some progress pics (I only just decided to do this after I began painting the kit so these are the earliest pictures of the project I have)
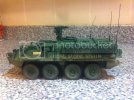
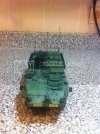
I still have a lot of weathering to do on her but I'm pretty much finished with the airbrushing at this stage so Here's what she looks like so far:
Hope you like it!
More pics to come once I've done some chipping and pigment work. I'm also waiting for a stowage set in the post so I should have some pics of her all kitted out soon.
Cheers!
Jonny.
I'm new to the forum, but I've been visiting for the past few days after subscribing to ScaleModelAddict's youtube channel (He is one seriously talented modeller! as are many, many others who's work I've seen on this forum) so this is my first post. I've been modelling since I was a kid, my dad got me into 1/72 scale tanks when I was about 8 or so, I couldnt paint them to save my life but I loved building them and after I built up a collection of a few hundred of them I moved onto 1/35 scale. Over the years I've practiced painting my own kits and now, 15 years or so later I'm still terrible lol.
Anyway, I've been working on Trumpeter's M1126 for the past few days and I though I'd make an account on SMA to show some progress pics (I only just decided to do this after I began painting the kit so these are the earliest pictures of the project I have)
I still have a lot of weathering to do on her but I'm pretty much finished with the airbrushing at this stage so Here's what she looks like so far:


Hope you like it!
More pics to come once I've done some chipping and pigment work. I'm also waiting for a stowage set in the post so I should have some pics of her all kitted out soon.
Cheers!
Jonny.

