nicholassagan
sippin on gin + juice
- Joined
- Dec 28, 2011
- Messages
- 2,013
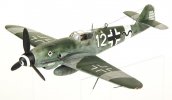
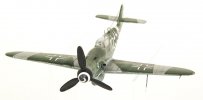
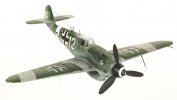
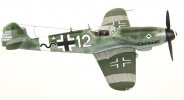
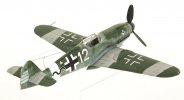
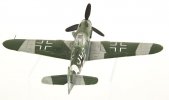
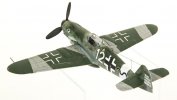
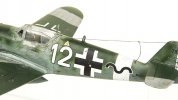
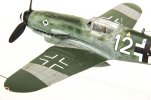
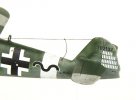
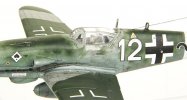
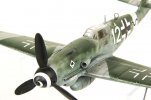
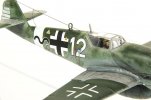
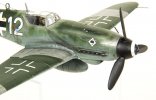
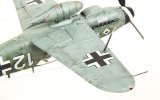
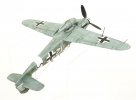
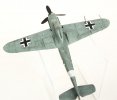
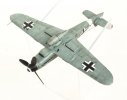
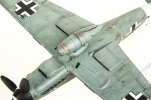
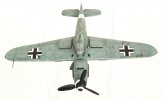
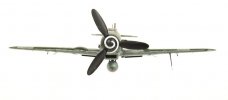
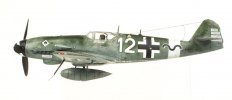
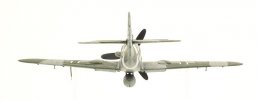
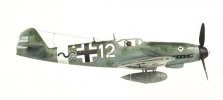
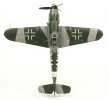
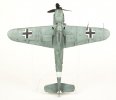
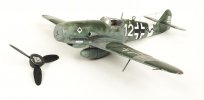
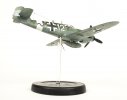
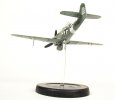
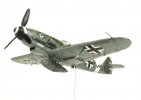
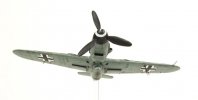
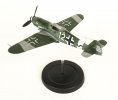
I picked up some bargain kits in the past few weeks and among them was a partially build Fujimi 1/48 Bf109K-4. I already had this kit but it was a good deal so I pounced. I'm glad I did because this kit ain't that bad. The only parts that were assembled already were the fuselage and cowling parts and a few cockpit parts. After reading some online reviews I'm kind of glad that part was already done because it seems to be the most 'prone-to-headaches' part of the assembly process.
I took this on as mostly an out of box build, with only adding some minor details such as: rivets, wire antenna, metal pitot, Quickboost's Revi gunsight and magnets for both the propeller and base. This magnet thing is pretty awesome and I'm getting some good practice in with them. I also used an old pilot from the Bf109E-4/7 build from a while back. Over the past week, in fleeting moments, I was able to get her to the primed stage. I have a few projects on the bench that are all at the painting stage so I'll tackle them all some evening soon.


I took this on as mostly an out of box build, with only adding some minor details such as: rivets, wire antenna, metal pitot, Quickboost's Revi gunsight and magnets for both the propeller and base. This magnet thing is pretty awesome and I'm getting some good practice in with them. I also used an old pilot from the Bf109E-4/7 build from a while back. Over the past week, in fleeting moments, I was able to get her to the primed stage. I have a few projects on the bench that are all at the painting stage so I'll tackle them all some evening soon.


