DavidsScaleModels
Well-Known Member
- Joined
- Sep 16, 2022
- Messages
- 125
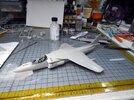
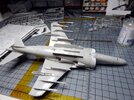
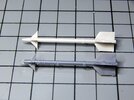
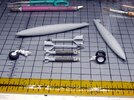
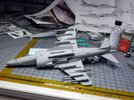
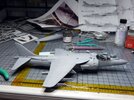
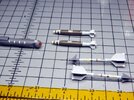
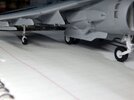
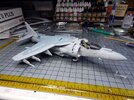
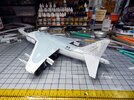
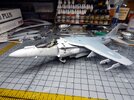
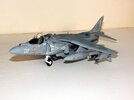
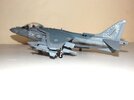
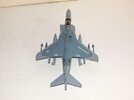
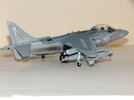
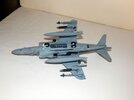
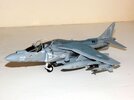
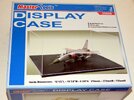
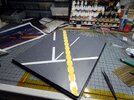
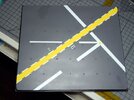
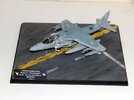
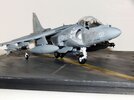
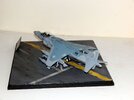
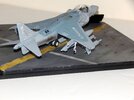
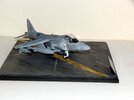
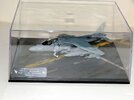
Welcome to the start of my seventh commission build this year. This build I will be using Hasegawa's 1/48 AV-8B Harrier Plus. The client is a former Harrier pilot and wants a model of one of the many aircraft he flew in his career. I will be using Caracal's AV-8B+ decal set and using the VMA-214 "Blacksheep" aircraft #2 scheme. The other accessories I will be adding are the Quinta Studio's 3-D cockpit decal set. This will be my first time using them. I will be using Eduard's 500lbs JDAM's, Meng AIM-9 missiles, and the aircraft will be mounted in a display case with a base replicating the flight deck of a carrier.
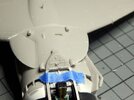
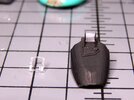
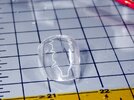
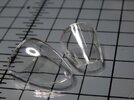
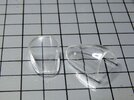
To start off this build I first worked on the canopy and windscreen. These both have a seam that runs down the center of each. I sanded the seams out with 1500 and the 3000 grit sandpaper. I then polished both pieces inside and out. With the seams removed and both sides polished the canopy and windscreen are very clear.
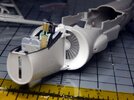
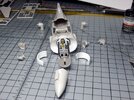
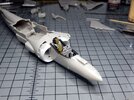
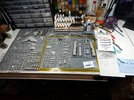
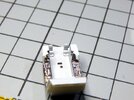
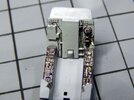
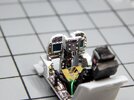
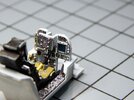
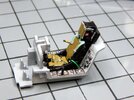
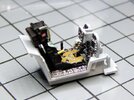
Next I began working on the cockpit. I first cleaned up the cockpit tub, instrument panel, and added the 3-D decals. The decals are very thick due to the raised areas. These work like normal waterslide decals. Soaking them in some warm water then applying then to their locations. I used a little decal set to make sure the adhered to the surface. There are some levers, handles and knobs that need to be attached. These are set in place with a small drop of CA glue. The result is a very realistic appearance. On the rear cockpit bulkhead they even have some weathering and shading to add to the realism. On the instrument panel the gauges and screens are coated in a clear gloss. Once all the decals on the cockpit and ejection seat are applied and the cockpit assembled the cockpit looks fantastic. I am now working on cleaning, detailing, and assembling the forward fuselage.
All the details and photos are in the build log at: https://davidsscalemodels.com/build-log/av-8b-harrier-plus-vma-214/


