SatchboogieUK
New Member
- Joined
- Jan 29, 2012
- Messages
- 69
Hi Guys,
I completed the building of this project a good 6 months ago but I began working on a number of other 1/35th projects after that and this one ended up sitting on the back burner for far too long. Last week I decided to stick with this beast until it was finished. Its been a pretty expensive and time consuming project and i figured it'd be a crying shame to see it go unfinished.
I first decided I wanted to do this model when my dad was commissioned to build and paint one. I managed to get my hands on one for £55 with free shipping (it started out as a bargain!) and when I got my hands on it I started thinking over what I wanted the tank to look like. Then the scratch builder inside me went wild.
I ended up ordering a ton of upgrade parts for her and before I knew it, I realised that this was going to be a massive undertaking.
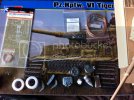
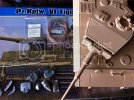
The first job was to remove the housing for the speaker under the engine deck;
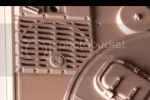
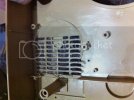
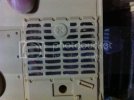
Then I had to cut all of the molded hatches, fenders and side skirts from their relevant places because I'd ordered a commander and loader figure for this project and wanted them to be situated inside their hatches. As for the skirts and fenders, I wanted to damage them and figured cutting them all off and replacing them with Voyager's brass versions would be a better idea than melting and bending the plastic ones.
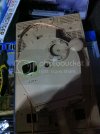
(Note; Heng Long's Tiger II in this pic... another forgotten project )
)
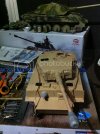
I damaged the stowage bin on the back of the turret too;
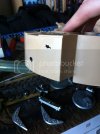
After a whole lot of cutting, drilling, filling and sanding, the project was coming along nicely and I was finally in a position where I could begin constructing rather than deconstructing;
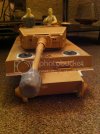
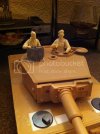
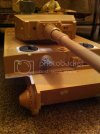
Note in the above pictures the none penetrating shell impacts I added and the removal of the two bulges on either side of the glacis plate which were meant to accommodate motors for RC conversion
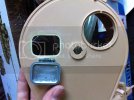
Unfortunately the loader's hatch I bought to replace the molded one had no interior detail so I scratch built it (This was before I realised that the Voyager brass engine deck set contained all of these interior parts... C'est la vie);
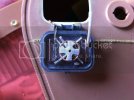
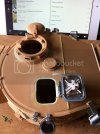
Here's a shot of the tank at that stage with the crew in place and the wheels and tracks assembled and dry fitted;
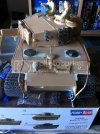
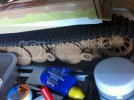
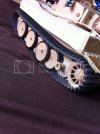
I then decided to strip a few of the outer road wheels from the running gear and add the screw threads to simulate damaged wheels being removed in the field (I saw evidence of this on numerous pictures of early production Tigers in Otto Carius' book)
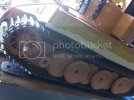
Then began the laborious task of the zimmerit application... bring on the Tamiya putty!!!
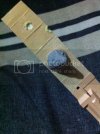
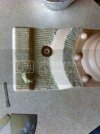
I also had to scratch build this part which fits in front of the loader's hatch because the kit part was pretty severely faulted;
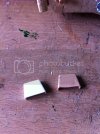
Here are some shots of my progress with some of the brass parts completed, the crew in place, most of the white metal upgrade parts installed and the tools dry fitted on the hull;
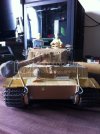
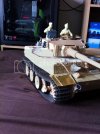
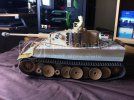
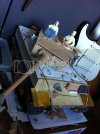
And finally, shots of the building more or less complete, with all of the brass fitted and ready for painting;
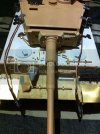
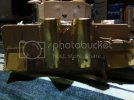
with the construction and priming of the vehicle completed, I left this project for far too long, but recently as the nights are getting lighter I've had more time after work to paint, so here are some pics of this weeks progress;
Basecoat:
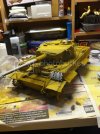
Light base;
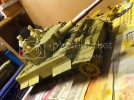
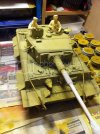
Highlight;
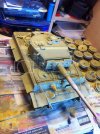
Next I intend to give her a tri-tone camo paint job and then a winter whitewash... then I'm going to make her incredibly muddy, Eastern front style!!!
Stay tuned for updates!
Cheers for looking,
All comments appreciated,
Jonny.
I completed the building of this project a good 6 months ago but I began working on a number of other 1/35th projects after that and this one ended up sitting on the back burner for far too long. Last week I decided to stick with this beast until it was finished. Its been a pretty expensive and time consuming project and i figured it'd be a crying shame to see it go unfinished.
I first decided I wanted to do this model when my dad was commissioned to build and paint one. I managed to get my hands on one for £55 with free shipping (it started out as a bargain!) and when I got my hands on it I started thinking over what I wanted the tank to look like. Then the scratch builder inside me went wild.
I ended up ordering a ton of upgrade parts for her and before I knew it, I realised that this was going to be a massive undertaking.


The first job was to remove the housing for the speaker under the engine deck;


Then I had to cut all of the molded hatches, fenders and side skirts from their relevant places because I'd ordered a commander and loader figure for this project and wanted them to be situated inside their hatches. As for the skirts and fenders, I wanted to damage them and figured cutting them all off and replacing them with Voyager's brass versions would be a better idea than melting and bending the plastic ones.

(Note; Heng Long's Tiger II in this pic... another forgotten project

I damaged the stowage bin on the back of the turret too;

After a whole lot of cutting, drilling, filling and sanding, the project was coming along nicely and I was finally in a position where I could begin constructing rather than deconstructing;


Note in the above pictures the none penetrating shell impacts I added and the removal of the two bulges on either side of the glacis plate which were meant to accommodate motors for RC conversion

Unfortunately the loader's hatch I bought to replace the molded one had no interior detail so I scratch built it (This was before I realised that the Voyager brass engine deck set contained all of these interior parts... C'est la vie);


Here's a shot of the tank at that stage with the crew in place and the wheels and tracks assembled and dry fitted;

I then decided to strip a few of the outer road wheels from the running gear and add the screw threads to simulate damaged wheels being removed in the field (I saw evidence of this on numerous pictures of early production Tigers in Otto Carius' book)


Then began the laborious task of the zimmerit application... bring on the Tamiya putty!!!


I also had to scratch build this part which fits in front of the loader's hatch because the kit part was pretty severely faulted;

Here are some shots of my progress with some of the brass parts completed, the crew in place, most of the white metal upgrade parts installed and the tools dry fitted on the hull;


And finally, shots of the building more or less complete, with all of the brass fitted and ready for painting;


with the construction and priming of the vehicle completed, I left this project for far too long, but recently as the nights are getting lighter I've had more time after work to paint, so here are some pics of this weeks progress;
Basecoat:

Light base;


Highlight;

Next I intend to give her a tri-tone camo paint job and then a winter whitewash... then I'm going to make her incredibly muddy, Eastern front style!!!
Stay tuned for updates!
Cheers for looking,
All comments appreciated,
Jonny.
