IEDed HEMTT - 1/35 - Load for a forthcoming HET...

Kero

Proud being french !
Joined
Apr 14, 2011
Messages
41
Hi Gents !

So here's a new log. I made up my mind regarding the payload that'll seat on the M1000 Trailer from Hobby Boss's huge HETS.

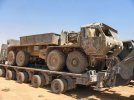
When I saw a pic on the web of a HEMTT that was obliterated by an IED in Iraq, I knew I had to go for it.

The inspiring picture :
het_he10.jpg
from http://data3.primeportal.net/transports/jeremy_mowers/het_hemtt/images/het_hemtt_2_of_2.jpg

A while ago I started an M1A2 SEP that I thought could do the trick at first. But that one is now pending for another option !

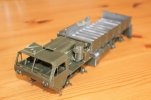
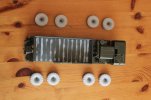
So, I had started a VERY long time ago, the Italeri HEMTT and awakened it for the occasion. I added some Tank Workshop wheels.

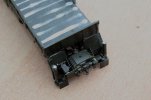
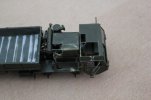
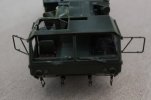
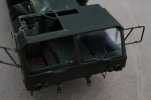
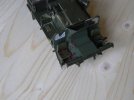
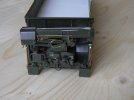
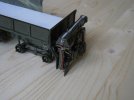
It'll depict a blasted HEMTT, suffering damages from a road side bomb. The IED contained ball shaped projectiles that riddled the passenger door and shot the spare tire, the crane and a portion of the cargo side in the back. I try to stick to the pic above...
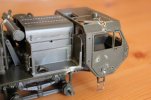
img_0810.jpg

img_0811.jpg

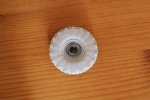
Damaged rim...

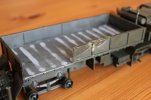
img_0812.jpg

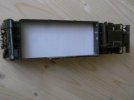
Heavy putty in the cargo area

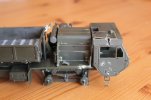
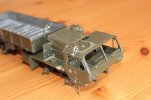
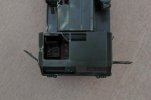
img_0813.jpg

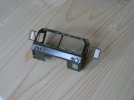
Now look at that cab !!!!

img_0814.jpg

img_0816.jpg

img_0815.jpg

Regards,

Richard
 
great idea and subject,

you've done a great job recreating the blast damage


great stuff,

cheers,


shane.
 
:eek: Love the Idea ! just wondering if anybody got really hurt ??? that some wicked damage !!!!

love the fact the front right Rim and tire are different as well... !!! interesting...

next time you do the Bed... you can cut a thin sheet of Evergreen.... thin enough to keep it shape and you can can punch the little holes for the Cargo Hooks built in the cargo bed... ... that would save you time instead of
Filling with putty and sanding that stuff down !!!

Will be looking at your progress on this... I luv those trucks...
Nice start on the truck damages... very cool in deed !

later !
 
Hey kero, looks great!!! Just wondering if you have the HET yet? If so, are you plainning on doing a review on SMA?
 
Hi Adam,

Thanks for your comment, much appreciated !

Yep i got the HET yet and was not planning a review... but that could be an idea ! Where am I supposed to post this review ?

BTW, the HEMTT will not be a copy of the one on the pic. I am just getting inspired by the pic.

More to come very soon !

Regs,

Richard
 
Hi,

The crew cab was handpainted in a dark green acrylic water based color (Citadel range).

Here's a pic of the dashboard and the steering wheel

img_0817.jpg

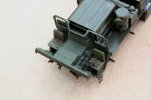
Then here are the seats, these were painted with the same Citadel paint, faded down with some sand color of the range. I added the seatbelts and put a wash that may appear too shiny in the picture cos it is still wet...

img_0818.jpg

Here's the outside cab with the outside rear view mirror mounts (seems I have lost them parts !!!!!! Will ask Italeri for new ones...)

img_0819.jpg

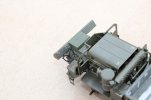
And here's the crane area where I added some putty.

img_0820.jpg

Regards,

Richard :)
 
Richard, that cab is looking great! In terms of a reveiw you would put it in the armor section similar to what your doing now. I've had my eye on this kit and am anxious to see how it builds up and I am sure a bunch of others are too.
 
Thanks Adam. I'mma think about that review ;)

So as one may think, the passenger was wounded. But hey gents, this is no crime scene !

Private Ryan was hurt to say the least... and has lost some blood... but he feels fine now and got back to combat after several weeks, being taken care of by nice nurses :-*

So, no offense intended, but this is getting a lil' more "graphic" (hey, this is acryl paint ok ?!)

img_0821.jpg

img_0822.jpg

img_0823.jpg

img_0824.jpg

Regards,

Richard
 
This was on my list of things to imitate. I'll also be watching this thread. Great start.
 
Hi,

Been working on fading down the blood in the cab and on the rear crane area.

Here's the cab, it was hard to get a pic showing the true toned down color :

p1070531.jpg

Then the cargo area where I decided to add a full card floor :

p1070528.jpg

Here are some homemade side rear view mirrors :

p1070527.jpg

And finally the rear crane area that needed to be wired-up :

p1070529.jpg

p1070530.jpg

That's all for tonite !

Regards,

Richard
 

Latest posts

Back
Top