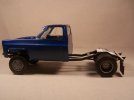
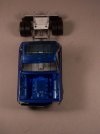
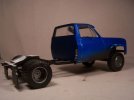
Jeeves' Revell '77 GMC Wrecker

Jeeves

Member
Joined
Apr 25, 2011
Messages
619
Well-- considering I've practically finished my first build of the Hover Bike- and that I left the weathering minimal on it since I figured it'd be well taken care of-- I thought I ought to enter something else to go with the filthy, dirty theme of this year's BSC-- and what better than an old wrecker....
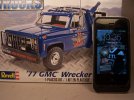
001~81.jpg
002~78.jpg

This was a Secret Santa gift from a couple years back here at SMA-- thought it was appropriate ;)
 
Just like Meter from the Cars Movie? Looking forward with the build, Sir!!

Cheers!!
 
Thanks Eastrock, John, Grendels, and T...

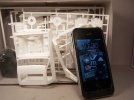
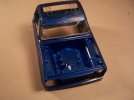
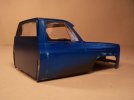
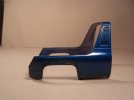
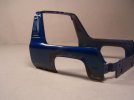
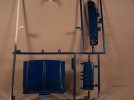
There a fair bit of flash I'm getting through...first step adds the clear parts to the body...but I don't tend to do that until some paint is on...so there's that to deal with...but I'm starting with the rear body stuff. Went to see Insurgent with my daughter today but she is out for the night with her friends and my wife to spend the night at a hotel for her birthday- so it's me and my son catching a few episodes of the new Daredevil series on Netflix and then I'll be back at it...
 
Added a coat of rust color and then some Tamiya spray enamel...this pretty much foregoes the hairspray method so I went with the Dremel ;) Still have loads to work through to get it just right...out of all the parts I worked with today, this part appears the least irregular--we'll fix that ;)

005~76.jpg

Happy with how this started out though:
008~47.jpg
009~39.jpg
010~29.jpg

Just barely scratched the surface here-
011~25.jpg
 
Every little bit gets you that much closer my friend! Nice to see you working through the steps!! Keep it going!
 
Worked some more this weekend despite the great weather ;) When the girls go play with horses, the boys are on their own and nothing gets done ;)

Decided to forego the thread idea in the instructions and use some braided wire I got in the beading section of AC Moore-- but first had to drill a hole to glue it into...this was after a coat of Alclad II Dark Aluminum...
002~82.jpg
And where we are now-
008~48.jpg

Dechromed the wheel hubs and repainted them also in dark aluminum...will help with the weathering- and here is where we are so far here--
010~30.jpg
009~40.jpg
012~21.jpg

Thanks for the looks and words so far everyone!
 
Looking good standing on here own feet Jim!! Nice work on the winch!! ;) Keep up the great work!
 
Thanks everyone-- yeah I've been on a kick lately so three might be in the realm of possibility ;)

I have a couple more months before I get to summer vacation...but men's baseball league starts in 2 weeks- so that's my usual build season :)

Hoping to get more worked on this evening after school...just in meetings all day so nothing too taxing lol
 
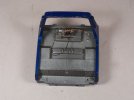
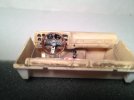
Worked on making the wrecker more interesting inside...wouldn't be complete without some 70's car mags and junk food wrappers ;) Scratched a clipboard with towing forms too...
IMG_0946.jpg
IMG_0947.jpg
Have to touch up the wheel-- think the paint I was using is getting a little ripe...
IMG_0948.jpg

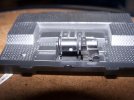
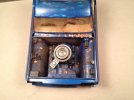
Engine area dirtied up...
IMG_0949.jpg

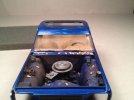
Made the windshield a mess though...had dusted it up with some pigments after masking it...and for some reason thought I ought to use fixer before removing the masks...instant mess. Gotta figure out how to clean it up...
IMG_0950.jpg
 
Thanks Eastrock and Scott...

Having a nice time working on this one-- it's really kicked my interest back up a bit.
 
Nice job getting the interior all messed up Mike!! Everything is coming along well! Keep it going!
 

Latest posts

Back
Top