Quaralane
Well-Known Member
- Joined
- May 22, 2009
- Messages
- 11,263
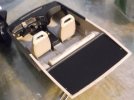
Okay, next up on the bench is one of my favorite cars of all time.
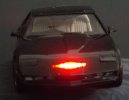
The original Knight Industries Two Thousand from Knight Rider.
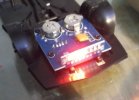
I'll be working from the Aoshima 1/24 scale kit that came with the led scanner part
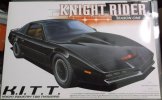
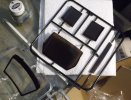
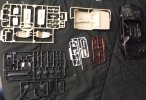
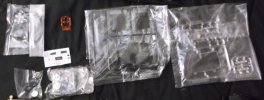
Lots of parts, mostly in the correct colors to minimized the need for paint
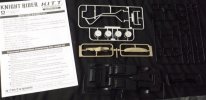
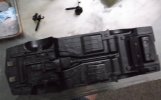
For the undercarriage, I gave all of the parts a drybrush in silver to both bring out the detail and take away some of the glossy black look
Started work on the underbody, as well as the front wheel mounts
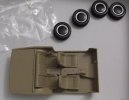
The wheels and front seats have been assembled as well
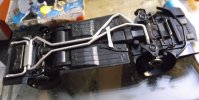
Undercarriages assembly is complete, despite my best efforts to screw it up by initially skipping parts.
The chrome exhaust assembly will be getting a black wash later to help dull it down
Started detail painting the interior with both the black, and the trim.
I should not here that the instructions actually gave a good piece of advice for painting all the buttons.
First, a coat of silver is laid down. This is followed by paingint the buttons in the correct colors (Which I freely admit taking some liberties with)
At this point, all the interior needs are the decals for the remaining consol details, followed by assembly
Youtube link:
http://www.youtube.com/watch?v=IME7GcMtY2Q
The original Knight Industries Two Thousand from Knight Rider.
I'll be working from the Aoshima 1/24 scale kit that came with the led scanner part

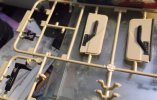
Lots of parts, mostly in the correct colors to minimized the need for paint


For the undercarriage, I gave all of the parts a drybrush in silver to both bring out the detail and take away some of the glossy black look
Started work on the underbody, as well as the front wheel mounts

The wheels and front seats have been assembled as well

Undercarriages assembly is complete, despite my best efforts to screw it up by initially skipping parts.
The chrome exhaust assembly will be getting a black wash later to help dull it down

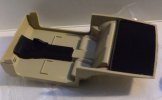
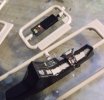
Started detail painting the interior with both the black, and the trim.
I should not here that the instructions actually gave a good piece of advice for painting all the buttons.
First, a coat of silver is laid down. This is followed by paingint the buttons in the correct colors (Which I freely admit taking some liberties with)
At this point, all the interior needs are the decals for the remaining consol details, followed by assembly


Youtube link:
http://www.youtube.com/watch?v=IME7GcMtY2Q

