Mikromir Fokker G-1

Mycatistypingthis

Active Member
Joined
Sep 11, 2023
Messages
78
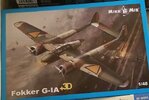
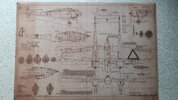
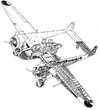
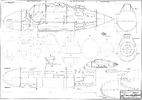
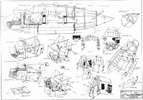
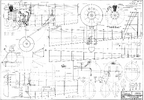
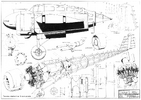
Mikromir made a beautiful version of the Fokker G1, a Dutch heavy fighter that was fielded in very limited numbers during the opening stages of WW2 https://www.scalemates.com/kits/mikromir-48-016-fokker-g-1a-3d--1417619

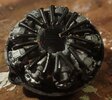
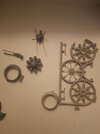
This kit has a few extra parts 3d printed, though the Mercuries from the set are good as well. It is a very complete set, and I'm debating how best to make everything visible.

This will be a review as much as a build.

My pace is akin to tectonic plates; very slow until I do several weeks worth in one cataclysmic weekend. I need a bit of a distraction after the cat my username is derived from passed away this weekend.
IMG20231110151211.jpg

IMG20231110150939.jpg

IMG20231110134851.jpg
 
Last edited:
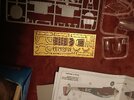
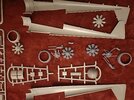
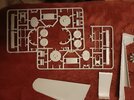
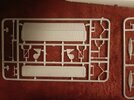
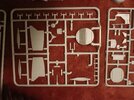
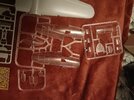
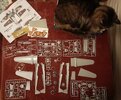
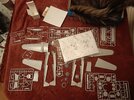
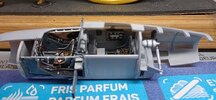
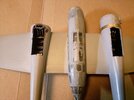
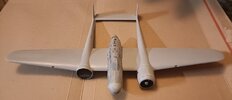
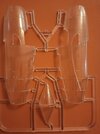
A few pictures of the kit: Good details, though not very deep. Toolmarks only in invisible places. Getting the position right does require some effort. Some flashing, but it's really thin. Instructions are clear. Clarity of the clear parts is passable, but I want to show the inside better than they natively do, so I'm probably going to make it cutaway.

IMG20231114220356.jpg

IMG20231114220347.jpg

IMG20231114220331.jpg

IMG20231114220325.jpg

IMG20231114220319.jpg

IMG20231114220311.jpg

IMG20231114220242.jpg

IMG20231114220128.jpg
 
Last edited:
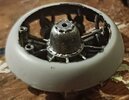
One extra thing, the instructions for the 3d printed engine are missing, and it's not a 1-1 replacement. I'm not sure how far to sand the engine mount down so it will fit flush. I'll contact MikroMir because I need to do this quite early in the process and if it isn't right it will look bad.
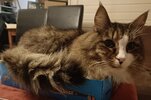
I have also put the parts in a different box, because this one has been confiscated.
 
Aki certainly looks like an attentive supervisor...lol
Truly the best one. He's also a good " mrrr" button, every pet gets a new sound.

Though he has hopped onto my lap while I was glueing, leading me to chase after him after he got a model stuck to his tail.
 
No progress because I have a project culminating this weekend. I have promised myself two Quickboost sets if the migration is successful this weekend (seats with belts and guns, especially the rear gun).
 
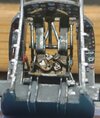
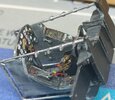
Cockpit is done for now. There are not many reference images I could find and they are mostly black and white, so it's interpretation. I painted the seat a different shade of brown to have the seatbelts stand out more and will do some extra cleanup. The weird flightstick is accurate.

I would say the seat and seatbelt that come with the kit are about equal to the resin one, so if you want to build this set, I wouldn't bother with them.

IMG20231206233628.jpg

IMG20231206233556.jpg

IMG20231206233549.jpg
 
I closed the cockpit after much grinding. I'll take pictures when I cleaned it up and fill the last gaps. I am really feeling the difference between a small scale production niche product and a big series popular kit.
 
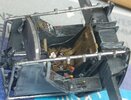
I forgot the exhausts, and adding them was a bit exhausting. 5mm x 1.5mm miniscule things that needed to cleaned up before glueing them. Two per cylinder (36 in total), and I lost three to the floor gods that I tried to replace with wire. It isn't pretty, and I will have to find out how to replace it better.

I also made fuel supply from electrical wire for the exposed engine. Still needs some work, but I'm okay with the result.

IMG20231219213510.jpg

IMG20231219213540.jpg
 

Latest posts

Back
Top