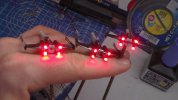
 MPC Empire Strikes Back Hoth Rebel Base build updateAugust 4th, 2023
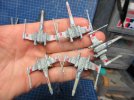
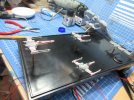
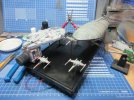
Here I'll post updates on what I have done to incorporate the X-Wings included with this kit into the diorama I'm working on. Unfortunately, the Y-Wings are just too goofy looking, and they were sculpted without proper reference material.
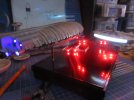
After a discouraging setback with trying to use fiber optics to light the X-Wings' engines, I decided to go all out and use red 0402 SMDs for the engines.
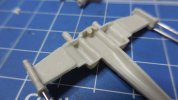
Channeling out the engine cans was not too difficult of a task. the X-Wings come sculpted with only one laser cannon per side so in order to give them four laser cannons, I used sewing pins, capped with Wave 2mm semi-circular plastic sticks cut into segments to represent the flash suppressors at the tip of each. I just needed to drill a hole into the center of each of these segments.
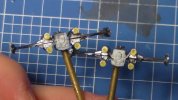
Once the SMDs were fastened into position using 2 part Wave epoxy glue (which smells really badly). Once the X-wings' top and bottom halves were glued together, I added back plates that I had invented on my own to sort of represent the detail that's supposed to go there. I used masking circles by HiQ Parts to protect the SMDs.
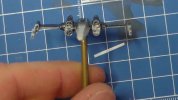
The next step was to add detail to the tips of the engine nacelles. The way the kit comes, they look rather featureless. I used Wave plastic pipe cut into segments for the nacelle tips and plastic plate to create the T-sections. They look nice! Check out this comparison before/after picture:
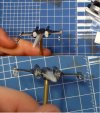
I airbrushed these X-Wings with Model Master Camouflage Gray acrylic paint.
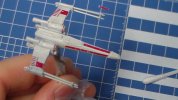
I had scanned the excellent Fine Molds decals for this kit, mathematically sized it down to the proper scale, and printed them out on Fine Molds clear decal paper.
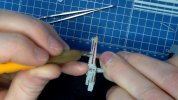
I distressed the decals with my hobby knife as I saw fit, in order to create paint chips. That's it for this update. I'm nearly done!


