MrT
New Member
- Joined
- Apr 25, 2011
- Messages
- 1,490
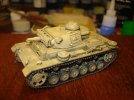
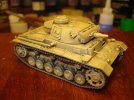
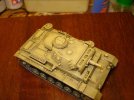
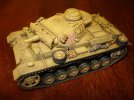
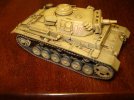
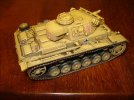
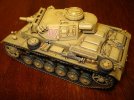
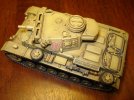
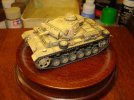
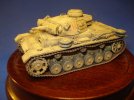
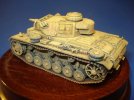
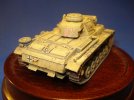
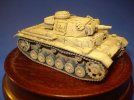
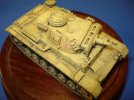
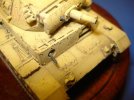
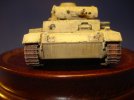
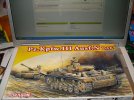
I have been working on a 1/72 scale Panzer III ausf N DAK by Dragon. The kit is very detailed and has been fun to build. The down side to the kit is it has no accessories included like jerry cans or stowage.
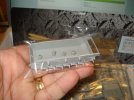
It's like working a watch.
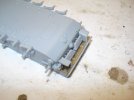
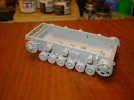
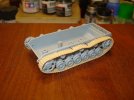
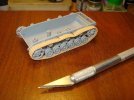
Oh and yeah I'm doing some old school track sag stuff.
It is a real challenge to airbrush paint something this size. Here is how things went.
Step 1.
I painted the whole thing Tamiya Nato Black.
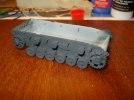
This will give subtle shadow effect.
Step 2.
A lite spray of Tamiya Desert Yellow.
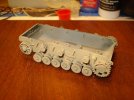
This coat forms the base color.
Step 3.
Next I put on a oil wash of Raw Umber.
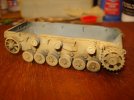
This will tone down the colors and add more shadows
Step 4.
Added highlights to panels and wheel faces using a mixture of Desert Yellow and Flat Flesh. About a 3 to 1 ratio.
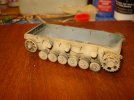
Again this increases the shadow effect and highlights some of the details
Step 5.
Added yet another oil wash.
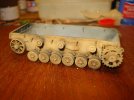
The layering of different tints gives depth to the paint.
Step 6.
I painted the tires and added the tracks which are painted and weathered. Ended with a little dry brushing
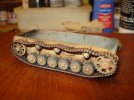
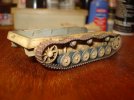
There will be more weathering and washing as we go along, but this is a good starting point for the next step.
All the construction is done. I did add some details before the painting begins.
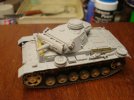
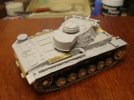
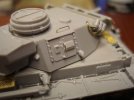
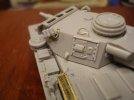
Ok lets paint! The process begins as before. After masking off the running gear I painted everything Nato Black.
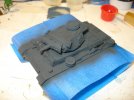
Next came the Desert Yellow over spray.
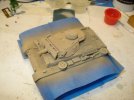
Then I applied a oil wash of Burnt Seinna.
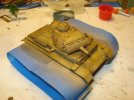
After the wash dried I put on a coat of acrylic clear coat. When this is dry I went back and highlighted areas with a mixture of Desert Yellow and Flat yellow (3 to 1 ratio). I then washed everything with a oil wash of Burnt Seinna and Cadium Yellow (1 to 1). Here is what things look like right now.
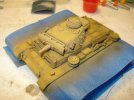
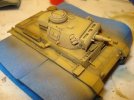
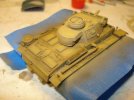
I think that brings everything up to date. Thanks for looking and questions and comments are always welcome.
Terry 8)


It's like working a watch.


Oh and yeah I'm doing some old school track sag stuff.
It is a real challenge to airbrush paint something this size. Here is how things went.
Step 1.
I painted the whole thing Tamiya Nato Black.

This will give subtle shadow effect.
Step 2.
A lite spray of Tamiya Desert Yellow.

This coat forms the base color.
Step 3.
Next I put on a oil wash of Raw Umber.

This will tone down the colors and add more shadows
Step 4.
Added highlights to panels and wheel faces using a mixture of Desert Yellow and Flat Flesh. About a 3 to 1 ratio.

Again this increases the shadow effect and highlights some of the details
Step 5.
Added yet another oil wash.

The layering of different tints gives depth to the paint.
Step 6.
I painted the tires and added the tracks which are painted and weathered. Ended with a little dry brushing


There will be more weathering and washing as we go along, but this is a good starting point for the next step.
All the construction is done. I did add some details before the painting begins.


Ok lets paint! The process begins as before. After masking off the running gear I painted everything Nato Black.

Next came the Desert Yellow over spray.

Then I applied a oil wash of Burnt Seinna.

After the wash dried I put on a coat of acrylic clear coat. When this is dry I went back and highlighted areas with a mixture of Desert Yellow and Flat yellow (3 to 1 ratio). I then washed everything with a oil wash of Burnt Seinna and Cadium Yellow (1 to 1). Here is what things look like right now.


I think that brings everything up to date. Thanks for looking and questions and comments are always welcome.
Terry 8)

