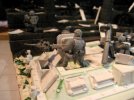
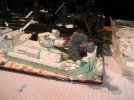
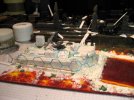
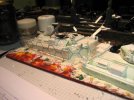
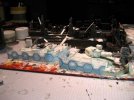
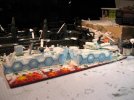
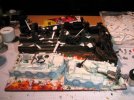
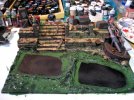
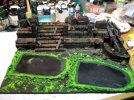
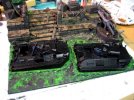
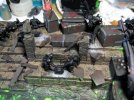
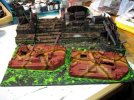
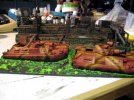
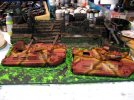
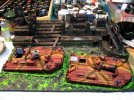
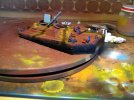
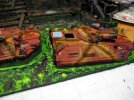
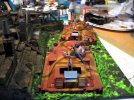
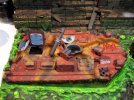
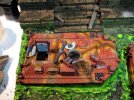
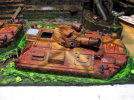
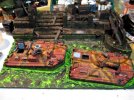
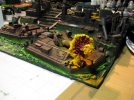
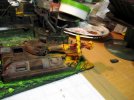
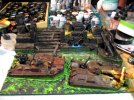
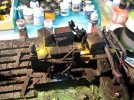
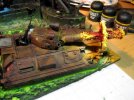
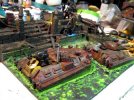
Raid on Port Corinth

Joined
May 15, 2013
Messages
281
Well, now that "The Prototype" is completed - http://fischers-design-shop.blogspot.de/p/the-prototype.html
- and being voted on at CMoN - http://www.coolminiornot.com/357425 - I was looking for the next project.
I should continue with POLLUX and CASTOR - http://fischers-design-shop.blogspot.de/2014/03/pollux-and-castor-9.html - as this was the last project before "The Prototype", but sparked by a comment from Colonel Jacka

Mind you Klaus has done some beauties I particularly liked the Patrol Boat diorama.

my interest in the Raid on Port Corinth diorama - http://fischers-design-shop.blogspot.de/2013/05/raid-on-port-corinth-4.html - was rekindled.

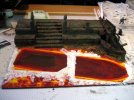
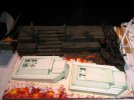
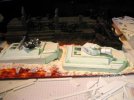
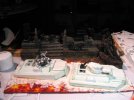
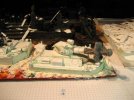
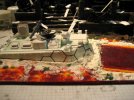
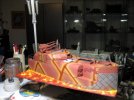
Upon looking at what I have so far, I realized that the diorama has not the best of all compositions. The THALASSA patrol boat is actually blocking most of the action happening on land.
499206_sm-.jpg

So I decided to separate the two.
Make a diorama with just the THALASSA - in action, on a lava lake, and maybe firing off a torpedo (or surface skimming missile), with the crew doing some action on deck.
612833_sm-.jpg

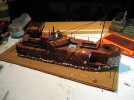
Looking at the harbor scene I was thinking about adding a surfaced submarine, from which the troopers landed and conducted their raid.
The submarine would be low enough not to block the actual action.
612834_sm-.jpg

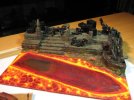
But a submarine couldn't realistically come that close while under water (well, under lava). So I browsed through my idea backlog and ran into some sketches and images of an amphibious landing.
Wow!
Why not add a Amtrac/AAV-7 style vehicle, from which the trooper landed?
Cool idea :)

And as I started to design such an Amphibious Attack Vehicle I looked at the PONOS - http://fischers-design-shop.blogspot.de/2012/09/orkalypse-now-hq-images.html -
And a big fat grin spread on my face :)
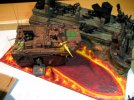
How about a PONOS that delivers the troopers?
612835_sm-.jpg
Well, not like this, but half submerged?


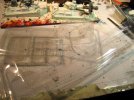
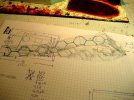
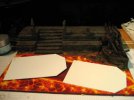
With this I pulled my old notes, sketches and plans and found a set of plans for a slightly smaller PONOS version.
With this plan I could even fit two submerged PONOS' on the scene - one an Engineer Support Vehicle maybe?
612836_sm-.jpg

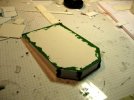
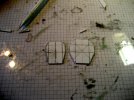
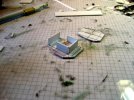
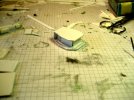
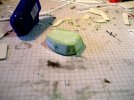
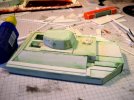
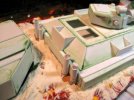
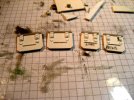
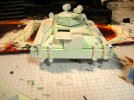
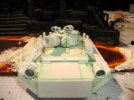
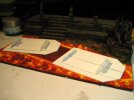
With the plans I was able to quickly cut the basic pieces and put them together.
612837_sm-.jpg

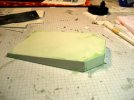
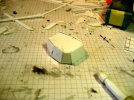
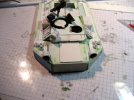
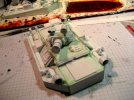
I even got the basic roof with hatches done :)
612838_sm-.jpg

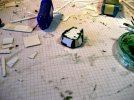
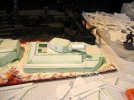
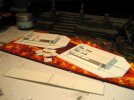
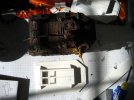
And here is a scale shot in comparison to the original PONOS - about 5cm shorter and 2-3 cm narrower.
612839_sm-.jpg

So, what do you think?
I look forward to your suggestions and comments.
Cheers
Klaus
 
Thank you Quaralane!

Hi all,
so my first task was to find the proper position and "stance" of the amphibious vehicles.
The first PONOS is to be close to the steps and maybe even a bit of "bobbing on the waves".
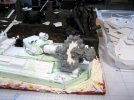
614298_sm-.jpg

With the sides properly built up to simulate the bobbing, I had to apply some putty (not the last time you'll read this today) to cover some of my errors.
614299_sm-.jpg

But after sanding the hull looks rather nice.
614300_sm-.jpg

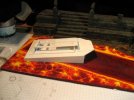
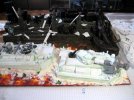
In addition I added some structure to the lava around the two PONOS'
614301_sm-.jpg

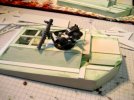
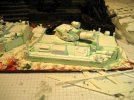
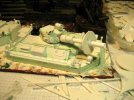
For the second PONOS I decided to create a "support version" with a obstacle breaching gun - or or short, stubby howitzer. For this I covered a part of the passenger hatches to provide a base for the turret.
614302_sm-.jpg

The first PONOS received an open weapons station, with a twin Bolter, some armor and a mounted rocket launcher.
614303_sm-.jpg
The launcher is in a stand-by position that hopefully makes sense.....

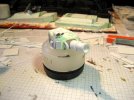
For the howitzer turret I started with the turret base and a smaller roof shape.
614304_sm-.jpg

To build the turret up I glued some 1cm high spacers onto the base,
614305_sm-.jpg

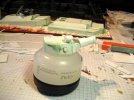
and then mounted the roof.
614306_sm-.jpg

With the roof in position I could then add the sides.
614307_sm-.jpg

Needs putty though :)
614308_sm-.jpg

But I think it is a nice shape, isn' it?
614309_sm-.jpg

On the PONOS
614310_sm-.jpg

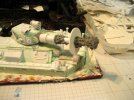
The first raw gun...
614311_sm-.jpg

and the final, more detailed gun.
614312_sm-.jpg

Including some more turret details such as sights and sensors.
614313_sm-.jpg

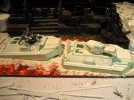
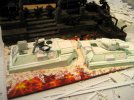
Both PONOS' on the base.
614314_sm-.jpg

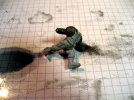
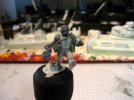
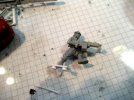
To bring some more action to the scene I decided to add a Medic that is jumping from the left PONOS to the steps, to attend the wounded trooper I already have.
For this I used the new Mad Robot flak vest torso and fatigue legs, plus standard IG arms.
614315_sm-.jpg
He will carry a medic bag, and maybe some more accessories.

Finally I added some storage containers to the vehicles.
614316_sm-.jpg

Now I will have to add a lot of details, like view-ports, hatches, lights, sensors, and RIVETS!
I hope you like today's update and look forward to your feedback.
Cheers
Klaus
 
Hi all,
...
First I added the exhausts.
I kept them relatively simple, as I have to adjust the lava around it too. But at least I gave them some flaps to keep water (and lava) out.
614826_sm-.jpg

Next part of detailing were the large hatches on the side.
614827_sm-.jpg

Mounted they look pretty neat.
614828_sm-.jpg

The hatches for the crew compartment and lids for the storage containers were next.
614829_sm-.jpg

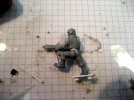
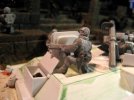
I also had the idea of a soldier standing in one of the hatches and providing fire support.
For this I used the Mad Robot Flak Vest Torso, M60 gunner arms, a set of fatigue legs, and a CDF head.
614612_sm-.jpg

For the proper leg position I had to do some cutting :)
614613_sm-.jpg

And after some greenstuffing and detailing with accessories the guy looks really good.
614614_sm-.jpg

I'm quite pleased.
614615_sm-.jpg

That's it for today :)
I hope you like today's update.
Cheers
Klaus
 
Thank you guys!


Malevengion wrote:

Looks good so far! It seems to me that the men would get cooked and/ or asphyxiated in the environment. I'm not sure what would be needed though. Maybe masks for the soldiers or some sort of refrigerant blaster to make the assault survivable?

You're right about the heat and air in this lava scenario. You may recall from the original build, that all the troopers have respirators (though they don't wear them, but they have them on their shoulder). In addition I'm adding some emitters for a force field that will protect the vehicle, as well as some extra exhausts for the additional ventilation and "air conditioning".
I'm pretty sure in the 40th century there will be some technology to cover that ;)

Well, first I want to show you the contents of a care packet I received last week from Tim aka Eyescream.
A very generous gift with lots of brand new goodies!
618266_sm-.jpg
618267_sm-.jpg
One of the highlights is this little toilet bowl :)
618268_sm-.jpg
From what Eyescream remembered, he got on a Bit Con, but it is available via Black Cat Bases http://blackcatbases.com/index.php?main_pa...=toilet&x=0&y=0
:D

Since the last update I added the vision ports for the sides of the passenger compartment
618269_sm-.jpg

as well as the vision ports for the crew - what used to be the windshield on the standard PONOS.
618270_sm-.jpg

Next were the lights for the front
618271_sm-.jpg

and rear
618272_sm-.jpg

Giving it the typical PONOS look
618273_sm-.jpg

Then some more details like the smoke dischargers
618274_sm-.jpg

and the searchlights.
618275_sm-.jpg

Finally I added some indicators/emitters for the force field -needed to get everyone safely through the lava :)
618276_sm-.jpg
Not sure if I'll add an effect here or how I will show that theses are the Force Field emitters....

Then I created some ventilation outlets for the rear of the passenger compartment.
618277_sm-.jpg
618278_sm-.jpg

I think they look OK on the vehicles
618279_sm-.jpg

And finally I applied all the rivets on the first PONOS - Eyescream pattern :)
618280_sm-.jpg

So what do you think of today's update?
I look forward to your C&C and suggestions.
Cheers
klaus
 
Hi all,
since the last update I had to complete the rivets of the 2nd PONOS.
Which in return completed the actual building phase of the diorama.
618843_sm-.jpg

But what I definitely wanted to add was a firing effect for the PONOS' howitzer.
So I started with the base from plastic card and rod...
618844_sm-.jpg

and then started to add Pro Create.
618845_sm-.jpg

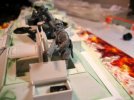
While this first batch of PC cured I sculpted the muzzle flash for the gunner - lets call him Rambo, shall we?
618846_sm-.jpg

Additionally I decided to give the Medic a new head - one of the new heads thanks to Tim.
618847_sm-.jpg

After the first batch of PC was cured I added more around the "fire ring"
618848_sm-.jpg

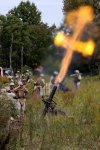
as the effect I'm using as a pattern is kind of like this:
618861_sm-.jpg

On the model it already starts to look good.
618849_sm-.jpg

Rambo with his muzzle flash :)
618850_sm-.jpg

Here you can see the underside of the fire ring for the howitzer effect.
618851_sm-.jpg
618852_sm-.jpg

And after another round of curing I finalized the fire effect.
618853_sm-.jpg

I think this will look pretty cool in the scene.
618854_sm-.jpg

And since today is all about effects, I also looked into the Force Field I want to represent.
So I looked at the stash of clear plastic material I have available...
618856_sm-.jpg

And this is a first test.
618857_sm-.jpg

I'm aiming at a hexagonal layout with the hex grid being clearly visible, and the "inside" of each hex being sprayed with an airbrush.
Satisfied with the initial layout I created the first force field and painted the hex-grid onto it (using Ice Blue and a second thinner line of a 50:50 mix white and Ice Blue)
618858_sm-.jpg

And this is how it will be positioned around the PONOS.
618859_sm-.jpg

Now imagine all the other stuff painted and the inside of the hexes "glowing" in a light blue....
618860_sm-.jpg

I hope this will look as good as I am imagining it right now.
What do you think?
Will this work?
Cheers
Klaus
 
Very creative.

I love to see people scratch building original SF stuff.

And you're modeling things I've never seen anyone attempt before. Very nice.
 
Primen said:
Very creative.

I love to see people scratch building original SF stuff.

And you're modeling things I've never seen anyone attempt before. Very nice.
Thank you guys!


Hey guys,

Sorry for the delay in updates, but my shoulder is acting up again ( http://en.wikipedia.org/wiki/Impingement_syndrome ) and an operation seems to become more and more probable.

Nevertheless, I have a nice update for you.
As you may recall I was last working on creating a force field effect. Using clear plastic card and a hex pattern I came up with this:
622808_sm-.jpg
622809_sm-.jpg

Even though it's not sooooo bad looking I have to admit it's not what I envisioned.
622810_sm-.jpg

So I decided to go without the effect - I reworked the structure of the "lava" and prepared everything for priming.
622811_sm-.jpg

The desk reading for painting :)
622812_sm-.jpg

I started with the port area, painting the stones, pipes and containers and boxes.
622813_sm-.jpg

Without the force field I would have a lot of discussions about the vehicles swimming through lava.
So I decided to try something new.
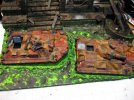
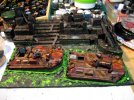
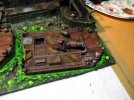
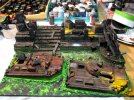
Lets go for some green liquid - almost like chemical waste.
622815_sm-.jpg

After the base color I added lighter shades of green
622817_sm-.jpg

Looks like a rather "pleasant" swimming pool, doesn't it?
622816_sm-.jpg

Satisfied with the water and the base colors for the harbour, I started to highlight the areas that will be affected by OSL - just a simple light white drybrush.
622819_sm-.jpg

And then I started with the vehicles, using the standard Dencara Tiger Flash pattern ( http://fischers-design-shop.blogspot.de/p/dencara-paint-schemes.html )
622822_sm-.jpg

To harmonize the vehicles with the water, I added some "scorch marks" to the paint job.
622823_sm-.jpg

And since the liquid may be corrosive, I added some blank metal.
622824_sm-.jpg

Finally I added first details to the vehicles.
622825_sm-.jpg

Still a rather long way to go.
I hope you like today's update.
Cheers
klaus
 
Hi all,
Thank you for your comments and feedback here and in the other forums - especially on the force field. Yeah, if I would've planned it earlier I probaly could've managed something spectacular, but it was a rather on-the-fly creation based on some of the early feedback, with regards to lava, heat, asphyxation etc :D
But I also hear that the chemical waste idea is rather "approved" :)
Thanks Mates!

Well, the shoulder is keeping me rather busy with doctors visits, physio-therapy twice a week, and the pain gifts me with sleepless nights to boot.
So my updates are considerably slower than my usual pace.

Well, as chrisb pointed out, I had the corrosion line on the listing vehicle wrong, as it needs to be aligned to the hull line, not the waterline - thanks for pointing it out, I completely missed it :)
626423_sm-.jpg

Once this was fixed I gave the vehicles their names :)
Tito and Tarantula
626424_sm-.jpg

I also added some unit and vehicle markings.
626425_sm-.jpg

And then started weathering.
626426_sm-.jpg

Part is brush painted, part is sponge-applied.
626428_sm-.jpg
626427_sm-.jpg

Ready for pigments
626429_sm-.jpg

Here are the pigments applied and the spirit still wet.
626430_sm-.jpg

Pigments in the dried state.
626431_sm-.jpg

And with a coat of matte varnish.
626432_sm-.jpg

Next I prepared for the illumination effects, by applying a first light white dry-brush.
626433_sm-.jpg

And then the first colored light with the airbrush.
626434_sm-.jpg

The howitzers muzzle flash together with the illumination effect
626435_sm-.jpg

Not quite there yet.
626436_sm-.jpg

Sorry for the blurry image.
626437_sm-.jpg

Some of the light effects closer up.
626438_sm-.jpg

And the final effect for the howitzer :)
626439_sm-.jpg
Me likes :)

And last-not-least the Rambo in the rear hatch got his illumination effect.
626440_sm-.jpg

This pretty much concluded the painting stage for the vehicles and the terrain. Next is the Infantry.
As I was prepping the troopers I realized the Gunner lost his head...quite literally :)
626441_sm-.jpg

Digging through my heads box, I selected another Mad Robots head
626442_sm-.jpg

And finally I applied a first coat of Terracotta base color.
626443_sm-.jpg

Well, this is as far as I got over the last 2 weeks.
I hope the update was worth the wait :)
I look forward to your C&C.
Cheers
Klaus
 
Hey guys!
just a short update.
I'm still alive.
I had my shoulder operation and am recovering rather well.
I even started on a piece for a Halloween contest, but my shoulder isn't well enough for real painting.

So instead I did some clay sculpting :lol:
Maybe you want to look at it :

http://fischers-design-shop.blogspot.de/2014/10/finally.html
Cheers
Klaus
 
Take care Klaus. We'll be there when you're back.

Nylon Gag, then Klaus, is there a curse on SMA mates?
 

Latest posts

Back
Top