Revell B-26 Marauder 1/48

Ferris928

New Member
Joined
May 7, 2009
Messages
623
Hey I'm back!
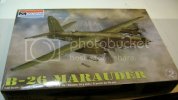
Started this 1/48 Revell B-26 Marauder today (off the stash). And I get to try out my new Renegade Krome Airbrush. :->
It's an older kit, but it's the only 1/48 B-26 available. Even with its older production stuff, it should build up nice. So far, I've only encountered 1-2 areas of concern.
If anyone has any suggestions or comments, please do so.
Here's my progress far:
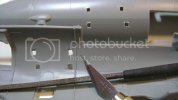
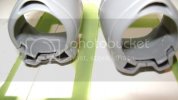
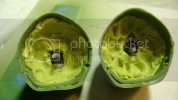
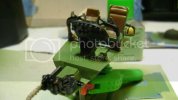
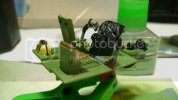
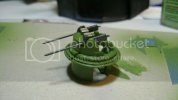
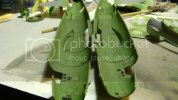
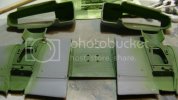
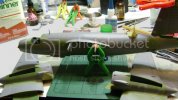
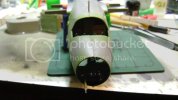
Bored out the areas for the fuselage guns.
DSC01491.jpg
DSC01518.jpg
DSC01493.jpg
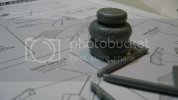
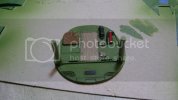
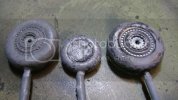
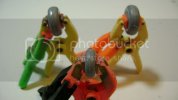
Glued the wheels. When they dry I'll mount them on sprue pegs for painting and such.
DSC01494.jpg
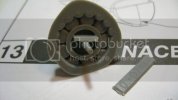
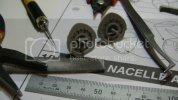
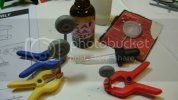
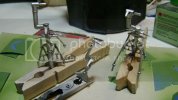
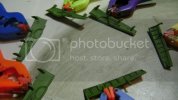
Cleaned up the props and used white glue to hold them for painting. Gonna clamp them when the glue dries.
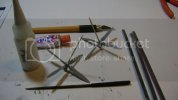
DSC01497.jpg
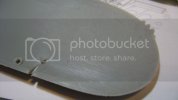
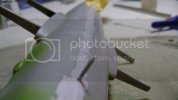
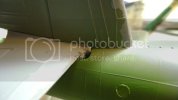
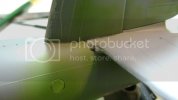
This is the only real snag I've come across. The right wing tip has a nasty fit. The pic makes it look worse than it actually is though.
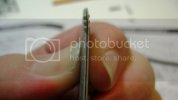
DSC01501.jpg
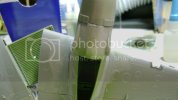
The sanding made it look better, but will have to use some filler, but that's ok. Revell uses ancient molds and I was aware and ready for that fact well before I began.
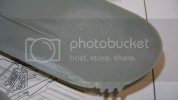
DSC01500.jpg
DSC01499.jpg
DSC01502.jpg
Makes me think of X-Mas. :)
DSC01503.jpg
The other wing went together fine.
DSC01505.jpg

Wheel wells / Engine mount things....
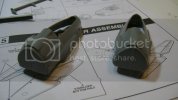
DSC01512.jpg

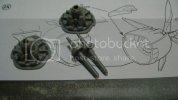
I then set up the prop spinners so they don't move backwards for later when I put the props on. I somewhat pointed them.
DSC01506.jpg
DSC01507.jpg
DSC01508.jpg
DSC01509.jpg
DSC01511.jpg
Rear wing
DSC01514.jpg
Bombs
DSC01515.jpg
Thanks for checking it out.
 
More progress.
Went through and started work on the landing gear and other seams and such.
DSC01522.jpg
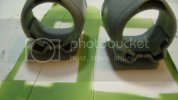
modelclamp
modelclamp.jpg
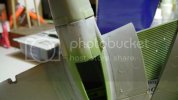
There were something like 5 injector marks on each of the main gear legs.
DSC01527.jpg
i used some liquid glue to help smooth things out.
DSC01528.jpg
Flattened the wheels a little.
DSC01529.jpg
DSC01532.jpg
mounted them for painting and such.
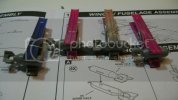
Then i went around and used a silver sharpe to check the wings and such for gaps.
More to come, thanks for checking it out! cheers!
 
I don't believe you have used enough clamps on the wings :p

On a more serious note, looks like a solid start. Looking forward to see the progress on this one.
 
Thanks guys!
Well, I got the main wings, rear wings, and gear bays filled and sanded. Didn't kill too many raised panel lines, went slow and careful.
Also did a base layer of glass black to the metallic parts, and got a bunch of interior green done.
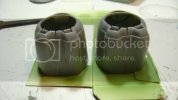
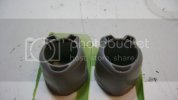
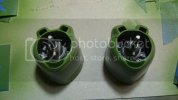
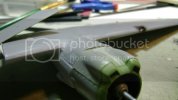
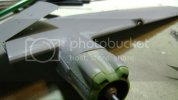
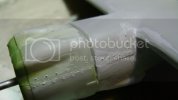
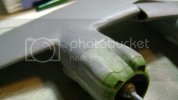
The engine cowlings are, how shall i say, ....interesting.
DSC01538.jpg
DSC01540.jpg
DSC01541.jpg
DSC01543.jpg
So far the biggest snag in the kit. Though they're coming along nicely (thank goodness) with a bit of tamiya putty, mr. surfacer 500 & 1000, and some lacquer thinner. I have to wait for all that to thoroughly harden before proceeding (hurry up and wait :( ) .
But on a another note, this kit is going quite well, for a kit (mold) as nearly old as I am. My P-61 Black Widow had far more fit issues and it's not much older than this kit. Hopefully I didn't just jinx myself by saying that. :)
Thanks for checking it out, Cheers!
 
Progress update:
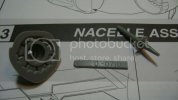
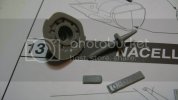
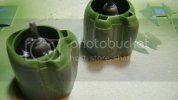
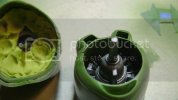
Pretty much got the engine cowlings fixed up.
DSC01546.jpg
DSC01547.jpg
DSC01549.jpg
I used some thicker Tamiya glue to really cement them in then I put Aves behind the engine faces.
DSC01548.jpg
------------------
On all the guns, I used Testors Gun metal lacquer (buffing). I don't think the pics show it too well. This is my first time using buffing metalizers, they came out pretty nice.
DSC01565.jpg
DSC01566.jpg
------------------
The landing gear and pro centers, I used Testors Aluminum Plate lacquer (buffing). The gear came out decent.
DSC01558.jpg
The props i have to finish yet.
------------------
Tonight i did the panel oil wash.
DSC01544.jpg
DSC01550.jpg
DSC01552.jpg
DSC01551.jpg
DSC01555.jpg
DSC01560.jpg
DSC01561.jpg
Thanks for checking it out!
 
Chemistry Lesson:

NEVER mix Windex and Lacquer Thinner.

See the results:
DSC01567.jpg
DSC01570.jpg
DSC01568.jpg
DSC01571.jpg
DSC01572.jpg
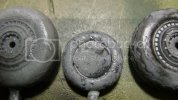
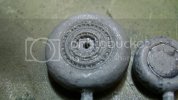
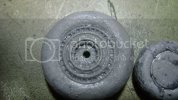
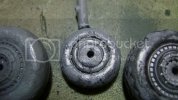
I wanted to clean the paint off and redo the wheels. My normal way is using Simple Green and an old tooth brush, usually it works great. The aluminum paint was lacquer based and the simple green doesn't really work on lacquers. So I thought that since Windex can be used to remove that metallic plate stuff on car model kits, it might work on lacquer. It wasn't, so then I thought maybe I'll mix in some lacquer thinner and get it all off in one fell swoop.
It took most of the detail instead of the paint. When I mixed them I heard the mix fizzing and knew that something wasn't right. 'should that be fizzing?'
1 main wheel was ok, the other is basically trashed and the detail on the nose wheel is more or less gone.
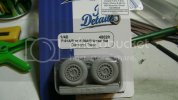
Thankfully it's a 'fixable' mistake. Resin is on the way.
 
B-26 Marauder by Revell Monogram nice kit. Off to a good start. I will remember the chem lesson. I use windex a lot to clean up my paint. I mostly use acrylic paints though.
 
Progress Report:
I assembled the fusalage. Used thin CA glue then used thinned Mr. Surfacer 1000 for filler, then some Tamiya putty for the bigger spots.
DSC01573-1.jpg
DSC01574-1.jpg
DSC01576.jpg
I also used the thinned putty mix to help fill in the nasty voids after attaching the main/wing gear bay engine mounts to the wings.
After all that dried, A sanding I went. I tried to take out an few raised panel lines as possible. I'm gonna try to bring them back later in the build.
I glued the engine cowlings to the wing and when it dries, I'm gonna have to break out the putty (again) and possibly some metal files to get things right.
DSC01588.jpg
DSC01589.jpg
DSC01590.jpg
DSC01591.jpg
DSC01592.jpg
DSC01593.jpg
DSC01594.jpg
I test fitted the rear wing and not to my surprise, I'm gonna have more work there.
Thanks for checking it out, Cheers!
 
Hey, Ferris, nice work, that's some fast progress, too! Everything is coming together nicely.

I'm a fan of Monogram kits, but even I'll concede that this one can have some fit issues. You're mastering them well.

Regarding stripping lacquer paint, I saw that you usually use Simple Green. For what it's worth, I use Super Clean, which removes chrome from chromed parts, and it's removed cured Testor's and Pactra gloss enamels, so it might help you in the future, if you have to remove lacquer.

And I like your use of clamps. Do those little plastic ones work well? I've been thinking of getting a barrel of them, like they sell at Harbor Freight, but I wasn't sure about their tension or pressure on finer pieces. Your SBS shows that they're pretty handy, though.

I'm looking forward to your next installments. I have this one in the stash, to be converted to a B-26 at Midway (requires some surgery), so I enjoy seeing as many builds of it as I can.
 
the Baron said:
I'm a fan of Monogram kits, but even I'll concede that this one can have some fit issues. You're mastering them well.
Thanks. :) With most Monogram-Revell kits, one should go into the build knowing that the kit will more than likely require additional work (Though I didn't think this much on this kit, wow!). But even though it is a true pain in the old tuckus, I really like their kits. And, only they offer certain subjects in 1/48 so you really have no choice in building theirs.
the Baron said:
Regarding stripping lacquer paint, I saw that you usually use Simple Green. For what it's worth, I use Super Clean, which removes chrome from chromed parts, and it's removed cured Testor's and Pactra gloss enamels, so it might help you in the future, if you have to remove lacquer.
I'll have to give it a shot.
the Baron said:
And I like your use of clamps. Do those little plastic ones work well? I've been thinking of getting a barrel of them, like they sell at Harbor Freight, but I wasn't sure about their tension or pressure on finer pieces. Your SBS shows that they're pretty handy, though.
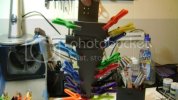
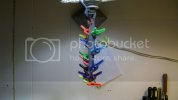
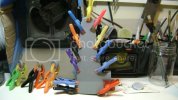
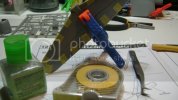
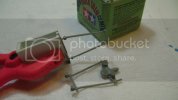
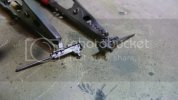
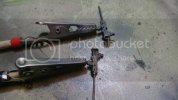
They're nice because they're cheep ($) and available. They are pretty rugged. They have a screw on the side for adjustment (mostly used to bring them back in line). The only 'bad thing about them that I've noticed, is that they have a hard time with round pieces unless you use the 1 grove that goes from front to back. see below.
DSC01527.jpg
DSC01526.jpg
If you place the round out of the grove, say to the right or left (up-down), the clamp will spit it out across the room. :(
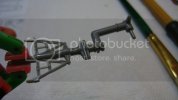
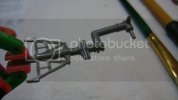
Also, they aren't the greatest for very small pieces like antennas or wing weights and such. That's why I came up with the home made clamp.
All in all, it's worth picking up a hoard if you can find them cheep.
Hope that helps.
Cheers!
 
Really surprised to see what Windex and Lacquer thinner did to those tyres. Brutal.

You have got some solid progress down - bit of a shame that the fit is not the best but it seems like you are all over it :)

Keep it up mate.
 
Update:
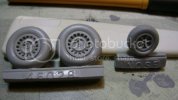
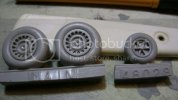
Received my resin wheels.
DSC01595.jpg
DSC01596.jpg
DSC01597.jpg
Started applying putty to the engine cowling sections.
and glued the rear wing in place.
DSC01606.jpg
DSC01605.jpg
These are after a bid of Filing to get a better fit.
Cheers!
 
Looking good Ferris,thats a lot of putty being used there !

From what I've seen though on some of the recent posts the Revell kits look like a lot of hard work.... not sure if I'd be rushing out to buy one anytime soon.... But hey this ones comig out great looking forward to seeing more :)
 
Thanks!
Yeah, unfortuneatly with Revell-Monogram it's a mix big of details. Some of their kits are superb in detail and fit, some require much more work. Looking up reviews and seeing previous builds are almost a must with them before purchacing or building. Then a thorough review of the parts and directions and in addition, DRY-FITTING is essential before gluing.
 
Certainly looks like hard work !!! but you'll get there .

Rookie ...its only 'old' re-release Revell kits that can be a bit of a chore ,the New releases are excellent . ;)

Chris.
 
Yeah, you have to consider the history of Revell and Monogram, when you look at their kits. Monograms first generation of plastic aircraft models included the venerable SBD, TBF, F4F and F6F kits, which are all still in production and available in Revell-Monogram's catalog. They date back to the late 50's or early 60's. The next generation improved in detail, eliminating operating features like dropping bombs and moving landing gear. Those include the P-47 bubbletop, the P-51B (in it's original boxing--the current RM P-51B uses a retooled mold), the P-40B and the P-39. By the early to mid-70s, they issued the large bomber kits, the TBD, and the P-80, F-86 and MiG-17, I think it was. I was a kid at the time, and the refinement in their design occurred as I got older and better able to handle basic model building skills. Today, I'll say of these kits that, while they may show their age compared to kits developed in the late '90s up till today, they are still good, decent kits that provide an enjoyable build out of the box, but that also provide an opportunity to stretch your scratchbuilding skills and superdetail them, just as we were shown back in the day by Shep Paine in the "Tips on Building Diorama" brochures that were packaged with some of the kits.

I think the new Ventura kit is very much in the tradition of the older Monogram kits.

So sure, I'll build Accurate Miniatures' SBD and TBF kits, but I still have the old Monogram kits in my stash, for some nostalgia building ;)

I should add, too, that for some subjects, like this one, and the B-17 and B-24, RM is still the only game in town, no one else has issued the kit in this scale.
 
It's a little more work than a kit from a newer hold, but you're doing a great job. Looking forward to the updates.
 
Yeah, Ferris,
This is coming along very well. Your on the final approach
here, Boss. Get the body work out of the way and it's all
downhill from there.
 

Latest posts

Back
Top