You are using an out of date browser. It may not display this or other websites correctly.
You should upgrade or use an alternative browser.
You should upgrade or use an alternative browser.
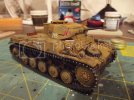
Tamiya's 1/35 Pz.II F/G
- Thread starter wyoroy
- Start date
panzerace007
New Member
- Joined
- Dec 17, 2010
- Messages
- 2,118
WYOROY ,
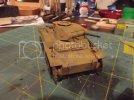
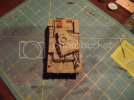
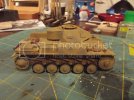
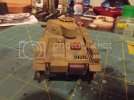
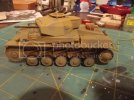
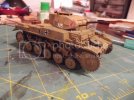
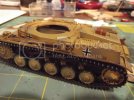
Cool lil' Panzer !!! I love th Desert Camo , I think you nailed it !! What colors did you use ?
The washes look good , when dry, I'd dust it up with some pigments & then you have you self a Good Lookin' Pz. II from th Sand Box !! You did a good job with this Ancient Tamiya kit !! One of th hardest things with this kit are th flimsy Sprockets - you got 'em dead on !!
Rock-On with your 1st. Armor build !!
\m/
wyoroy
New Member
- Joined
- Dec 31, 2011
- Messages
- 799
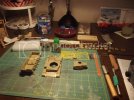
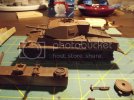
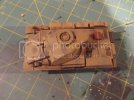
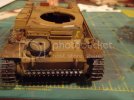
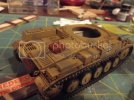
Thanks for the kind words panzerace007 and spud. I used all Model Master enamel paints. Primer was Italian Dark brown #2111, base coat Afrika Panzer Grunbraun #2099 the spots are Afrika Panzer Khakibraun #2098. The wash is Raw Umber. Still need to do the road wheel, front, back and the turret.
I have to say I love building armor. So much so that I want to mostly armor this year ;D
I have to say I love building armor. So much so that I want to mostly armor this year ;D
panzerace007
New Member
- Joined
- Dec 17, 2010
- Messages
- 2,118
Ditto !spud said:she is starting to pop now 8)
Very cool lookin. I'd say you nailed th Afrika colors !!
wyoroy
New Member
- Joined
- Dec 31, 2011
- Messages
- 799
John, it's not a bad little kit. All I did was use some sheet palstic to close off some open areas on the underside and drill out the muffler and gun barrels. Thanks for the kind words. You guys a such great confidence builders ;D Please feel free to give me tips and ideas seeing how I'm new to the Dark Side 8)
schweinhund227
New Member
- Joined
- Jun 24, 2009
- Messages
- 2,511
Nice! You are putting out some nice models my friend!
Keep up the good work!
Keep up the good work!
wyoroy
New Member
- Joined
- Dec 31, 2011
- Messages
- 799
I have a question for the veteran armor guys. I'm at the point where I will be adding some dust to the panzer. I have some Warpigs pigments; natural sienna, natural yellow and havana ochre. Since this is a DAK panzer what colors should I use, how and where do I apply them?

