Trumpeter Russian 2S3 SPG

Elm City Hobbies

Active Member
Joined
May 7, 2009
Messages
3,239
Well, I told myself I wasn't going to start anything new until I finished up a shelf queen. That lasted all of 5mins as this one has been screaming at me since I got it.
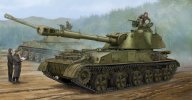
_si_ProductFiles_tsm5543.jpg

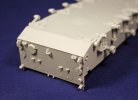
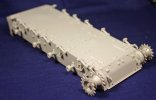
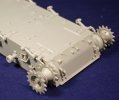
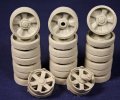
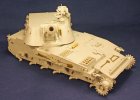
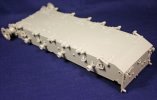
Not a whole lot done on it so far, lower hull and road wheels are finished.
IMG_3110-vi.jpg

IMG_3111-vi.jpg

IMG_3112-vi.jpg

IMG_3113-vi.jpg

IMG_3114-vi.jpg

Everything has gone together quite well so far, the road wheels were time consuming as they of course mold them as brand new rubber on the wheels, which would never be that way unless it was a brand new vehicle just off of the line, or maybe one kept for parades and not much use. So alot of sanding to take out the lines on the rubber, as well the wheels had a decent mold line down the middle of them as well, and still look like some could still use a swipe or 2 (at least looking at the picture above).

Fenders are done as well, just hesitating to put them on as there isn't a whole lot of clearance between the fender and the drive sprocket, and of course no poly caps in these, so the drive sprocket is glued in place (hindsight being 20/20, probably should have left them off). Might be able to finesse the tracks on with the fender in place. Might be a test in patients! LOL

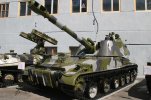
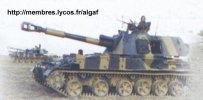
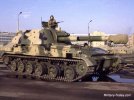
Haven't decided on how to paint it, leaning towards something like this:
2s3_akatsiya_l2.jpg
74464622.jpg


or

2s3_02.jpg

or even this....

2s3_ak10.jpg

However that one is Algerian, and not Russian.

Kinda digging the first one, but more like this (the one on the right)

soviet-2s3-152mm-sp-howitzer-trumpeter-05543.jpg


Seems to have more green than beige and looks a little better to the eye I think.
 
you just have to love the detail trumpy piles into there kits
 
Lots of detail yes. Lots of little fiddly parts as well. Been working on it all afternoon and feel like I haven't accomplished much!
 
One of those funky camo's would look sweet ;D Looks like a nice kit !

Chris.
 
Been wanting to see how one of these builds up, nice start with the wheels...the camo scheme options are pretty enticing no matter which one you choose.
 
Alrighty, a little more work done on this.

Upper hull really kicking my behind with all of the little parts. Sit and work for a couple of hours, and doesn't look like you get much done.

So, upper hull finally finished up. The kit curiously doesn't come with any tools, no shovels, pick axe, etc, etc.

So, I went looking through some kits for unused tools and came across an old Italeri LAV 25 Mortar Carrier I cut up to use with something else, with all of the tools still intact on the trees. So yes they are US tools and may not be accurate to Soviet ones, but a shovel, is a shovel, and looks better than having no tools and just tool hangers on the side of the vehicle.

Also using a set of Eureka T-55 tow cables (which the kit doesn't come with either), so I have installed the tow clasp into their holders, and once the kit is painted I will add the actual cable to the kit.

Enjoy!

IMG_3834-vi.jpg

IMG_3836-vi.jpg

IMG_3837-vi.jpg
 
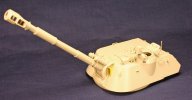
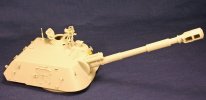
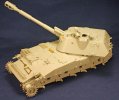
Well a bit of work on this kit this week. Save for the tracks and a few odds and ends, the building stage of this kit is coming to a close.

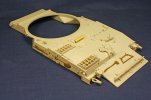
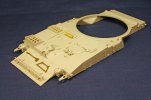
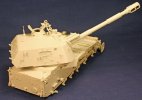
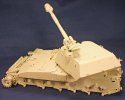
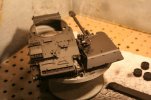
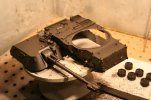
Kit goes together well. Still some places that need some putty. The barrel for sure, especially the muzzle break. Upper and lower hull halves, upper and lower turret halves, depending on how careful you are could need a little, but nothing any of us couldn't handle.

A few things about the kit so far. No pioneer tools, which I took care of with some tools from another kit. And no ammo can for the MG. Trumpeter goes to the trouble of creating and excellent looking multi-piece MG mount, and doesn't include an ammo can to go in the holder, just don't get that. I thought about using a US .50 cal can....but any of the reference photos I have show a much larger ammo can in place. Just looks silly with a gun mounted in the cradle, but no ammo can and an empty rack. So I am going to have to look for something to replace it. or maybe try and scratch build a box to look like an ammo can.

In the meantime....here are some more pics of the build:


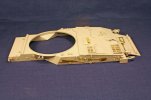
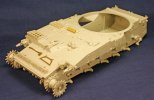
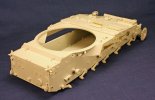
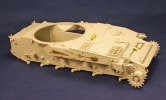
Hull

IMG_3841-vi.jpg

IMG_3842-vi.jpg

IMG_3843-vi.jpg

Turret

IMG_3845-vi.jpg

IMG_3846-vi.jpg

IMG_3847-vi.jpg

Together

IMG_3848-vi.jpg

IMG_3849-vi.jpg

IMG_3851-vi.jpg

IMG_3852-vi.jpg


Next up...separating about 230 track links from their sprues. Oh the joy of indy link tracks! LOL
 
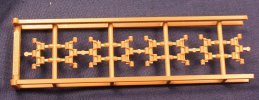
For anyone wondering, here is what the tracks look like on the sprues.

IMG_3853-vi.jpg

8 links per sprue, 5 sprues per bag, 6 bags, or 240 links total.

While the instructions don't tell you how many you need, I got a tip from a friend that said to actually count how many they have on the tank where they tell you to assemble the tracks.

Comes out to 114 or 115, so roughly 230. Nice that they give you a few spares, will likely need them.

So the adventure begins, they are supposed to click together and be workable, of course after they are all separated and cleaned up.

I think what I am going to do is actually cut the links from the box like sprue, this way I can lay them flat and use a knife to get the links from the sprue. The knife will get closer to the part than sprue cutters will...which will leave less to clean up.
 
Wow, there's a lot of nice detail on the hull and that turret's got a big nose

Gonna look fantastic under paint etc. Haha Tracks, the best part of any build ;D
 
Well....that was easy.

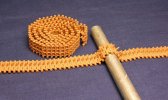
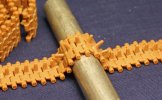
Cut out the the sprue cage around the track links, then on a flat surface ran a knife down through the sprue attachment point, which gave me less of a nub to clean up. Once all the links were separated, I went through them again and basically just scrapped off what was left of the attachment point. Then just click together. No glue needed. Very nice tracks. These ones came with the kit, but the later Trumpeter kits either come with, or you can buy the clickable ones separately. I would like to see them come with the kit, even if it meant an extra $5-$10 for the kit, it is definitely worth it!

IMG_3854-vi.jpg

IMG_3855-vi.jpg
 
Lovely work, Scott! Seems like a winner kit!
Cheers,
Guido
 

Latest posts

Back
Top