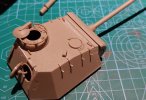
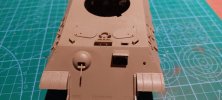
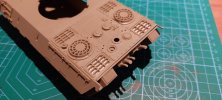
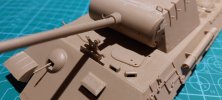
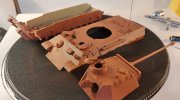
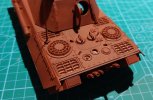
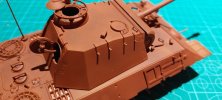
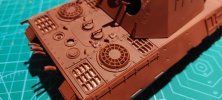
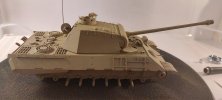
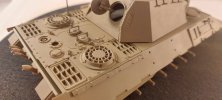
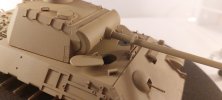
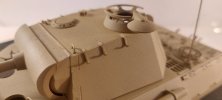
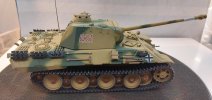
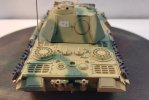
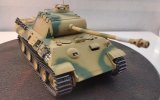
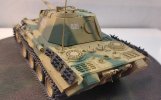
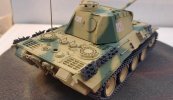
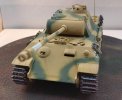
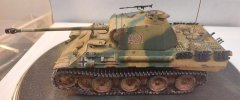
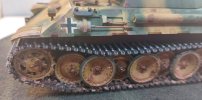
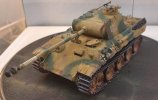
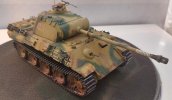
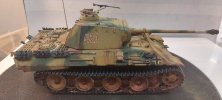
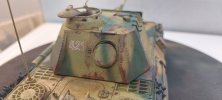
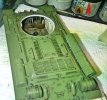
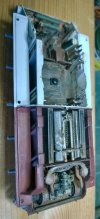
My 2nd build started

Pantherman

Well-Known Member
Joined
Feb 10, 2022
Messages
3,403
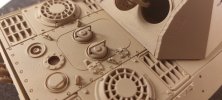
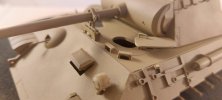
So I have started on my second build. Decided on the tamiya panther A as it was fairly cheap and I liked the look of it. Would welcome any tips or issues other's have found with it.
Irishvic
 

Attachments

  • 20220407_183003.jpg
    20220407_183003.jpg
    374.3 KB · Views: 12
  • 20220407_183014.jpg
    20220407_183014.jpg
    256.3 KB · Views: 10
  • 20220407_183100.jpg
    20220407_183100.jpg
    153.8 KB · Views: 12
  • 20220407_183051.jpg
    20220407_183051.jpg
    181.3 KB · Views: 12
  • 20220407_201415.jpg
    20220407_201415.jpg
    141.1 KB · Views: 12
So I have started on my second build. Decided on the tamiya panther A as it was fairly cheap and I liked the look of it. Would welcome any tips or issues other's have found with it.
Irishvic
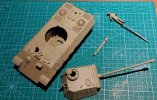
Looks like a great start. I don't know how your wallet is placed, but I would suggest looking to see if you can replace the rubber band track. Don't panic.... Yes Fruil and other workables will be two or three times the cost of the Panther, however if you investigate, Tamiya Produces a good set of Single link tracks for the Panther in hard styrene at a sensible price. I would guess the tracks for the D would fit an A Varients Panzer V.
You may find them going cheap on the Web, well worth a search as they make a hell of a difference. OK cutting off sprue is boring, but assemble and Glue in sections. I use slower type liquid glue for these, wait 20 mins or so, then fit the sprocket and idler sections. Then build the top and bottom track runs to fit and add the sag in the top run. Then either fully build the run, allow to dry and paint on the wagon, or remove the sections, paint off the vehicle and once done attach to tank, glue and your good to go.

If removing to paint: DON'T add bazooka plates until the paint and glue on wheels to track is fully dry. Just paint and weather armour off the tank.

If you have hard spare track links to attach in the kit, the addon set is the same quality.

Bronco offer working addon tracks for Panthers, but I have no idea what they are like.

Have Fun
Thanks for the advice, I will have a search and let you know the result.
Irishvic
 
So I have started on my second build. Decided on the tamiya panther A as it was fairly cheap and I liked the look of it. Would welcome any tips or issues other's have found with it.
Irishvic
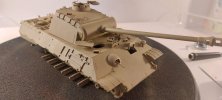
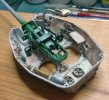
Used the airbrush for the first time to get a primer on, looks OK and the airbrush gives a better finish than just brushing.
Irishvic
 

Attachments

  • 20220507_162801.jpg
    20220507_162801.jpg
    234.7 KB · Views: 6
  • 20220507_215956.jpg
    20220507_215956.jpg
    202.2 KB · Views: 6
  • 20220507_220027.jpg
    20220507_220027.jpg
    166.8 KB · Views: 6
  • 20220507_220012.jpg
    20220507_220012.jpg
    156.5 KB · Views: 6
It is true, even a bad airbrush session USUALLY has a better finish than hand brushing, or rattlecanning.

Guessing based on primer colour... are you going to rust this beast out?
 
Base coat done. Wheels, tracks and assembly next. Then camo.
 

Attachments

  • 20220515_092759.jpg
    20220515_092759.jpg
    138.9 KB · Views: 7
  • 20220515_092815.jpg
    20220515_092815.jpg
    160.9 KB · Views: 6
  • 20220515_092853.jpg
    20220515_092853.jpg
    113.7 KB · Views: 6
  • 20220515_092908.jpg
    20220515_092908.jpg
    139.1 KB · Views: 6
  • 20220515_093000.jpg
    20220515_093000.jpg
    168.2 KB · Views: 5
  • 20220515_092904.jpg
    20220515_092904.jpg
    124.7 KB · Views: 6
  • 20220515_092749.jpg
    20220515_092749.jpg
    169.1 KB · Views: 7
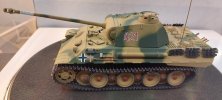
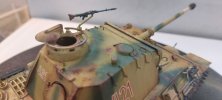
Just an update for you. First time I have airbrushed camo but fairly pleased with it. Had a couple of coats of matt varnish ready for weathering, chipping and the rest. Feel free to comment as any feedback always helps.
Irishvic
 

Attachments

  • 20220605_152639.jpg
    20220605_152639.jpg
    178.9 KB · Views: 8
  • 20220605_152708.jpg
    20220605_152708.jpg
    180.3 KB · Views: 7
  • 20220605_152740.jpg
    20220605_152740.jpg
    175.4 KB · Views: 7
  • 20220605_152655.jpg
    20220605_152655.jpg
    245.7 KB · Views: 5
  • 20220605_152728.jpg
    20220605_152728.jpg
    193.2 KB · Views: 6
  • 20220605_152717.jpg
    20220605_152717.jpg
    194.8 KB · Views: 7
  • 20220605_152646.jpg
    20220605_152646.jpg
    271.4 KB · Views: 7
Have done a bit more work. Just got crew, chain's, few extra bits to add. I will post the finished build later but would appreciate any feedback from the weathering as first time I've done it on a light base. Irishvic
 

Attachments

  • 20220612_202653.jpg
    20220612_202653.jpg
    156.4 KB · Views: 4
  • 20220612_202703.jpg
    20220612_202703.jpg
    197.6 KB · Views: 3
  • 20220612_202714.jpg
    20220612_202714.jpg
    215.3 KB · Views: 4
  • 20220612_202722.jpg
    20220612_202722.jpg
    198.3 KB · Views: 3
  • 20220612_202730.jpg
    20220612_202730.jpg
    170.6 KB · Views: 5
  • 20220612_202813.jpg
    20220612_202813.jpg
    147.5 KB · Views: 5
  • 20220612_202831.jpg
    20220612_202831.jpg
    116.8 KB · Views: 5
Good Evening mate, Nice looking straight off the assembly line Panther. So where too next with giving the effects of having its Claws and teeth having enjoyed some Allied armour for a snack?
I shall watch for any developments and will of course help if I can.

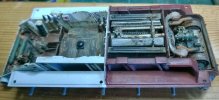
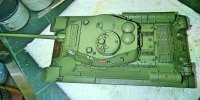
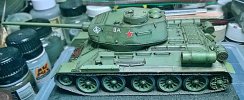
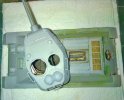
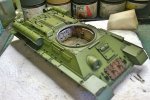
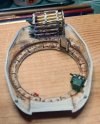
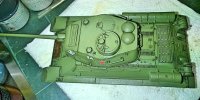
My 251/16 is slow in progress especially as I have been adding some more effort into a 1/48 Hobbyboss T34/85. An amazing kit as it has a full interior and is quite amazing. Here are a couple of shots to show you what I mean.

Aye' John
 

Attachments

  • 03_22_2019_12_09_14_en-GB_Imagine_Cam-01.jpeg
    03_22_2019_12_09_14_en-GB_Imagine_Cam-01.jpeg
    146.5 KB · Views: 12
  • fotor_06_16_2019_17_01_11_en-GB_Imagine_Cam-01.jpeg
    fotor_06_16_2019_17_01_11_en-GB_Imagine_Cam-01.jpeg
    212.8 KB · Views: 12
  • fotor_07_19_2019_12_16_17_en-GB_Imagine_Cam-01.jpeg
    fotor_07_19_2019_12_16_17_en-GB_Imagine_Cam-01.jpeg
    205.9 KB · Views: 11
  • 05_14_2019_16_02_02_en-GB_Imagine_Cam-01.jpeg
    05_14_2019_16_02_02_en-GB_Imagine_Cam-01.jpeg
    215.8 KB · Views: 8
  • fotor_06_16_2019_17_00_27_en-GB_Imagine_Cam-01.jpeg
    fotor_06_16_2019_17_00_27_en-GB_Imagine_Cam-01.jpeg
    206.3 KB · Views: 8
  • 03_10_2019_16_56_02_en-GB_Imagine_Cam-01.jpeg
    03_10_2019_16_56_02_en-GB_Imagine_Cam-01.jpeg
    226.1 KB · Views: 9
  • fotor_06_16_2019_17_01_11_en-GB_Imagine_Cam-02.jpeg
    fotor_06_16_2019_17_01_11_en-GB_Imagine_Cam-02.jpeg
    214.6 KB · Views: 10
  • 03_10_2019_16_55_42_en-GB_Imagine_Cam-01.jpeg
    03_10_2019_16_55_42_en-GB_Imagine_Cam-01.jpeg
    261.3 KB · Views: 10
  • fotor_06_16_2019_17_00_47_en-GB_Imagine_Cam-01.jpeg
    fotor_06_16_2019_17_00_47_en-GB_Imagine_Cam-01.jpeg
    340 KB · Views: 10
  • 03_22_2019_12_09_14_en-GB_Imagine_Cam-02.jpeg
    03_22_2019_12_09_14_en-GB_Imagine_Cam-02.jpeg
    152.1 KB · Views: 10
Wow, that's some seriously cool work. Feels like you could just jump in and start it up. I'm impressed. Maybe one day (and a healthier bank account) i will get there. Think I have alot of practicing to do but then that's the whole point of it i suppose. Appreciate the help with mine, I didn't want to go mad with this one. What would you suggest for battle damage? Irishvic
 
Good Evening mate, Nice looking straight off the assembly line Panther. So where too next with giving the effects of having its Claws and teeth having enjoyed some Allied armour for a snack?
I shall watch for any developments and will of course help if I can.

My 251/16 is slow in progress especially as I have been adding some more effort into a 1/48 Hobbyboss T34/85. An amazing kit as it has a full interior and is quite amazing. Here are a couple of shots to show you what I mean.

Aye' John
Wow I love this. Something I'd like to do when I have enough skills and experience. I need to get rolling!
Regards WD
 
It's too late for me to add anything helpful but it isn't necessary. Great job on that tank!! Thank you for posting this.
 

Latest posts

Back
Top