banistersmind

Active Member
Joined
May 28, 2024
Messages
57
Hello!

First post here! In recent weeks, I managed to track down a 1992 issue of the MPC Imperial Shuttle. This kit has been on my bucket list for a long time. I built one around 25 years ago but I was never happy with it and eventually it was junked. I promised myself that if I found another kit, I would go all out and paint it, light it and display it properly.

So I've had this kit for a few weeks and I've made some progress with it. I've explored different lighting options for it and I've settled on components from Light My Bricks here in Australia a company that provides lighting solutions for Lego. Their products are super easy to work with - being all plug and play - and I believe it'll really set my build off nicely.

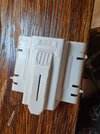
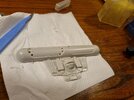
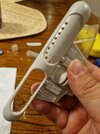
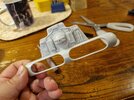
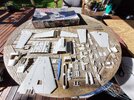
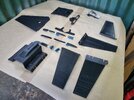
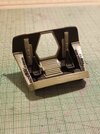
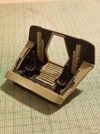
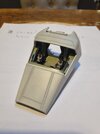
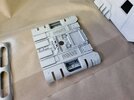
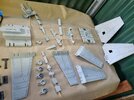
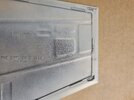
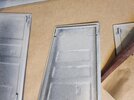
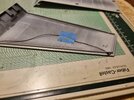
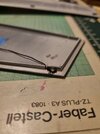
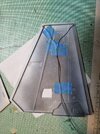
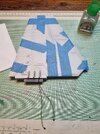
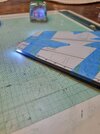
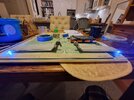
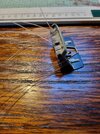
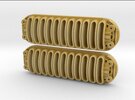
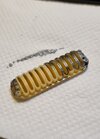
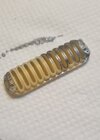
Here's some early images of my work thus far. I've completed the sprue trimming and ridding the edges of flashing, followed by careful sanding and smoothing. I've ordered some engine vents inserts from Shapeways which I've seen on other builds and I think look really good.

I don't plan on altering the model kit. While I recognise that it has some quirks typical of these old MPC kits, I've always liked the look of it and I don't have the confidence to do what I've seen a lot of other modellers do with theirs - total respect to them of course.

I do plan on individualising my build in terms of painting and detailing. While I love this particular ship, I've always felt the original on-screen colour scheme to be a little bland. For example, I intend to paint objects like the gun turrets and landing gear struts in a gun metal acrylic and I will weather my build a little differently to other examples I've seen.
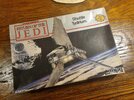
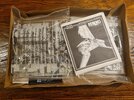
1000018537.jpg

1000018539.jpg

1000018658.jpg

1000018661.jpg

1000018662.jpg

1000018667.jpg

1000018744.jpg

1000018746.jpg

1000018749.jpg

1000018754.jpg
 
These subsequent posts are duplicates of posts I've made in the Star Wars Group Build thread. I wanted to collect them here to show my progress over the past month.

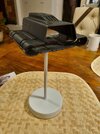
Here are some undercoating pictures. I undercoated in black so I can bring out some shadow when I eventually top coat. I used a Vallejo primer and I'll topcoat with a Tamiya Insignia White (AS-20) which seems to be the colour of choice for a lot of Star Wars craft.

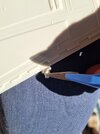
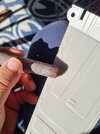
The undercoating process has helped me to identify areas on the model that need further sanding - especially the main body portion. These MPC kits were notorious for their ill-fitting parts but with a bit of work and some application of putty later, I should be able to make it look pretty flush.
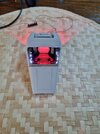
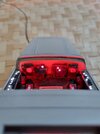
The other thing I want to do - a dream of mine as part of this build - is to install lighting for the engines. So, I've gone ahead and *gently* scribed out the exhaust ports with a scalpel blade and a hand drill. It was actually easier than I thought to achieve. It just needed a lot of patience and about 4 cups of coffee. I intend inserting some exhaust ports courtesy of Shapeways. I know these aren't film accurate but I never liked the plain-ness of the original engines. I intend to do a few things differently with my build to individualise it to my taste.

1000019041.jpg
20240623_120612.jpg20240622_184319.jpg20240622_184747.jpg20240622_184319.jpg20240620_172328.jpg20240620_171427.jpg
 
Last edited:
Some cockpit detailing and first pass top coat with the Tamiya AS-20. I used a liquid mask for the first time I feel like it worked really well to get the cockpit looking nice. The pilots were difficult to paint but I got there eventually.

20240618_115219.jpg20240623_134616.jpg20240624_183648.jpg20240624_183813.jpg20240625_120531.jpg20240625_120542.jpg20240625_163514.jpg20240623_133403.jpg20240623_133357.jpg
 
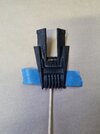
First stage electronics. Wing and stabiliser lighting. For these, I'm using LED's from Light My Bricks. I had to dig channels in the plastic in order for the lights to sit correctly. While I should have used a Dremel for this, Ianaged okay with a surgical scalpelI. 'll clean these up once assembled. These lights will pass through a flashing circuit which has a 2 stage switch so I can adjust the flashing speed. As I've mentioned earlier in the thread, this lighting kit is all plug and play and it's super simple to put together. I had to make adjustments to the "grappling claws" that hold the wings to the main hull but these are invisible when put together.

20240625_115936.jpg20240625_115946.jpg20240626_200355.jpg20240626_200414.jpg20240629_132600.jpg20240629_133403.jpg20240629_133658.jpg20240626_204518.jpg
 
First ever attempt at working with fibre optics. I watched a few YT videos to see how other modellers achieved this and I thought I would try it myself. There was one particular video that was really helpful.

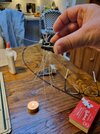
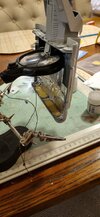
I pre-drilled 0.5mm holes in the cockpit panels while I waited for the 0.5mm filament to arrive from China. I ordered a couple of metres of it and I only just came away with enough. The average length of each filament was about 10cms. I wanted to give myself enough leeway for trimming and mistakes. After threading them through the holes, I flared the ends with a tea light candle then I divided the filaments roughly in two and passed each branch through some 5mm heat shrink tubing. I then used some Elmer's Glue to fix the heat shrink tubing in place. I then lined the underside of the nose with aluminium foil (bearing in mind I primed it as well with black) then I passed both branches into a final single piece of heat shrink tubing and fixed the LED to the other end, ensuring that there was no light bleed from the tube. Once it was all glued in place, I tested it and was surprised at just how successful it came out! Sandwiching the underside of the cockpit proved to be a bit of a challenge but I got there in the end and with a bit of putty and some touching up, I think it will look good. I'll also touch some transparent colours to some of the lights in the cockpit to give a little variation. You can see the 6 plug expansion board there which I've been using with a USB portable charger to test everything. Later on, all the lights will be plugged into a pair of 12 plug expansion boards which I'll mount inside the main hull.

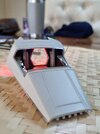
Now, the reason I cut the cockpit door out of the back panel is answered here. I placed a red LED on the ceiling of the collar that connects the cockpit to the main hull. I'm hoping, when lit it will cast an appropriately ominous "Sith-like" glow on Darth Vader and you'll be able to see it when you peek through there.

20240703_162443.jpg20240703_162456.jpg20240706_155326.jpg20240706_155240.jpg20240706_155258.jpg
 
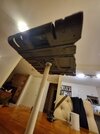
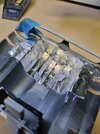
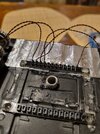
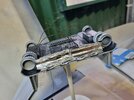
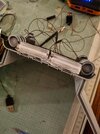
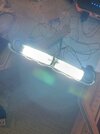
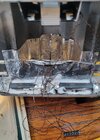
Lining the engine area with aluminium foil and building the mounts for my "engines" (courtesy of Light My Bricks). For the mounts, I cut a 5mL syringe in half, primed the halves then glued aluminium foil onto them the mounted them into the engine area - lining them up with the exhaust ports. I then glued the light bars in place and ran the wires back to the 2 expansion boards which I've glued in place. I've installed the landing lights in place and the wing lights as well.

Here's a question - should I have the landing lights on the flashing circuit or should I leave them static?

I'm happy with the engine test so far. Looking forward to installing my Shapeways engine inserts.

20240701_102221.jpg20240629_194224.jpg20240701_104218.jpg20240703_183407.jpg20240703_183359.jpg
 
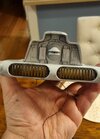
Finally got my got my Shapeways MPC shuttle engine inserts which I've been waiting on for a month - and I almost caused the first instance of major damage right out of the gate.

The first image doesn't show it but the vents for these aren't hollow all the way through so I thought I would have to scribe out the holes or drill them myself - which I commenced doing. However, because they are 3D printed, the plastic turns out to be a lot more delicate than I'd anticipated and the first couple of holes really caused some damage to the material. I immediately stopped and I thought I'd ruined them. As I was assessing the damage with my phone's light, I realised the plastic material itself is quite transparent and the light passed through it quite well. So I made the decision to abandon drilling out the vents and I patched up the holes with some glue, then I matched the colour of the inserts as best I could and painted the area I damaged. I actually did a reasonable job - so much so, it would take an eagle eye to spot it.

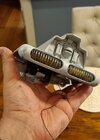
I proceeded to painting them with the gun metal grey I've used for the main guns and landing gear and then fixed them in place. They fitted in really well and I lined them out with additional aluminium foil before glueing them in place.

In the course of doing this, I decided to move the light tubes and their backing mounts back and glue them directly to the backs of the engine inserts.

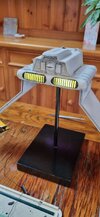
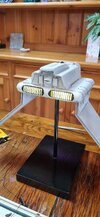
The result came out better than I anticipated. I will need to touch up areas on the finials to address some of the light bleed in between each one but I'm really happy with the engine glow effect. I would definitely recommend the tan version of these inserts (as opposed to the grey version) because the resultant yellow glow looks really cool!

Screenshot_20240725_203128_Opera.jpg20240722_165522.jpg20240722_165510.jpg20240722_184859.jpg20240722_184917.jpg20240722_184921.jpg20240723_093120.jpg20240723_113453.jpg20240723_113459.jpg
 

Latest posts

Back
Top