1/35 M1130 TACP Stryker & 1/72 M1126 ICV Stryker with slat armor
- Thread starter Bulldog 09
- Start date
Sudsy
New Member
- Joined
- Apr 21, 2013
- Messages
- 6
So far, this TACP Stryker looks like the one I rode in Mosul Iraq... Add some more (scale) moon dust, and it'll resemble the one I rode in Rawah...
Fantastic work here! I've got an AFV Club TACP Stryker I've been working on since 2009 that also now has 2500+ miles of travel (from Fairbanks AK to Omaha NE) that I need to finish up some day.
When you get past the suspension let me know, I can dig up a few pictures of a 2005/2006 era TACP Stryker for you (the ones from Mosul and Rawah) from the 172nd SBCT if that is the time frame you want to model them. This was the era when they were first modified CV's and still had the wood, sand bags, and kevlar blankets strapped to the slat armor on top for the crew protection around the hatches. Actual armor kits came a bit later (and were first made from improvised materials and welded together in theater). I'll PM or email those as they are personal pictures...
Once again, its coming along beautifully, especially the way you simulate the fading paint on the bottom of the vehicle.
bdr65
" Ouch, Cut me finger again "
- Joined
- Feb 9, 2013
- Messages
- 320
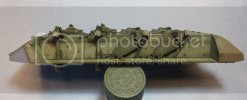
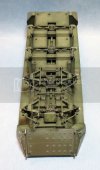
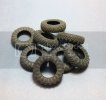
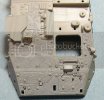
Bulldog 09 said:Thank you everyone for the great feedback. Ok,its been a couple of weeks since my last update, so I figured I would post some more progress. Work, family, and working on my duel degrees have left me with little time the last couple of weeks, but I did manage to get some building in. I was able to finish, paint, and weather the suspension area of the TACP Stryker. To me the color looks a lot better after the washes where applied (pictured), and darkened up some when I coated it with Future (not pictured). The pinner compartment in the third photo in just set in place for now, I will attach it after the upper and lower hulls are glued together. I was also able to get the tires weathered and ready for the wheel, which is next on my agenda. As for the 72nd Stryker, I started removing the detail on the right side and adding non-skid to the upper surface. My goal this week and over spring break is to catch up on the small Strker and start on the top side of the 35th Stryker. More pictures to come in the next week or so. PLEASE FEEL FREE TO GIVE ME YOUR FEEDBACK, COMMENTS, CORRECTIONS , AND CONCERNS. Again armor is not my strong point so any help will be much appreciated. Thanks for looking and have a great day.
Dave Fassett
That undercarriage looks fantastic. No need for correction in this regard ;D Awesome detail 8)
Bulldog 09
New Member
- Joined
- Aug 14, 2012
- Messages
- 28
Thank you all for the outstanding feedback. Well after many weeks I AM BACK [H]. For the last three years model building has been taking a back seat accept on school breaks and holidays. This was a must when you are a full-time student, father, husband, and employee. Well no more, on Friday, 10 May, I graduated with dual degrees. So with this milestone behind me, my time is now wide open for building. I hope to post some photos here within the week. Again thank you all for the outstanding feedback.
Dave Fassett
Dave Fassett
Bulldog 09
New Member
- Joined
- Aug 14, 2012
- Messages
- 28
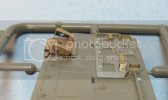
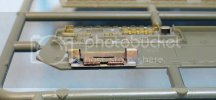
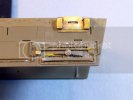
Alright update time. I will start off with the 72nd Stryker first. Non-skid is finished, PE antenna bases in place, drivers hatch and winch cover is finished. The drivers hatch only lacks weathering and a wash, I still also have to install the reflective viewing ports.
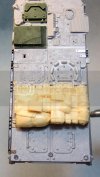
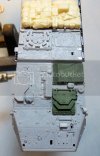
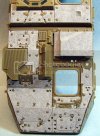
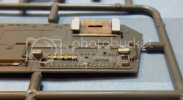
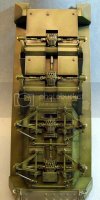
Next up 35th build. Started applying non-skid surface (by hand), rebuilt tool rack and HF coupler rack, and last but not least gave the underside a coat of future to darken things up a little.

Thanks you all for looking and PLEASE FEEL FREE TO GIVE ME YOUR FEEDBACK, COMMENTS, CORRECTIONS , AND CONCERNS.
Dave Fassett


Next up 35th build. Started applying non-skid surface (by hand), rebuilt tool rack and HF coupler rack, and last but not least gave the underside a coat of future to darken things up a little.


Thanks you all for looking and PLEASE FEEL FREE TO GIVE ME YOUR FEEDBACK, COMMENTS, CORRECTIONS , AND CONCERNS.
Dave Fassett
Bulldog 09
New Member
- Joined
- Aug 14, 2012
- Messages
- 28
Thank you Terry.

