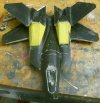
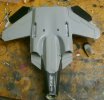
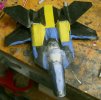
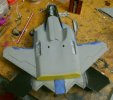
1/72 YF-23 to 1/144 "Quinjet"

Quaralane

Well-Known Member
Joined
May 22, 2009
Messages
11,263
Decided to take a little break from the Enterprise build and do something different to help clear my mind a bit.

So, to that end, I decided I'm going to take my old 1/72 Italeri YF-23 Black Widow and convert it into a 1/144 "Quinjet" like aircraft for my Omega 7 group.
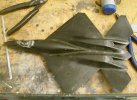
yf23-quinjet-01.jpg

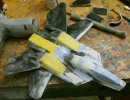
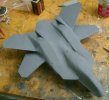
Only having a vague idea what I wanted to do with this, I started by making some cuts to start making the craft smaller that my Changewind One build, as well as giving it some distinctive looks of its own
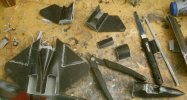
yf23-quinjet-02.jpg

Glued the shorter nose into place, and laid the engines into position where I think I want them.
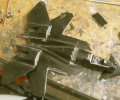
yf23-quinjet-03.jpg

Okay, have the engines glued into their new spots, and a filler panel placed to start working on smoothing things a bit
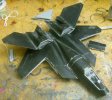
yf23-quinjet-04.jpg

Youtube link:
YF 23 to Quinjet Part One
 
So much for a weekend update.....

Update time after some layover.

Used some sheet styrene to fill in the front parts on the engines and give some contour
yf23-quinjet-05.jpg

I used the old kit missile bay doors to close off the shortened missile bay
yf23-quinjet-06.jpg

Filled in the back between the engines with some sheet styrene.
Then started filling the gaps with Aves Apoxie Sculpt.
yf23-quinjet-07.jpg

Filled in the back engine deck hole with more sheet styrene
yf23-quinjet-08.jpg

Preliminary sanding work, as well as filling the kit cockpit opening with Aves to construct the new cockpit
yf23-quinjet-09.jpg

Filled the seams under the missile door as well as the ones formed when I shortened the body.
yf23-quinjet-10.jpg

What should hopefully be the final Aves work on the top of the "Quinjet"
yf23-quinjet-11.jpg

Youtube link:
YF 23 to Quinjet Part Two
 
I like what you're doing with this , you're coming up with a really good shape . Can't wait to see how she "evolves" . ;)
 
The interesting part will be figuring out how i want the cockpit windows laid out for the new configuration.

Thanks for following along
 
Oh man, very creative... :)

Its like some kind of x-wing right? thats serious surgery, Mr. Q!

Go on man,
Cheers :)
jelly
 
Finished building up the hull on the underside of the body with Aves Apoxie Sculpt, especially at the back of the craft where I moved the engines.
Also smoothed out some of the rougher spots
yf23-quinjet-12.jpg

Worked on smoothing out the upper surfaces with a combination of more Aves and sanding
yf23-quinjet-13.jpg

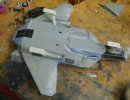
Landing gear is now in place using a combination of the landing gear from the Moebius Mk7 Viper kit and the original kit landing bay doors.
The rear access doors were added with electrical tape, and the vertical lift grills were added with pieces of sanding screen
yf23-quinjet-14.jpg

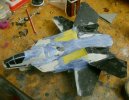
On the top of the craft, I used electrical tape to give me the panels that would stand in for the windows.
yf23-quinjet-15.jpg

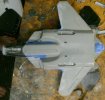
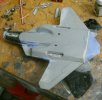
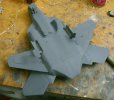
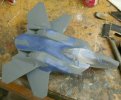
Lastly, WE HAVE PRIMER!
The bottom of the ship has shaped up very nicely
yf23-quinjet-16.jpg

On the top, we still have some rough spots that need sorting out before we go for final color
yf23-quinjet-17.jpg

YouTube link:
YF 23 to Quinjet Part Three
 
Thanks, G

New year, new update time.

Laid some Aves Apoxie Sculpt to fix the flaws seen in the first primer coat
Also sanded down the rough spots behind the cockpit.
Decided also to cut down the size of some of the cockpit windows to better simulate a 1/144 cockpit scale
yf23-quinjet-18.jpg

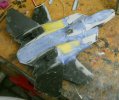
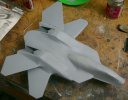
Gave a new coat of primer using the light ghost grey surface primer from Vallejo
yf23-quinjet-19.jpg

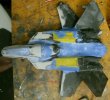
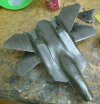
Color coat goes into place.
In staying with my previous "Omega 7" craft, the bottom of the ship stays the light grey while the top of the craft gets a coat of Testors Graphite Dust.
This is three hand-painted coats.
yf23-quinjet-20.jpg

Youtube link:
YF 23 to Quinjet Part Four
 

Latest posts

Back
Top