hummingbird
New Member
- Joined
- Nov 15, 2012
- Messages
- 127
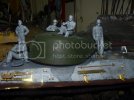
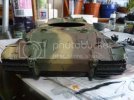
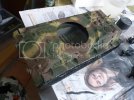
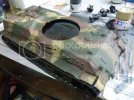
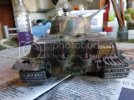
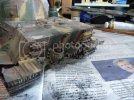
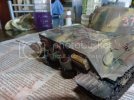
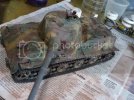
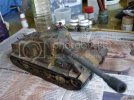
Ok, I admit I maybe have a minor ADHD problem.. I'm building a dragon Dicker Max, 90% finished and my attention shift to this one which I got as a birthday treat for myself. I really can't stop myself from opening this and building this.
Anyway, lets get down to business. This is the Amusing Hobby 1/35 Lowe. I'm pretty sure most people know about it. Its a relatively new company that has only released 4 kits in total. TBH, I only knew about the existence of the Lowe after playing World Of Tanks and I have been impressed with the tank since then. What's worse, I saw Åukasz Orczyc-MusiaÅ'ek's Lowe on the April issue of Military Modelcraft International and I just had to buy this.
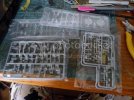
This is what I get in the box-
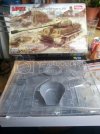
For a new company, the moulding standard is quite high, granted it is not as high as Dragon or Tamiya but definitely on par with the likes of HobbyBoss and Trumpeter.
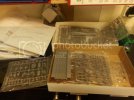
Some more of the spure shots - Sorry about the quality, I was at work -
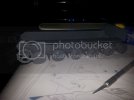
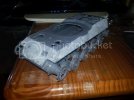
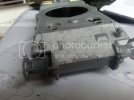
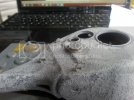
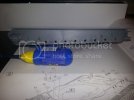
I started-off with filling in the little holes where the end of the torsion bar of the suspension will go into -
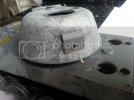
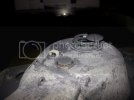
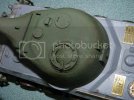
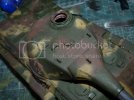
But then, I deviated from the instructions and went ahead and build the turret and the mantlet -
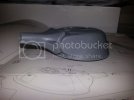
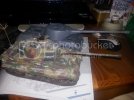
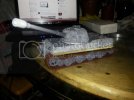
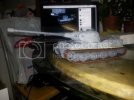
The Turret is quite big even without the gun. Here's a shot with the Gun -
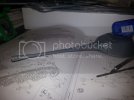
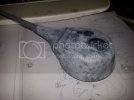
For a WW2 era tank, the turret is quite big. I took a comparison shot with my hand ( FYI, I have pretty big hands for an asian LOL )
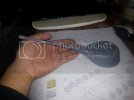
The gun comes with two choice of muzzle brakes - the Perforated ones like the one on the 12.8cm Pak44 and the Germanic ( lets just call it that ) traditional brakes that one could see on the 88 or the 75. Obviously, I choose the much cooler looking one, the perforated one of course. However, The perforations came closed so I had to drill them out one by one. It was tricky but not hard and definitely worth it.
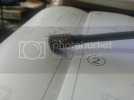
With that done, I was satisfied with the turret for the time being and moved over to other process. I started cutting off the torsion bars so that I can pot in the suspension system.
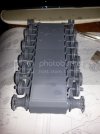
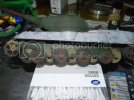
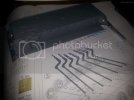
Here is the bars laid out for one side -
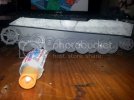
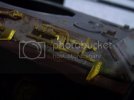
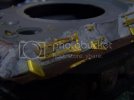
The torsion bars go on like so -
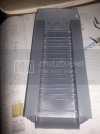
They made it so that the end of the bars just ''click'' into the receiving end, which was pretty cool, in my opinion.
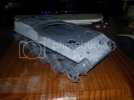
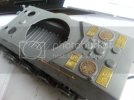
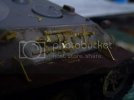
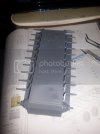
From the outside, it looked like this -
Well that's it for this update. I'm really excited to be building this. There's something about this kit and the vehicle that just attracts me. Anyway, Thanks for looking and for the support as always and stay tuned for more.
Anyway, lets get down to business. This is the Amusing Hobby 1/35 Lowe. I'm pretty sure most people know about it. Its a relatively new company that has only released 4 kits in total. TBH, I only knew about the existence of the Lowe after playing World Of Tanks and I have been impressed with the tank since then. What's worse, I saw Åukasz Orczyc-MusiaÅ'ek's Lowe on the April issue of Military Modelcraft International and I just had to buy this.
This is what I get in the box-

For a new company, the moulding standard is quite high, granted it is not as high as Dragon or Tamiya but definitely on par with the likes of HobbyBoss and Trumpeter.
Some more of the spure shots - Sorry about the quality, I was at work -

I started-off with filling in the little holes where the end of the torsion bar of the suspension will go into -

But then, I deviated from the instructions and went ahead and build the turret and the mantlet -

The Turret is quite big even without the gun. Here's a shot with the Gun -

For a WW2 era tank, the turret is quite big. I took a comparison shot with my hand ( FYI, I have pretty big hands for an asian LOL )

The gun comes with two choice of muzzle brakes - the Perforated ones like the one on the 12.8cm Pak44 and the Germanic ( lets just call it that ) traditional brakes that one could see on the 88 or the 75. Obviously, I choose the much cooler looking one, the perforated one of course. However, The perforations came closed so I had to drill them out one by one. It was tricky but not hard and definitely worth it.

With that done, I was satisfied with the turret for the time being and moved over to other process. I started cutting off the torsion bars so that I can pot in the suspension system.
Here is the bars laid out for one side -

The torsion bars go on like so -

They made it so that the end of the bars just ''click'' into the receiving end, which was pretty cool, in my opinion.
From the outside, it looked like this -

Well that's it for this update. I'm really excited to be building this. There's something about this kit and the vehicle that just attracts me. Anyway, Thanks for looking and for the support as always and stay tuned for more.

