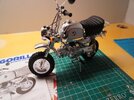
beefychicken
Member
- Joined
- Sep 3, 2024
- Messages
- 21
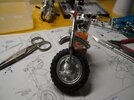
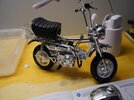
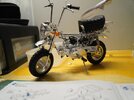
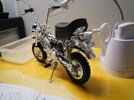
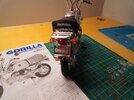
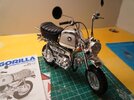
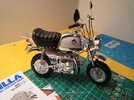
Still new here and when I did my intro I promised to photo-doc my next build - which was to be a 1/6 scale Tamiya motorcycle.
Well, I ran the prices of those kits, and decided to not go full $$$ for my first motorcycle build just in case it might end up being something I would lose interest in once I started. So I went cheap for my first bike build and chose the Tamiya 1/6 mini-bike; in this case it was the Spring Collection Gorilla mini-bike.
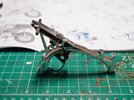
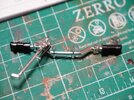
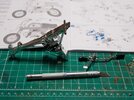
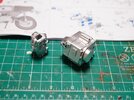
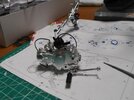
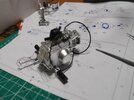
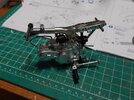
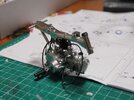
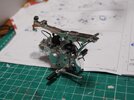
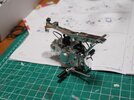
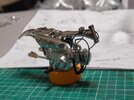
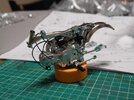
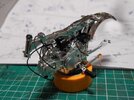
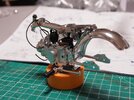
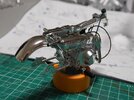
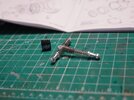
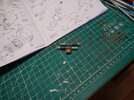
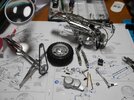
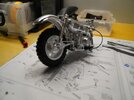
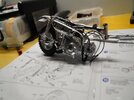
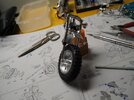
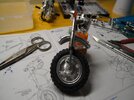
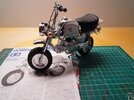
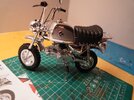
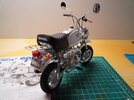
So far so good, am truly enjoying the build and have begun to document it with pics and of course comments on the build.
Here are some basics of the kit:
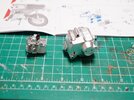
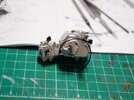
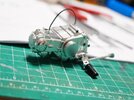
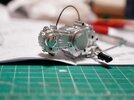
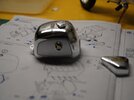
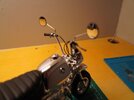
The kit is more in the area of the toy / have-fun-and-build type of kit instead of a serious show build. This is most evident in that many of the chrome parts have mating seams that cant be filled due to the plating and of course the sprue attachment points can not be smoothed without damaging the plating. In some cases where the blemish or seam is more visible, I have used a chrome marker which really helped. But this kit is not going to be show quality without going whole-hog and stripping and repainting everything with Alclad or some other metalizer.
For this build, I am just going with it as is in the box and having some fun and taking some pics!
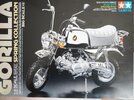
This is the box cover, which as you will soon see in the sprue pics, this thing is nearly 100% chrome plated. I wasn't sure how I felt about that but figured that will come with time. There was a paint scheme for a non-chrome version, but that would mean de-plating nearly the entire kit of Tamiya's fantastic plating process.
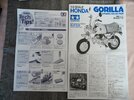
Next up is a sample of the instructions, which as anyone who has built Tamiya knows, they are excellent and highly detailed. Not to the level of the latest releases from Meng, but they definitely are not lacking on clarity and information. And the ever present history and description written in Japanese.
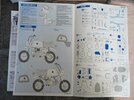
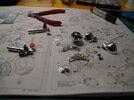
And here are the sprues! As I noted earlier most of this kit is chrome plated, some is very "chromey" and some is a bit more subdued so it looks more like aluminum. -Dare I say that there has been a lot of (border line too much) scraping, but that is basically the fun of this kit.
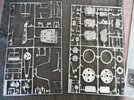
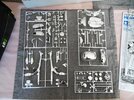
These five sprues are all plated.
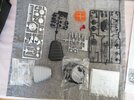
And here are the non plated parts (along with one plated sprue)
My next post will be some pics of my build progress. So far so good!
See you soon!
Well, I ran the prices of those kits, and decided to not go full $$$ for my first motorcycle build just in case it might end up being something I would lose interest in once I started. So I went cheap for my first bike build and chose the Tamiya 1/6 mini-bike; in this case it was the Spring Collection Gorilla mini-bike.
So far so good, am truly enjoying the build and have begun to document it with pics and of course comments on the build.
Here are some basics of the kit:
The kit is more in the area of the toy / have-fun-and-build type of kit instead of a serious show build. This is most evident in that many of the chrome parts have mating seams that cant be filled due to the plating and of course the sprue attachment points can not be smoothed without damaging the plating. In some cases where the blemish or seam is more visible, I have used a chrome marker which really helped. But this kit is not going to be show quality without going whole-hog and stripping and repainting everything with Alclad or some other metalizer.
For this build, I am just going with it as is in the box and having some fun and taking some pics!
This is the box cover, which as you will soon see in the sprue pics, this thing is nearly 100% chrome plated. I wasn't sure how I felt about that but figured that will come with time. There was a paint scheme for a non-chrome version, but that would mean de-plating nearly the entire kit of Tamiya's fantastic plating process.

Next up is a sample of the instructions, which as anyone who has built Tamiya knows, they are excellent and highly detailed. Not to the level of the latest releases from Meng, but they definitely are not lacking on clarity and information. And the ever present history and description written in Japanese.


And here are the sprues! As I noted earlier most of this kit is chrome plated, some is very "chromey" and some is a bit more subdued so it looks more like aluminum. -Dare I say that there has been a lot of (border line too much) scraping, but that is basically the fun of this kit.


These five sprues are all plated.

And here are the non plated parts (along with one plated sprue)
My next post will be some pics of my build progress. So far so good!
See you soon!

