trekriffic
Well-Known Member
- Joined
- Jan 6, 2012
- Messages
- 996
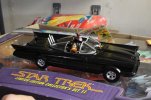
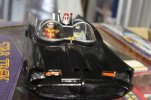
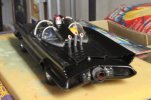
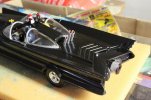
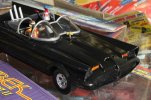
Thanks guys. The PE is fun to work with and gives the car that extra bit of oooomph.
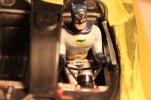
Batman got a coat of liquid mask over his face and grey leotard.
I painted his cowl and cape black, gloves, shorts, and boots with flat black enamel. I will paint dark blue over the black once the black cures:
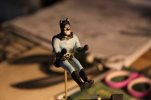
Batmobile 1966 WIP - Dynamic Duo by trekriffic, on Flickr
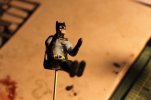
Batmobile 1966 WIP - Dynamic Duo by trekriffic, on Flickr
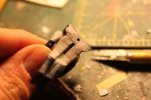
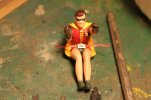
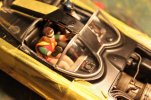
Robin figure is masked with liquid mask. Then I painted the cape. Next I'll paint his shorts black. Then there's the red waistcoat followed by the dark green shorts, boots, and gloves painted over the black. I also need to add 6 more yellow straps to the upper waistcoat. The figure only has three now. I'll paint his hair dark brown with lighter brushed highlights. Don't know why they gave him a pompadour though rather than a part on the left side like Burt Ward had:
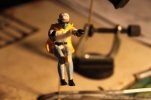
Batmobile 1966 WIP - Dynamic Duo by trekriffic, on Flickr
I'll make 10 uniformly shaped tiny rectangles representing the straps (?) on the front of Robin's waistcoat then paint flat red acrylic around them. If that works after removing the tape I'll coat with Future and apply a coat of red enamel:
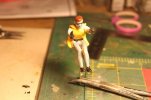
Batmobile 1966 WIP - Robin in Canary Yellow by trekriffic, on Flickr
And now for something completely different... seat belts...
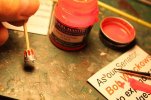
The belts in the Batmobile movie I watched were red with a black stripe down the middle. I did a decent job recreating that using red masking tape and a black enamel paint pen. The width had to be about 3/32" wide or so to fit thru the slots in the PE parts:
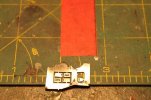
Batmobile 1966 WIP - Seat Belts by trekriffic, on Flickr
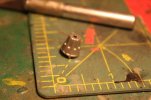
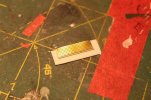
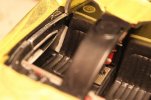
Backlit like this you can see how I threaded the belt (tape) thru the slot in the PE seat belt buckle then stuck it down to itself. It should drape nicely over the character's lap:
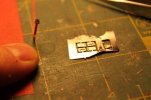
Batmobile 1966 WIP - Bat Safety Belts by trekriffic, on Flickr
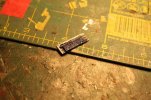
The tape used to make what we call "seatbelts" (I think the DD referred to them as "safety" belts in the Batman movie) is stuck down to the cutting mat, the end is raised up just a little. Then it has to be threaded thru slots in the stainless steel PE belt buckles using tweezers, Then it's folded over to stick to itself on the lap side. Done. Trim to about a half inch long and move on to the next buckle:
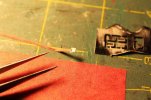
Batmobile 1966 WIP - Bat Safety Belts by trekriffic, on Flickr
The Batman insignia is on the part you would pull up on to release the buckle. It is glued to the other two buckle pieces using Plastic Surgery glue, The red belts with black stripe down the middle match the ones I saw in a video showing the DD buckling up. The belts are made from red masking tape with a black enamel pen making the stripe. The tape had to fit thru slots in the two buckle halves then the end of the tape is folded about 1/4" and stuck to itself on the backside to secure the buckle. This is done four times.
We used to have seatbelt buckles that lifted up like these in the old blue '66 Chevy Impala my dad owned and let me drive for my first car:
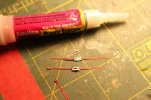
Batmobile 1966 WIP - Bat Safety Belts by trekriffic, on Flickr
Now back to the Dynamic Duo...
Robin got his straps. Or were they ties? Anyway, not exact, but pretty close-
BETTER THAN THE KIT MOLDED STRAPS/TIES OF WHICH THERE WERE ONLY THREE!?
Robin has between 9 and 10 straps on the front of his waistcoat:
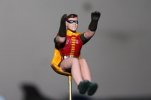
Batmobile 1966 WIP - Robin Gets His Straps by trekriffic, on Flickr
And Batman got his cowl brows...
Tiny bits of masking tape and thinned white enamel make the cowls "eyebrows". Then some work with thinner on a thin brush to clean up. Then retouching with more thinned flat black:
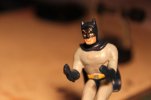
Batmobile 1966 WIP - Batman Gets his Eyebrows by trekriffic, on Flickr
All done...
I'll give them another coat of Future once the decal dries. Then a brushing with Liquitex Matte Medium:
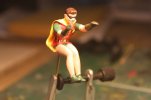
Batmobile 1966 WIP - Robin Gets His R by trekriffic, on Flickr
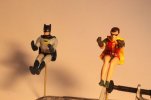
Batmobile 1966 WIP - Dynamic Duo by trekriffic, on Flickr
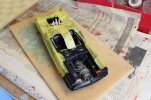
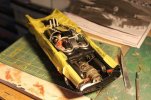
Set aside to dry after Liquitex matte was brushed on:
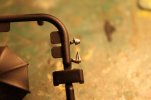
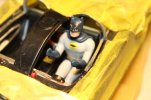
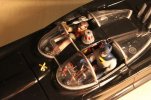
The caped crusaders were only too happy to stay out of reach, stuck high up on their metal poles, when they saw who was parked next to them!
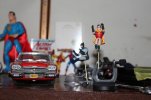
Batmobile 1966 WIP - Dynamic Duo Meets Christine by trekriffic, on Flickr
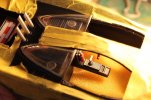
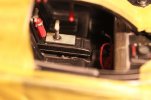
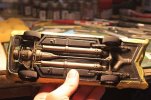
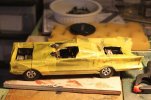
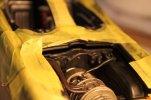
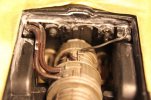
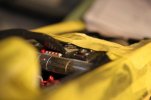
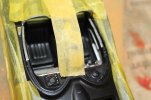
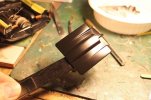
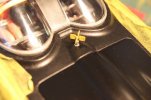
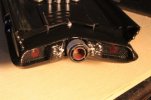
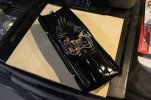
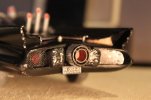
More to come as I experience the horrors of assembling the body to the chassis and what I had to do to make it work. Hint: Thin sections of black styrene sheet (I'd almost forgotten I had black in the Evergreen mulitcolor pack I bought years ago) and some AVES Apoxy Sculpt. Still working on touchups now.
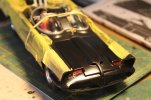
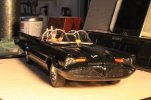
"Holy ill fitting Batmobile Batman!"
Batman got a coat of liquid mask over his face and grey leotard.
I painted his cowl and cape black, gloves, shorts, and boots with flat black enamel. I will paint dark blue over the black once the black cures:

Batmobile 1966 WIP - Dynamic Duo by trekriffic, on Flickr

Batmobile 1966 WIP - Dynamic Duo by trekriffic, on Flickr
Robin figure is masked with liquid mask. Then I painted the cape. Next I'll paint his shorts black. Then there's the red waistcoat followed by the dark green shorts, boots, and gloves painted over the black. I also need to add 6 more yellow straps to the upper waistcoat. The figure only has three now. I'll paint his hair dark brown with lighter brushed highlights. Don't know why they gave him a pompadour though rather than a part on the left side like Burt Ward had:

Batmobile 1966 WIP - Dynamic Duo by trekriffic, on Flickr
I'll make 10 uniformly shaped tiny rectangles representing the straps (?) on the front of Robin's waistcoat then paint flat red acrylic around them. If that works after removing the tape I'll coat with Future and apply a coat of red enamel:

Batmobile 1966 WIP - Robin in Canary Yellow by trekriffic, on Flickr
And now for something completely different... seat belts...
The belts in the Batmobile movie I watched were red with a black stripe down the middle. I did a decent job recreating that using red masking tape and a black enamel paint pen. The width had to be about 3/32" wide or so to fit thru the slots in the PE parts:

Batmobile 1966 WIP - Seat Belts by trekriffic, on Flickr
Backlit like this you can see how I threaded the belt (tape) thru the slot in the PE seat belt buckle then stuck it down to itself. It should drape nicely over the character's lap:

Batmobile 1966 WIP - Bat Safety Belts by trekriffic, on Flickr
The tape used to make what we call "seatbelts" (I think the DD referred to them as "safety" belts in the Batman movie) is stuck down to the cutting mat, the end is raised up just a little. Then it has to be threaded thru slots in the stainless steel PE belt buckles using tweezers, Then it's folded over to stick to itself on the lap side. Done. Trim to about a half inch long and move on to the next buckle:

Batmobile 1966 WIP - Bat Safety Belts by trekriffic, on Flickr
The Batman insignia is on the part you would pull up on to release the buckle. It is glued to the other two buckle pieces using Plastic Surgery glue, The red belts with black stripe down the middle match the ones I saw in a video showing the DD buckling up. The belts are made from red masking tape with a black enamel pen making the stripe. The tape had to fit thru slots in the two buckle halves then the end of the tape is folded about 1/4" and stuck to itself on the backside to secure the buckle. This is done four times.
We used to have seatbelt buckles that lifted up like these in the old blue '66 Chevy Impala my dad owned and let me drive for my first car:

Batmobile 1966 WIP - Bat Safety Belts by trekriffic, on Flickr
Now back to the Dynamic Duo...
Robin got his straps. Or were they ties? Anyway, not exact, but pretty close-
BETTER THAN THE KIT MOLDED STRAPS/TIES OF WHICH THERE WERE ONLY THREE!?
Robin has between 9 and 10 straps on the front of his waistcoat:

Batmobile 1966 WIP - Robin Gets His Straps by trekriffic, on Flickr
And Batman got his cowl brows...
Tiny bits of masking tape and thinned white enamel make the cowls "eyebrows". Then some work with thinner on a thin brush to clean up. Then retouching with more thinned flat black:

Batmobile 1966 WIP - Batman Gets his Eyebrows by trekriffic, on Flickr
All done...
I'll give them another coat of Future once the decal dries. Then a brushing with Liquitex Matte Medium:

Batmobile 1966 WIP - Robin Gets His R by trekriffic, on Flickr

Batmobile 1966 WIP - Dynamic Duo by trekriffic, on Flickr
Set aside to dry after Liquitex matte was brushed on:
The caped crusaders were only too happy to stay out of reach, stuck high up on their metal poles, when they saw who was parked next to them!

Batmobile 1966 WIP - Dynamic Duo Meets Christine by trekriffic, on Flickr
More to come as I experience the horrors of assembling the body to the chassis and what I had to do to make it work. Hint: Thin sections of black styrene sheet (I'd almost forgotten I had black in the Evergreen mulitcolor pack I bought years ago) and some AVES Apoxy Sculpt. Still working on touchups now.
"Holy ill fitting Batmobile Batman!"

