Beobachtungsbereich
Prep for STAB....STAB ON!
- Joined
- Oct 7, 2011
- Messages
- 254
Well we had TRM's Bad Kitty and that is one hell of a piece of work so I figured I'd take on the "Kitty" theme to a new level....
Tamiya's RC 1:16 scale Leopard 2A6 Full Option Kit
I had saved for it for literally months, damn near a year. "Wanna Timmie's Sarg?" was often met with "Nope, saving up...".
I missed out on A LOT of coffee.
I know I have a few projects on the go right now, but this one arrived a few days ago and I couldn't stop myself from opening the packaging.
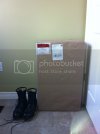
I said to myself "Just a peek and I'll put it away and finish the other tanks".
My wife rolled her eyes at me.
So I opened it up, with the help of my son who constantly said "TANK! TANK! TANK!" as I grinned from ear to ear.

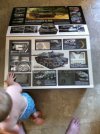
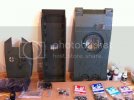
Looking at the parts from the outside of the box, my mouth drooled and my eyes bulged from their sockets.
My wife's eyes rolled yet again.
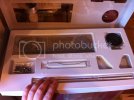
Two days later I opened it up, just for curiosity's sake. I just wanted to look at the manual to see what I'd need in the way of materials and tools. It's one hell of a masterpiece of engineering, I now understand the price tag.
Looking at the manual it's daunting. I've never done electronics on this scale, never did any fiber optics, nor the sheer planning of the build either. Everything has to be well thought out in advance and priming and paint has to be considered as well or you'll end up with a lousy paint job on a very expensive piece of kit.
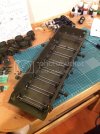
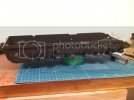
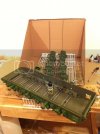
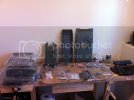
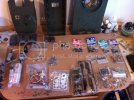
It's big...this is only a little over half the kit laid out!
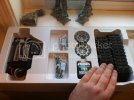
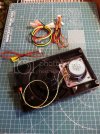
the power pack and transmission has to be assembled
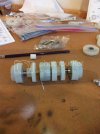
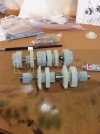
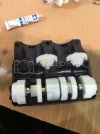
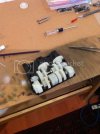
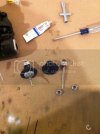
Final drives assembled
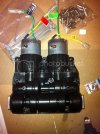
Power pack and transmission assembled
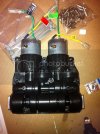
Total time to assemble - 7 hours.
Greasing the gears and ensuring the tolerances were set properly was the hardest thing in this massive step.
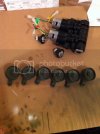
Today's work was capped off with assembling 6 road wheel/ swing arm assemblies in an hour.
All in all, I'm extremely satisfied with the kit. This is not your typical RC buggy but a full on model that has a stabilized gun. This is the most accurate RC Leo 2A6 on the market...it even has the same whine of the turbos, the clunk of the traverse gear mech. It even goes into the load position when fired.
TANKS for looking!
Tamiya's RC 1:16 scale Leopard 2A6 Full Option Kit
I had saved for it for literally months, damn near a year. "Wanna Timmie's Sarg?" was often met with "Nope, saving up...".
I missed out on A LOT of coffee.
I know I have a few projects on the go right now, but this one arrived a few days ago and I couldn't stop myself from opening the packaging.

I said to myself "Just a peek and I'll put it away and finish the other tanks".
My wife rolled her eyes at me.
So I opened it up, with the help of my son who constantly said "TANK! TANK! TANK!" as I grinned from ear to ear.


Looking at the parts from the outside of the box, my mouth drooled and my eyes bulged from their sockets.
My wife's eyes rolled yet again.
Two days later I opened it up, just for curiosity's sake. I just wanted to look at the manual to see what I'd need in the way of materials and tools. It's one hell of a masterpiece of engineering, I now understand the price tag.
Looking at the manual it's daunting. I've never done electronics on this scale, never did any fiber optics, nor the sheer planning of the build either. Everything has to be well thought out in advance and priming and paint has to be considered as well or you'll end up with a lousy paint job on a very expensive piece of kit.
It's big...this is only a little over half the kit laid out!


the power pack and transmission has to be assembled


Final drives assembled

Power pack and transmission assembled

Total time to assemble - 7 hours.
Greasing the gears and ensuring the tolerances were set properly was the hardest thing in this massive step.

Today's work was capped off with assembling 6 road wheel/ swing arm assemblies in an hour.

All in all, I'm extremely satisfied with the kit. This is not your typical RC buggy but a full on model that has a stabilized gun. This is the most accurate RC Leo 2A6 on the market...it even has the same whine of the turbos, the clunk of the traverse gear mech. It even goes into the load position when fired.
TANKS for looking!

