adampolo13
New Member
- Joined
- Dec 7, 2011
- Messages
- 2,633
Hello everybody,
If I didn't have enough builds going on all at once I decided to throw this one in the mix as well. My goal is to see if I can get it built, painted, and weathered before the AMPS East show in September.
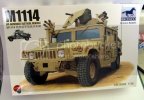
I've pretty much got the lower chassis complete in about 4 hours time. Here's a quick shot just so you get an idea of how big (small) this vehicle is in 1/35 scale.
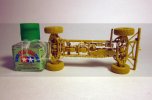
Overall the details are very nice. There are a few fragile pieces that require very careful removal from the sprue and even more careful handling when sanding. There are a few very good build reviews already available for this kit so I knew about the instructions having the axles backwards but the one thing I picked up on my own so far was this:
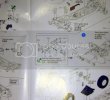
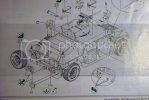
To me the instructions show that the fan belts need to rest completely flush against the fan.
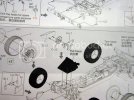
At this point I stopped and started dry fitting things.
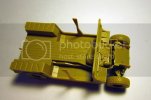
I found that if I glued the fan belt assembly flush against the fan then everything would get out of wack when I glued the rest of it together. My solution:
Pull the assembly out just a bit to make sure it all fits snug.
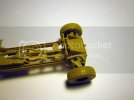
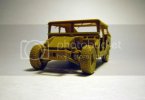
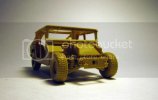
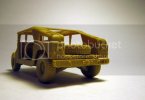
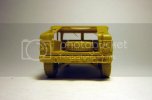
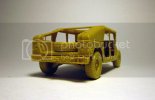
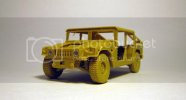
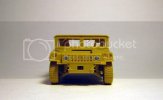
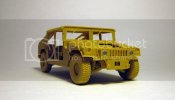
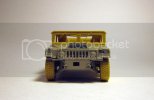
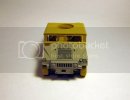
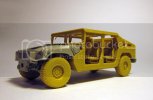
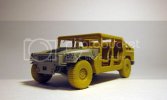
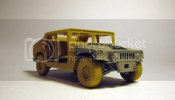
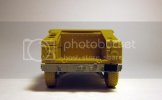
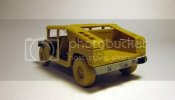
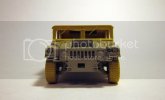
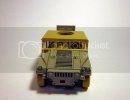
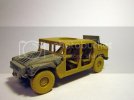
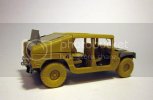
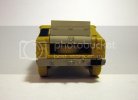
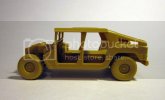
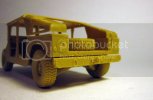
After I got that set up I decided to do a bit more dryfitting just to make sure I like the fit of everything. There's some sanding needed here and there but it won't be a problem getting this to all line up nice. here are a few pics just to give you an idea of the details on this and a glimpse at what she will look like.
As always, thanks for following along!
If I didn't have enough builds going on all at once I decided to throw this one in the mix as well. My goal is to see if I can get it built, painted, and weathered before the AMPS East show in September.

I've pretty much got the lower chassis complete in about 4 hours time. Here's a quick shot just so you get an idea of how big (small) this vehicle is in 1/35 scale.

Overall the details are very nice. There are a few fragile pieces that require very careful removal from the sprue and even more careful handling when sanding. There are a few very good build reviews already available for this kit so I knew about the instructions having the axles backwards but the one thing I picked up on my own so far was this:
To me the instructions show that the fan belts need to rest completely flush against the fan.

At this point I stopped and started dry fitting things.

I found that if I glued the fan belt assembly flush against the fan then everything would get out of wack when I glued the rest of it together. My solution:
Pull the assembly out just a bit to make sure it all fits snug.

After I got that set up I decided to do a bit more dryfitting just to make sure I like the fit of everything. There's some sanding needed here and there but it won't be a problem getting this to all line up nice. here are a few pics just to give you an idea of the details on this and a glimpse at what she will look like.


As always, thanks for following along!

