CheesyGrin
New Member
- Joined
- Sep 1, 2012
- Messages
- 152
Build update. I had some time this weekend to work on the toes and foot and come 'one step' closer to finishing a major assembly. But 'two steps forward and one step back' as you'll soon see. And I'm not apologizing for the puns. :lol
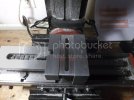
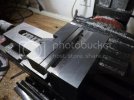
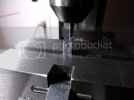
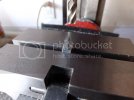
Milling slots in the knuckles which connect as a hinge joint with the toes:
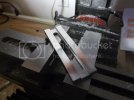
The toes require an odd angle so they can sit flat. I constructed a quick styrene piece to help align the piece for milling:
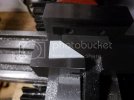
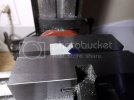
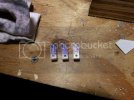
Next, I milled the other side of the hinge joint (x3):
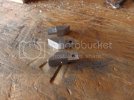
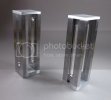
Here's the fruit of all the labor:
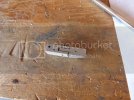
The hinge joint is finished by two teflon washers in each assembly. I did a lot of internet searches for teflon washers small enough for this joint. What I found was too expensive. So, I made my own.
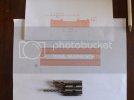
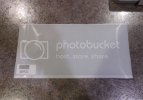
I bought a 12"x6"x.015" sheet of PTFT from Amazon for $6:
I also bought a punch and die set from Harbor Freight Tools for $24:
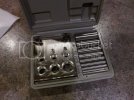
I also used a Waldron punch set I've had for years. Scale model building is my core skill set. The Waldron set was part of my scale modeling tool set:
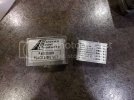
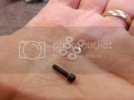
A few minutes later, I had 6 really small washers .015" thick. That's a #2-56 screw for scale:
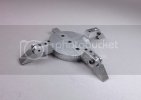
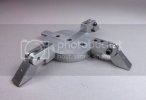
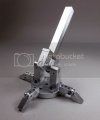
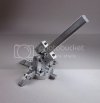
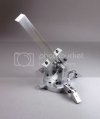
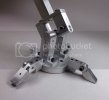
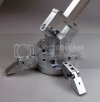
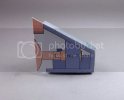
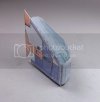
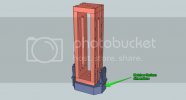
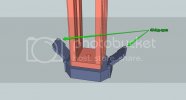
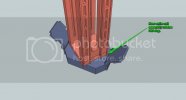
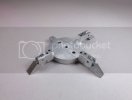
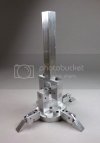
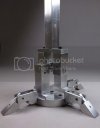
Here's a few shots of the foot so far:
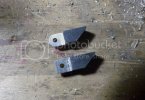
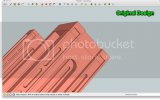
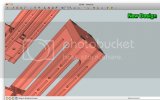
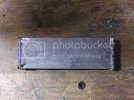
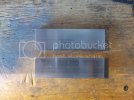
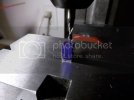
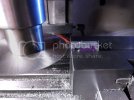
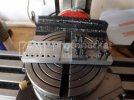
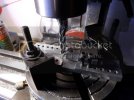
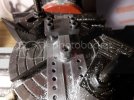
Now onto two problems that halted further progress. First, cutting the slots in the universal joint proved challenging. The slot is .010" thick and the slitting saw is very thin. The deeper I cut the slot the more my saw blade wandered from the line! GRRRRRRR!!!! Luckily, I had enough foresight to try it on a scrap piece. If anyone has any advise on using a slitting saw, please PM me. Here's a few pics:
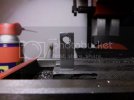
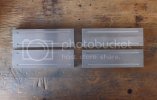
The second problem was with my radius jig. Evidently, I milled one side of the jig slightly off-center. So the radius (again on a scrap piece) turned out wonky. Although this is frustrating, I know how to fix it. Once I repair the jig, then I can radius all the toe pieces and complete the final assembly:
So there it is. Hopefully I can overcome these two issues this week and complete this assembly. Thanks for following along!
Milling slots in the knuckles which connect as a hinge joint with the toes:


The toes require an odd angle so they can sit flat. I constructed a quick styrene piece to help align the piece for milling:


Next, I milled the other side of the hinge joint (x3):


Here's the fruit of all the labor:

The hinge joint is finished by two teflon washers in each assembly. I did a lot of internet searches for teflon washers small enough for this joint. What I found was too expensive. So, I made my own.
I bought a 12"x6"x.015" sheet of PTFT from Amazon for $6:

I also bought a punch and die set from Harbor Freight Tools for $24:

I also used a Waldron punch set I've had for years. Scale model building is my core skill set. The Waldron set was part of my scale modeling tool set:

A few minutes later, I had 6 really small washers .015" thick. That's a #2-56 screw for scale:

Here's a few shots of the foot so far:


Now onto two problems that halted further progress. First, cutting the slots in the universal joint proved challenging. The slot is .010" thick and the slitting saw is very thin. The deeper I cut the slot the more my saw blade wandered from the line! GRRRRRRR!!!! Luckily, I had enough foresight to try it on a scrap piece. If anyone has any advise on using a slitting saw, please PM me. Here's a few pics:


The second problem was with my radius jig. Evidently, I milled one side of the jig slightly off-center. So the radius (again on a scrap piece) turned out wonky. Although this is frustrating, I know how to fix it. Once I repair the jig, then I can radius all the toe pieces and complete the final assembly:


So there it is. Hopefully I can overcome these two issues this week and complete this assembly. Thanks for following along!

