Carsenault
Member
- Joined
- May 7, 2009
- Messages
- 846
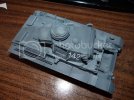
Well, As hinted in my ADD post, here's my newest build, Il be going back and forth between this and whatever else I am/will be working on... lol.
I found a great reference post on building this kit start to finish, its inspired me alot. The builder has quite a few reviews and full step by step builds, check them out here... http://www.bpmodels.net/Model/Album/phpBB2/index.php
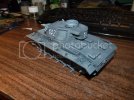
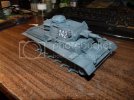
I'm planning on building the box art markings option depicting a 502 Panzer div tank during the battle for Leningrad in the winter of 43.
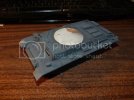
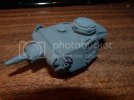
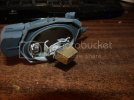
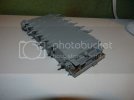
I've pretty much been following the posts by Bill Plunk at bpmodels.net, he also points out the mistakes and pitfalls made by DML and how to fix them, plus gives great pointers which are really appreciated by a Panzernoob like me. With these models, you really have to pay attention to the assembly instructions as much as you can, I already missed a step where I had to place some photo-etch grills before continueing with the build. I had to backtrack a bit to get it right. I started off with the assembly of all 12 road wheels, 6 return rollers plus the idlers and drive sprokets. Once those were cleaned up and assembled, I set them aside and started on the chassis... If you havent had a chance to build one of these recent DML Panzer or Stug kits, do yourself a favor and go out to buy one right now. Awesome detail right out of the box, and even an option for a poseable suspension if your careful enough. Each of the torsion bars along the floor is a separate part, and all can be made to be fully functional (see Spud's post). You do have to be careful as they are slightly different for the left and right sides (as I found out after I had freed all 12 off of the sprues and placed them in a nice big pile). : Once you have them placed, you can attach the road wheel swing arms.
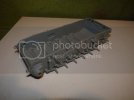
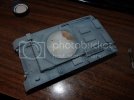
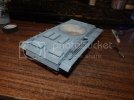
Once that was done I began assembly of the rear hull plate and related areas, here is where I missed the step to attach the pe grills before attaching the rest of the styrene parts. I'll know better next time, for now Ill disguise it as a little road wear.
I found a great reference post on building this kit start to finish, its inspired me alot. The builder has quite a few reviews and full step by step builds, check them out here... http://www.bpmodels.net/Model/Album/phpBB2/index.php
I'm planning on building the box art markings option depicting a 502 Panzer div tank during the battle for Leningrad in the winter of 43.
I've pretty much been following the posts by Bill Plunk at bpmodels.net, he also points out the mistakes and pitfalls made by DML and how to fix them, plus gives great pointers which are really appreciated by a Panzernoob like me. With these models, you really have to pay attention to the assembly instructions as much as you can, I already missed a step where I had to place some photo-etch grills before continueing with the build. I had to backtrack a bit to get it right. I started off with the assembly of all 12 road wheels, 6 return rollers plus the idlers and drive sprokets. Once those were cleaned up and assembled, I set them aside and started on the chassis... If you havent had a chance to build one of these recent DML Panzer or Stug kits, do yourself a favor and go out to buy one right now. Awesome detail right out of the box, and even an option for a poseable suspension if your careful enough. Each of the torsion bars along the floor is a separate part, and all can be made to be fully functional (see Spud's post). You do have to be careful as they are slightly different for the left and right sides (as I found out after I had freed all 12 off of the sprues and placed them in a nice big pile). :

Once that was done I began assembly of the rear hull plate and related areas, here is where I missed the step to attach the pe grills before attaching the rest of the styrene parts. I'll know better next time, for now Ill disguise it as a little road wear.


