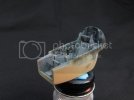
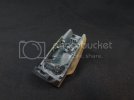
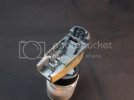
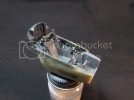
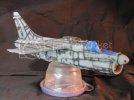
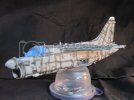
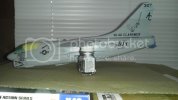
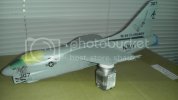
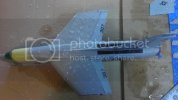
'Clansmen' A-7E in 1/48..
- Thread starter Afterburner
- Start date
Afterburner
Gluing my fingers...painting my hand...
- Joined
- Aug 3, 2010
- Messages
- 205
JMac said:It's
fantastic.
Nice work on the instrument panel.
Thank you JMac!
Neo said:WOW sweet !!
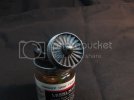
i wish i would have knowed about that rino intake before i started mine!! ill need o grap one for my second A-7D
Thank you Neo.That intake,to my knowledge, is only sold on EBay.And sometimes you won't see them for a while,so keep your eyes peeled.
Chris S said:WOW ! That IP looks the part , nice work on that
Chris.
Thank you Chris.My most enjoyable building is when I'm building the cockpit,landing gear and exhaust areas.Thanks for taking the time to comment.I'll try to have pics of the rest of the cockpit up this weekend.
Glorfindel
Active Member
- Joined
- May 2, 2011
- Messages
- 1,504
Sweet work on the dash.
Afterburner
Gluing my fingers...painting my hand...
- Joined
- Aug 3, 2010
- Messages
- 205
Holden said:Wow, that IP is way cool! Photo etch and resin parts are really detailed. I think what ever my next build is I'll try to get some after market sets for it.
Thank you so much for your comments Holden.
Some of this stuff gets crazy expensive in a hurry,and sometimes does'nt fit worth a crap.If I had some friendly advice to give a newcomer to the aftermarket stuff,I would say spend a few minutes reading about builds that people have used the items your interested in.See what they say about the products.I'm sure more than a few have ended up in the trash bin.And trashing $20-30 resin pieces gets old VERY QUICKLY. And be ready for lots of test fitting and testing of patience.
Afterburner
Gluing my fingers...painting my hand...
- Joined
- Aug 3, 2010
- Messages
- 205
Glorfindel
Active Member
- Joined
- May 2, 2011
- Messages
- 1,504
Nice spa.
Chris S
Its a bit like being handcuffed to a lunatic !
- Joined
- Feb 14, 2011
- Messages
- 4,573
Excellent !! Cockpit came out brilliant  I dont know much about Jet stuff ,so I can really help you out with the resin & stuff , but its hard to get a 'perfect' fit with any resin ,it usually requires some work to make fit
Chris.
Chris.
Afterburner
Gluing my fingers...painting my hand...
- Joined
- Aug 3, 2010
- Messages
- 205
Glorfindel
Active Member
- Joined
- May 2, 2011
- Messages
- 1,504
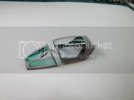
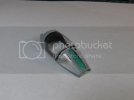
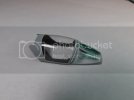
Now that is a gorgeous canopy. Oh' very nice pre shading as well. ;D
Subhuman1
New Member
- Joined
- Aug 7, 2012
- Messages
- 237
Glorfindel said:Now that is a gorgeous canopy. Oh' very nice pre shading as well. ;D
+1! to that very nice and very clean. Awesome job, keep at her!
smokeriderdon
Well-Known Member
- Joined
- Nov 16, 2012
- Messages
- 406
How in Gods name do you pull that off with the instrument panels?
Afterburner
Gluing my fingers...painting my hand...
- Joined
- Aug 3, 2010
- Messages
- 205
Subhuman1 said:Glorfindel said:Now that is a gorgeous canopy. Oh' very nice pre shading as well. ;D
+1! to that very nice and very clean. Awesome job, keep at her!
Thanks so much guys!
JMac said:Great work.
Thanks JMac!
Myke said:That cockpit is just sick man! Incredible work.
Thank you so much Mike! Glad you like it!
smokeriderdon said:How in Gods name do you pull that off with the instrument panels?
Hehe...well it's a combination of Aires,Eduard photo-etch,and a bit of fine brush painting thrown in.All of the gauges are printed on clear acetate (Aires) that you paint on the back and then glue that front to the back of the photo-etch,making a sandwich.If that is confusing to you let me know and I'll try to explain it a better way. Some.of the color stuff is pre-painted Eduard and what was left,I painted with a fine brush.
TRM said:Some really nice work there!! The fun part...painting!! ;D Canopy looks the awesome!!!
Thank you! Yeah...the fun is now at hand! Painting,decals and weathering.
Afterburner
Gluing my fingers...painting my hand...
- Joined
- Aug 3, 2010
- Messages
- 205
Similar threads
- Replies
- 5
- Views
- 390
- Replies
- 15
- Views
- 895

