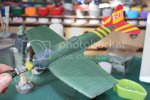
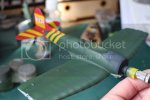
D3A1 Val 1/48 Hasegawa competition build

Hi mate, the build is going very quickly I must admit. It helped being off work last week though. I should be weathering by next week all being well, so a couple of weeks will do it. Maybe I'll enter a second build...... lol

Once this is done though I want to make sure everything is ready for the IMSS show in May. I've a few things just to touch up and get sorted. Might even do a quick 1/72 bird!

Sorry about the cake mate, forgot to bring some down.....honest!!!! lol ;) If there's any left I'll bring you some down. Maybe I'll ask my mum to bake one for the opening night of the club!

Chris
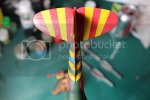
 
Whoa, pretty awesome looking at your WIP!!! Those little detailings looks darn good and this is going to be another winner! Masking all those window panels must have been a real PITA, at least for myself. I cracked more than a few canopies while masking those before.
 
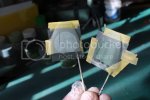
Thanks boxster. I use to mask the windows using very fine strips of tamiya tape to mark the outline, then fill the centre in with larger pieces. This worked well but took ages and you run the risk of damaging the canopy if your not careful. I use the eduard canopy masks now. I don't know if you've come across them before. If not try and get a set for a kit your going to build. They are not that expensive and are precut to suit your kit. What would have taken ages to do, now takes about 5-10 minutes.

Chris
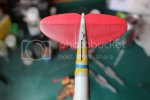
 
Time for an update.

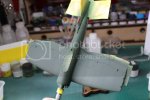
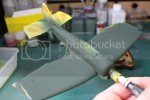
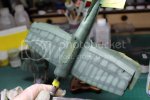
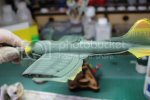
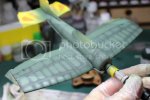
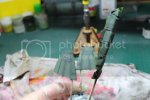
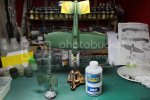
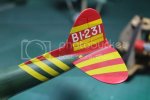
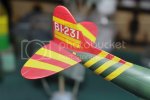
I got the tail markings masked and ready for spraying the main colours. I airbrushed the lighter of the two tones on the underside of the val. I used Tamiya's IJN grey (XF-11). I then cut the original colour with 50% flat white. I used this to highlight the center of the panels. I don't want to go overboard on the weathering with this build. The reason being that this particular aircraft was in the first wave at Pearl harbour, and as this was at the start of the war the aircraft would have been better maintaned, and at this stage of the war in generaly good condition.

IMG_0569_zpsqjstt2ig.jpg

IMG_0570_zpsgr2wzbg1.jpg

IMG_0571_zps3vt5el1p.jpg

IMG_0572_zpsm4phs35h.jpg

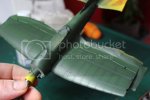
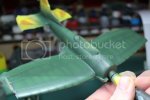
I masked up the IJN grey before airbrushing the IJN green (Tamiya XF-12). Again this was cut with 50% white to highlight the center of the panels.

IMG_0574_zpsnesshclu.jpg

IMG_0575_zpseamifrd7.jpg

IMG_0576_zpsa1b9tea7.jpg

IMG_0577_zpsvtvhwlvo.jpg

IMG_0578_zpsprvufysy.jpg

IMG_0579_zps0p8jkgna.jpg

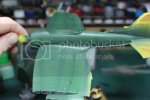
It looks very stark at the minute with their being a very big contrast between the two shades. To blend these colours I cut the original paint with a little white. This is then heavily thinned with Mr color lacquer thinner (25% paint to 75% thinner). This has the effect of turning the paint into a sort of glaze. I then airbrush this in light coats gradually blending the two colours together. This method (in my humble oppinion) gives me greater control on how much and where my panel fading will be.

IMG_0580_zpstk0dkqvv.jpg

IMG_0581_zpsceafdhce.jpg

IMG_0582_zpsifwhoy0f.jpg

IMG_0583_zps3dopmytj.jpg

IMG_0584_zpspsqzjkxg.jpg

Again I didn't want too much of a contrast as the weathering later will hopefully Add another level and blend everything together.

Next time, itll be the big reveal!!! lol The masks come off, and hopefully all that masking will have been worth it.....

Thanks for checking out the update. As you were.... ;)

Chris
 
It's been a few days but I finally got a chance to update the build.

I got the masks off the fuselage, and I have to admit I'm quite pleased with the results.

IMG_0588_zpscdtfvhma.jpg

IMG_0589_zpsatqvlcxq.jpg

IMG_0590_zpsitliioi2.jpg

I got the nose of the val masked off for the blue/black color. I also airbrushed the cowling with the same colour.

IMG_0587_zpsrukjcxa5.jpg

IMG_0594_zpsnf4j1wmd.jpg

As usual I cut the colour with white and lightened the panels.

IMG_0595_zps7hcygxca.jpg

IMG_0596_zpsvyqdlhpi.jpg

IMG_0597_zpskn5dq911.jpg

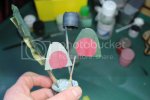
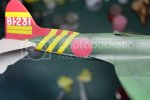
I masked up and painted all of the hinumaru's.

IMG_0599_zpswmfchtks.jpg

IMG_0600_zpsjcf1wsrx.jpg

IMG_0603_zpsry7londd.jpg

IMG_0604_zpsvmnchygg.jpg

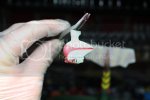
while is was airbrushing the hinumaru's I also masked off and sprayed the wheel guards.

IMG_0606_zpsobg0ivtu.jpg

I masked off the walkway on the port wing root. I airbrushed this with Nato black before highlighting.

IMG_0605_zpssxukwe4l.jpg

IMG_0611_zpscasfsiny.jpg

Last bit of masking and airbrushing for now.... lol

IMG_0607_zpsqdmshqjr.jpg

IMG_0608_zpsrudlexth.jpg

IMG_0610_zpsvwc95u9z.jpg

IMG_0609_zpskfc2yhcg.jpg

I got a coat of gloss on everthing once the paint was dry. I intended to airbrush all of the markings on but there were just a few decals that had to be used.... one of the decals didn't turn out in the photo due to them being white numbers for the front of the wheel guards.

IMG_0612_zpsnm5dv8l4.jpg

Thanks for checking on the update. Hopefully I'll get the decals on, and start some weathering this week!!!!!

Chris
 
Looking good!
Whats the gizmo you're using to hold the fuselage during paint?
Looks like something I might 'need'.
 
Chris- this is looking fantastic.

Those markings really look the part. Are you using a circle cutter for the hinamarus?

Scrach- that is a Sphere Products Small Plane holder- really good piece of kit.

Alan.
 
Thanks guys.

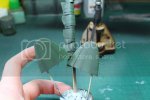
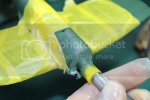
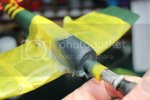
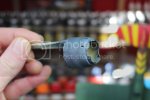
Scrach - As Alan said, it's from a company called Sphere products. They make paint racks, small wooden vices for figure painting, cases etc. The one I'm using is the small aircraft stand (actualy meant for 1/72 but works great for single engine 1/48 aircraft). You drill a hole in the nose of the aircraft (if there isn't one there already) and insert a clipper pin (the things used on real aircraft to hold the skin together while riveting, you have 2 sizes to choose from), then there's a larger pin vice that you tighten on that. There's a stand then that the vice goes into. I'll get some photo's of how it all goes together on my next update. Here's the website though, Jon who owns the place is a great guy to deal with. http://www.progeng.co.uk/sphere

Thanks Alan, yes mate. circle cutter on Frisket film.

Big fan of masking Scott!!! It can take a lot of time to mask things up but I always love the end result.

Chris
 
Scrach, infact if you follow the link above and select the aircraft stand there are several photos showing you exactly how it goes together. Hope this helps.

Chris
 
Thanks for the link/ info. That looks damn nice and seems a fair price for what looks to be a quality product, same goes for that magnetic armor stand. Both could probably be adapted for just about anything. They'll both be on my shopping list. Thanks again.
 

Latest posts

Back
Top