Dio: A Meeting of Scouts
- Thread starter Klaus not Santa
- Start date
Klaus not Santa
Member
- Joined
- May 15, 2013
- Messages
- 281
Hi all,
thank you guys.
@Cave_Dweller - yes they are rather fragile, but since theses babies will never see a gaming table and are for display only, I hope they survive painting
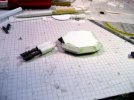
Last night I was able to work some more on the turret.
After sanding the turret looks quite nice.
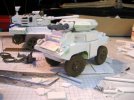
And with the Lasers mounted on the KAIROS
Noble Korhedron over at Warseer wrote:
Well, if I compare it to the other WH40K turrets, I think it is even on the large side
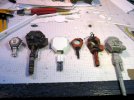
Especially since it is a Laser-Gun, which would have no recoil and no ammo feed or loading mechanism...
But anyhow, a man doesn't need to fit in there - it'll be two ladies
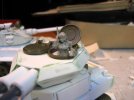
These two are from the Raging Heroes Kickstarter "The Toughest Girls of the Galaxy"
I really like their look.
They are tiny compared to the bulky 40K trooper, but I think they will mix well in the diorama.
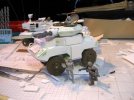
Last not least I put together the elevated sensor platform for the KAIROS.
What do you think?
Will that work?
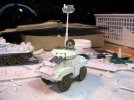
It still needs all the vision blocks, sights, lights, luggage and camo nets - and of course rivets
Let me know what you think.
Cheers
Klaus
thank you guys.
@Cave_Dweller - yes they are rather fragile, but since theses babies will never see a gaming table and are for display only, I hope they survive painting
Last night I was able to work some more on the turret.
After sanding the turret looks quite nice.

And with the Lasers mounted on the KAIROS

Noble Korhedron over at Warseer wrote:
New turret is grand, just don't expect me to believe a man can fit in there!!
Well, if I compare it to the other WH40K turrets, I think it is even on the large side

Especially since it is a Laser-Gun, which would have no recoil and no ammo feed or loading mechanism...
But anyhow, a man doesn't need to fit in there - it'll be two ladies

These two are from the Raging Heroes Kickstarter "The Toughest Girls of the Galaxy"
I really like their look.
They are tiny compared to the bulky 40K trooper, but I think they will mix well in the diorama.

Last not least I put together the elevated sensor platform for the KAIROS.
What do you think?
Will that work?

It still needs all the vision blocks, sights, lights, luggage and camo nets - and of course rivets
Let me know what you think.
Cheers
Klaus
Klaus not Santa
Member
- Joined
- May 15, 2013
- Messages
- 281
Thank you all!
A bit of time passed since the last update.
But I was able to complete the build-phase for this dio.
I created the vision ports for the KAIROS,
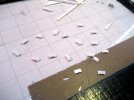
as well as the sights and lights.
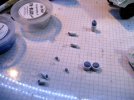
And mounted them - for this I had to remove the smoke launchers on the fenders again, as they were firing into the headlights *lol*
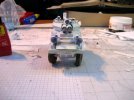
Here you can also see the new mount for the sensor platform.
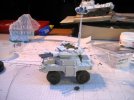
I think it looks better now.
Both vehicles completed.
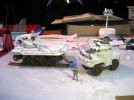
So I started to work on the crew. I recently received a bunch of Catachan legs, which I think are perfect for tankers.
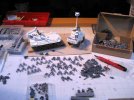
Together with the Mad Robot Flak Vest Torsos (https://madrobotminiatures.com/index.php?main_page=product_info&cPath=9_14&products_id=102), they are just what I needed.
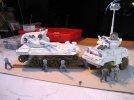
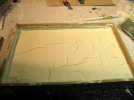
With the crew settled, I started the diorama base. As usual I used "Molto-Fill Compact" as I can manipulated it pretty well during curing and I can ensure to have nice cracks.
I also used my Hirst Arts brick molds with Stewalin to create the bricks for the caravansary.
As envisioned, the base has some nice cracks - it is relatively easy, when the top of the mass is starting to cure and getting solid, while the deeper mass is still a bit liquid to manipulate the top and create cracks.
With the caravansary erected.
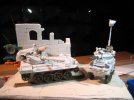
Next I carved the patterns and cobblestone into the base,
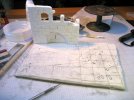
and then applied dirt and debris.
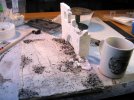
Finally I added some more details, like the straps for the tarps and nets.
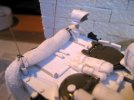
I added the cable to pull the track.
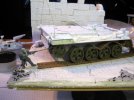
Some more personal equipment for the TC as well as a nice mustache.
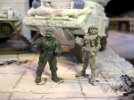
Almost there.
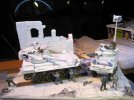
After watching another Star Wars trailer I was tempted to add a BB-8 droid, but couldn't come up with a convincing (WH40K)design.
So I decided to use one of the Raging Heroes mascots and modify it to fit the scene
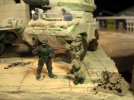
Everybody ready for priming.
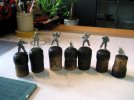
Re-arranged the desk for painting.
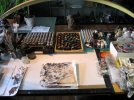
And started with the base.
First were the base colors,
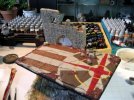
then some hefty washes,
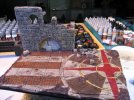
and finally pigments to represent the Martian-style landscape of Dencara V.
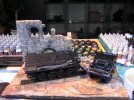
Well, this is as far as I got.
What do you think? Anything still missing?
Cheers
Klaus
A bit of time passed since the last update.
But I was able to complete the build-phase for this dio.
I created the vision ports for the KAIROS,

as well as the sights and lights.

And mounted them - for this I had to remove the smoke launchers on the fenders again, as they were firing into the headlights *lol*

Here you can also see the new mount for the sensor platform.

I think it looks better now.
Both vehicles completed.

So I started to work on the crew. I recently received a bunch of Catachan legs, which I think are perfect for tankers.

Together with the Mad Robot Flak Vest Torsos (https://madrobotminiatures.com/index.php?main_page=product_info&cPath=9_14&products_id=102), they are just what I needed.

With the crew settled, I started the diorama base. As usual I used "Molto-Fill Compact" as I can manipulated it pretty well during curing and I can ensure to have nice cracks.
I also used my Hirst Arts brick molds with Stewalin to create the bricks for the caravansary.
As envisioned, the base has some nice cracks - it is relatively easy, when the top of the mass is starting to cure and getting solid, while the deeper mass is still a bit liquid to manipulate the top and create cracks.

With the caravansary erected.

Next I carved the patterns and cobblestone into the base,

and then applied dirt and debris.

Finally I added some more details, like the straps for the tarps and nets.

I added the cable to pull the track.

Some more personal equipment for the TC as well as a nice mustache.

Almost there.

After watching another Star Wars trailer I was tempted to add a BB-8 droid, but couldn't come up with a convincing (WH40K)design.
So I decided to use one of the Raging Heroes mascots and modify it to fit the scene

Everybody ready for priming.

Re-arranged the desk for painting.

And started with the base.
First were the base colors,

then some hefty washes,

and finally pigments to represent the Martian-style landscape of Dencara V.

Well, this is as far as I got.
What do you think? Anything still missing?
Cheers
Klaus
Klaus not Santa
Member
- Joined
- May 15, 2013
- Messages
- 281
Thank you guys!
Well, today just a small paint update.
Here you can see the base with the pigments - before varnish.
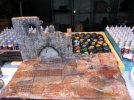
With the base mostly done, I started the vehicles. Since the scouts will operate outside any of the major settlements they will not receive the urban camo I used on the POLEMOS and EPIALES, but rather the standard Tiger Flash used on the HERCULES and PONOS.
For this I started with the "Terracotta" base color.
Then I added the "Ocre" flash stripes.
And inlined them with the "Mahagony" stripes.
After the basic camo they received the tripple-dot patterns (light and dark), the canvas tarps were painted in a light brown color, the camo nets got a pattern and I painted the vision ports and some of the lights in blue.
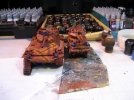
That's as far as I got.
Next are the sights in red, black on the roadwheel rubber, the Smoke Launchers, and the tracks.
So what do you think?
Cheers
Klaus
Well, today just a small paint update.
Here you can see the base with the pigments - before varnish.

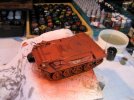
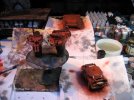
With the base mostly done, I started the vehicles. Since the scouts will operate outside any of the major settlements they will not receive the urban camo I used on the POLEMOS and EPIALES, but rather the standard Tiger Flash used on the HERCULES and PONOS.
For this I started with the "Terracotta" base color.


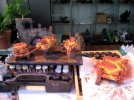
Then I added the "Ocre" flash stripes.

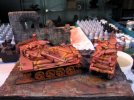
And inlined them with the "Mahagony" stripes.

After the basic camo they received the tripple-dot patterns (light and dark), the canvas tarps were painted in a light brown color, the camo nets got a pattern and I painted the vision ports and some of the lights in blue.

That's as far as I got.
Next are the sights in red, black on the roadwheel rubber, the Smoke Launchers, and the tracks.
So what do you think?
Cheers
Klaus
Klaus not Santa
Member
- Joined
- May 15, 2013
- Messages
- 281
Thank you Quaralane 
today I only have a very short 5 image update.
Since the last update I added the red and black color for the remaining lenses.
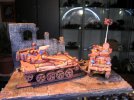
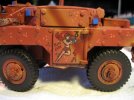
Then I decided to do a small freehand for the KAIROS door.
"Foxy Lady" as a tribute to the FOX Armored Reconnaissance Vehicle and the female crew.
Then some more black for the roadwheels, Track base and Smoke launchers.
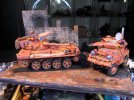
Next I did some small unit markings for the PHRIKE.
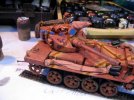
Vehicle D6 of 3/69 (Armor) of the XIX Guards.
The "Wyvern"
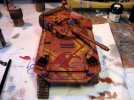
You can also see that I started to work on the tracks, giving them some rust and dust.
That's as far as I got this weekend.
I hope you like it.
Cheers
Klaus
today I only have a very short 5 image update.
Since the last update I added the red and black color for the remaining lenses.

Then I decided to do a small freehand for the KAIROS door.
"Foxy Lady" as a tribute to the FOX Armored Reconnaissance Vehicle and the female crew.

Then some more black for the roadwheels, Track base and Smoke launchers.

Next I did some small unit markings for the PHRIKE.

Vehicle D6 of 3/69 (Armor) of the XIX Guards.
The "Wyvern"

You can also see that I started to work on the tracks, giving them some rust and dust.
That's as far as I got this weekend.
I hope you like it.
Cheers
Klaus
Klaus not Santa
Member
- Joined
- May 15, 2013
- Messages
- 281
Hi all,
I hope you are all well
I'm currently a bit down with a cold - you know the one that's a sneeze to women, but life-threatening to men
But luckily I was able to complete the diorama.
You will see, the washes have toned down all the colors nicely and the blue of the lenses is now much better aligned with the rest of the colors.
So, here is the last shot of the PHRIKE and KAIROS in a "pristine" state. Already toned down with washes, but no paint chipping yet.
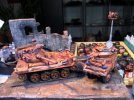
I started the weathering with my "damage mix" a dark blue-grey that I apply with a sponge.
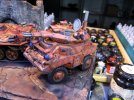
Once I've completed the basic chipping I added some metal effects. The minor ones with a pencil, the larger one with Boltgun Metal - applied with a brush.
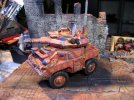
I think it works quite convincing.
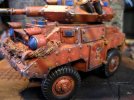
Also on the PHRIKE.
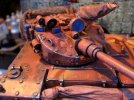
And finally I painted the lenses and lights.
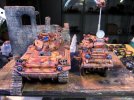
Done!
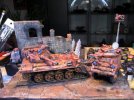
Oh wait!
There's the crew
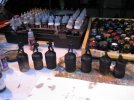
They all get the Dencara Tiger Flash pattern.
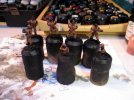
Lots of details
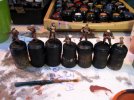
Last image before the washes and highlights.
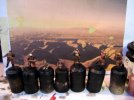
But now!
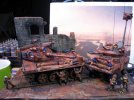
Too bad the auto-focus didn't agree with me.
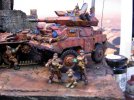
But I think you get the idea
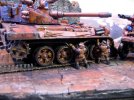
Even though I'm not 100% satisfied with the lady's face, I think I can live with it
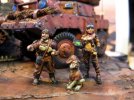
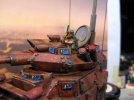
To bring it all together I applied some more pigments to the vehicles and the scene.
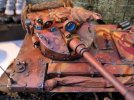
I think this makes it look a bit more realistic.
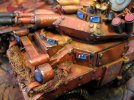
And the completed scene
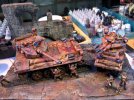
I hope you like it.
I want to thank you very much for accompanying me on this little journey and I hope you enjoyed the ride.
Thank you for your feedback, suggestions and comments.
They lifted this project a bit higher and made it better.
THANKS!
Some HQ images to follow
I hope you are all well
I'm currently a bit down with a cold - you know the one that's a sneeze to women, but life-threatening to men
But luckily I was able to complete the diorama.
You will see, the washes have toned down all the colors nicely and the blue of the lenses is now much better aligned with the rest of the colors.
So, here is the last shot of the PHRIKE and KAIROS in a "pristine" state. Already toned down with washes, but no paint chipping yet.

I started the weathering with my "damage mix" a dark blue-grey that I apply with a sponge.

Once I've completed the basic chipping I added some metal effects. The minor ones with a pencil, the larger one with Boltgun Metal - applied with a brush.

I think it works quite convincing.

Also on the PHRIKE.

And finally I painted the lenses and lights.

Done!

Oh wait!
There's the crew

They all get the Dencara Tiger Flash pattern.

Lots of details

Last image before the washes and highlights.

But now!

Too bad the auto-focus didn't agree with me.

But I think you get the idea

Even though I'm not 100% satisfied with the lady's face, I think I can live with it


To bring it all together I applied some more pigments to the vehicles and the scene.

I think this makes it look a bit more realistic.

And the completed scene

I hope you like it.
I want to thank you very much for accompanying me on this little journey and I hope you enjoyed the ride.
Thank you for your feedback, suggestions and comments.
They lifted this project a bit higher and made it better.
THANKS!
Some HQ images to follow
Similar threads
- Replies
- 0
- Views
- 1K
