DavidsScaleModels
Well-Known Member
- Joined
- Sep 16, 2022
- Messages
- 123
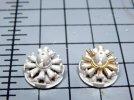
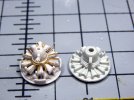
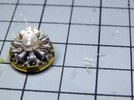
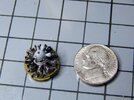
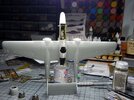
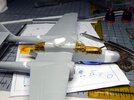
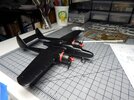
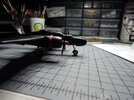
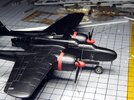
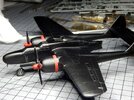
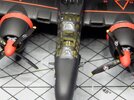
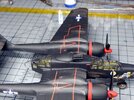
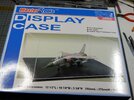
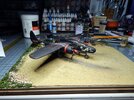
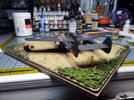
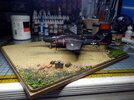
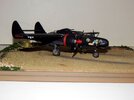
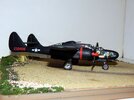
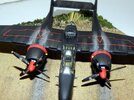
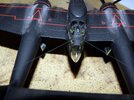
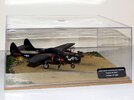
This is another commission build using Dragon's 1/72 P-61A/P-61B Black Widow Night Fighter. The client is a huge fan of the Northrop P-61 and really liked the 1/48 scale I built last year. He wants a 1/72 version in a case for his desk. For this build I will be using the Ares resin cockpit detail set, Eduard's exterior photo etch set, Quickboost resin engines, Quickboost resin gun barrels for the upper turret, and Print and Scale decal set. Once built, the aircraft will be mounted in an acrylic display case to protect it.
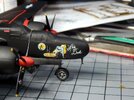
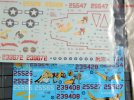
The reason I am using the Print and Scale decals is because the kit decals have a lot of errors for the Lady in the Dark. The Lady's dress on the real aircraft is blue instead of red, the size of the nose art on the kit version is too small, the squadron logo is missing, and the kit does not provide the correct serial number.
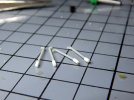
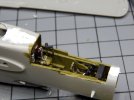
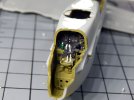
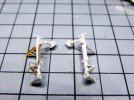
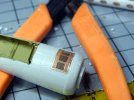
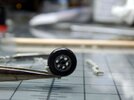
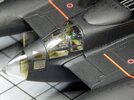
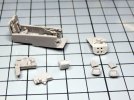
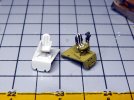
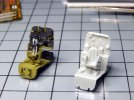
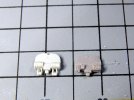
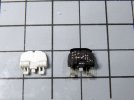
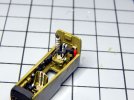
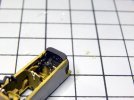
Starting off with the cockpit I cleaned up all the resin parts. The radar operator's station is the first area to assemble. I drilled out the holes on the bottom and then using some scrap photo etch and wire I made the handle for the entry. The resin seat had separate sections for the bottom and back. I used wire to make the seat back mount. The base is a photo etch mount that comes with the Ares kit. The only problem with this is the side rails/handles are too small to fit correctly. I cut them off and used wire to replicate the rails and made the arm pads using acrylic gel to form them. The turret control is from the kit. It was modified to remove the bottom tab which was used for the kit floor and I added the photo etch adjustments to finish it. The radar console was then detailed using photo etch parts which included gauges and the lamp. I used styrene to make the avionics equipment that sits under the console.
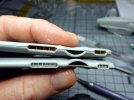
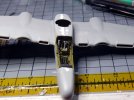
Turning to the cockpit section I duplicated the rear seat for the gunner the same way I did the radar operators seat and then detailed the resin pilot seat. The resin instrument panel was detailed with the photo etch parts and I added a couple of control levers. More control levers were then added to the cockpit tub. Everything was painted and assembled. I am currently working on the main fuselage details so I can assemble it.
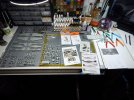
You can see all the photos and details in my build log at: https://davidsscalemodels.com/build-log/1-72-northrop-p-61b-lady-in-the-dark/


