Eduard Mig-29 48 scale
- Thread starter WayneBt
- Start date
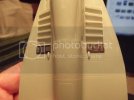
Thanks all for your comments. I am just trying to fix the bad fit in the areas of the cockpit. I inserted thin plastic strips in the gaps near the cockpit and am sanding that. When finished I am going to have re-scribe the panel lined that were lost. I also have one of the intakes on. Same there, the fit isn't the best. Lots of filling and sanding here also.
Pictures are pending when I get some of the boring parts done.
Thanks,
Wayne
Pictures are pending when I get some of the boring parts done.
Thanks,
Wayne
Got the Quickboost resin nose super glued on. Now I have to flare it into the forward fuselage. It won't be that hard, the fit is pretty good. I have some scribing templates on order and should be here next week so I scribe some panel lines that got lost while sanding the kit.
Pictures to follow when the nose is done. I had to put some shims on the top intakes to push the forward fuselage up to meet where the hump on the fuselage meets the hump just behind the cockpit.
Yes I am working on it, just not enough progress worthy of picutres.
thanks,
Wayne
Pictures to follow when the nose is done. I had to put some shims on the top intakes to push the forward fuselage up to meet where the hump on the fuselage meets the hump just behind the cockpit.
Yes I am working on it, just not enough progress worthy of picutres.
thanks,
Wayne
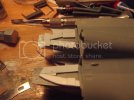
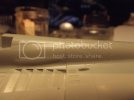
Now that I have everything sanded, I am trying to mate the front fuselage with the rear. The problem is a large step on the hump behind the cockpit. I added some shims to the top of the inlets to boost the front cockpit up to ease the step a bit. I am still going to move up a bit when it is glued but I won't have to use as much pressure as if I didn't have the shims in place.
Wayne
Wayne


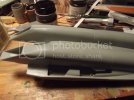
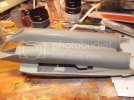
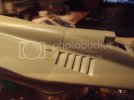
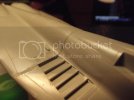
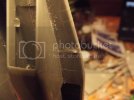
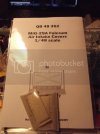
I glued the 2 main parts of the fuselage together, a major milestone in the build. As usual the fit was less that desirable. I am using superglue as a filler because I need to re-scribe some panel lines and Mr. Surfacer doesn't stand up to the job, at least for me. I also got something else for the build, Quickboost's intake covers.
Wayne
Wayne


Carsenault
Member
- Joined
- May 7, 2009
- Messages
- 846
Wow, thats a lot of work. Good job, keep it going.
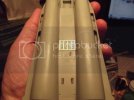
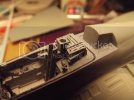
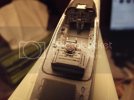
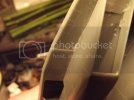
Started to do some more work around the cockpit. In the first and second picture, I folded a piece of PE and glued it on the outer portion of the cockpit to level out the area. I was "fun" trying to fold the large piece without warping it. I super glued it together to try and make look like it was one piece. The PE was a little wider that the cockpit sills so I had to file the edges down a bit. I then put super glue along the edges to fill in the grooves. I finally put some Mr. Surfacer on then lightly sanded that down.
In the 3rd and 4th pictures is the top piece for the cockpit sills with all the detail on it. I broke a rail for the ejection seat but was able to save it and will glue it on after some of the other work is done around that area. Next I have to dip the canopies in Future.
thanks for looking.
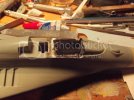
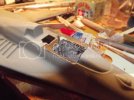
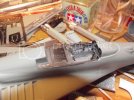
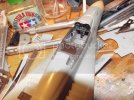
In the 3rd and 4th pictures is the top piece for the cockpit sills with all the detail on it. I broke a rail for the ejection seat but was able to save it and will glue it on after some of the other work is done around that area. Next I have to dip the canopies in Future.
thanks for looking.


Dagger6actual
New Member
- Joined
- Sep 3, 2012
- Messages
- 122
Noted your comment on the fit of the fuselage halves....seems to be common with all manufacturers to varying degree I guess....Tamyia, Italieri, everyone. Your work looks impressive!

