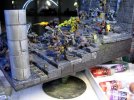
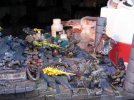
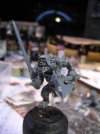
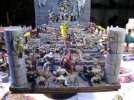
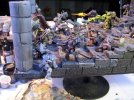
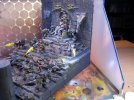
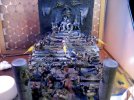
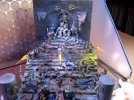
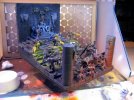
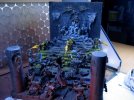
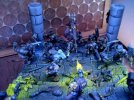
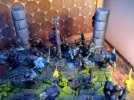
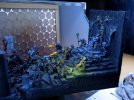
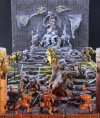
Green Tide II / Hot Recovery (WH40K diorama)

Thanks guys!


Well, not much of an update, because painting is slow, but I wanted to send a sign of progress before the weekend :)

First off, yes urumomo, it is now "double"
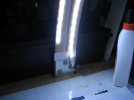
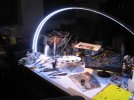
I did convert my LED into a sturdier, permanent version and used wooden skirting board(?) as base and mounted it with screws to the desk.
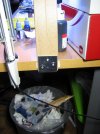
771100_sm-.jpg
771101_sm-.jpg

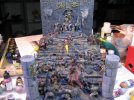
In addition I doubled the lights, by adding a second LED strip.
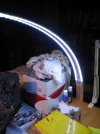
771102_sm-.jpg

I'm quite pleased with the light effect.
771103_sm-.jpg

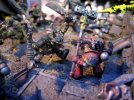
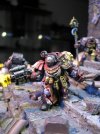
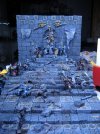
The next Marine to paint was the hammer wielding Brother Tennant.
771104_sm-.jpg

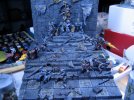
A bit hard to see, as the camera is working with longer exposure times when I use the LED lamp.
771105_sm-.jpg

And then I did the two brawlers.
771106_sm-.jpg

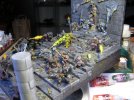
Also hard to see that the Ork is wearing a "Flecktarn" pattern uniform.
771107_sm-.jpg

It's the standard Ork uniform pattern I use for most of my dios (here the Orks from the Dr. Nork diorama)
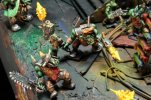
486283_sm-.jpg

I hope you like today's update and I look forward to your comments, suggestions and feedback.
Cheers
klaus
 
;D ;D

Dr Nork's missile don't look too sky-worthy , LOL

.... it must be so powerful it detonates at the gate ( saves fuel 8) )


Lovin this ..
Awaiting more

Cheers !
Uru
 
Thanks guys!
@urumomo - that's why the SWAT team was attacking - to hold up the rocket start ;)

Well, this weekend I did a real painting marathon and at the Dei Greci you can see the update with 40+ images, but here is the digest version :D

First I finished the remainign Marines and Orks - like the chain wielder and Brother Tennant.
772553_sm-Duel.jpg

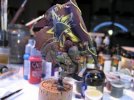
Then it was time for the banner bearer!
Inspired by Soviet propaganda images I painted this banner with a golden star, super-imposed with the porcupine icon of the "Porkupinz" (and spelled Porkupinz in Cyrillic letters)
772554_sm-Porkupinz%21.jpg

The other side of the banner got an Ork head over a golden star
772555_sm-up%20the%20stairs%21.jpg

But this also showed me that there was some room to be filled - the Orks needed some reinforcements.
So I built this runner
772556_sm-Ork%20runner.jpg

and another Ork entering at the rear
772557_sm-to%20the%20Throne%21.jpg

But at the side was still some room, so I added this guy climbing up from the side
772558_sm-sneak%20attack.jpg

This left Brother von Ritter to be painted
772561_sm-Brother%20von%20Ritter.jpg

And now its all done!
Sans OSL
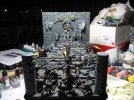
772560_sm-all%20done.jpg

And a final light test image
772562_sm-Before%20OSL.jpg

I have to admit I'm very anxious about the next steps. It's either make it or break it.
If I don't return for the next few days I most likely screwed it up and jumped out of the window ;)
Well, keep your fingers crossed for me.
Cheers
Klaus
 
??? what is the next ' Make-or-Brake ' step ?


You're going to apply high-voltage and animate that crowd ? ! :eek:

DON'T

Don't do it , Klaus !
 
:)
Thanks guys
:)
I'm still here, no jump, no broken bones.


wanna see?


Well,


I started off, adding lots of shadows to the dark areas, using deluted black.
Then I added light (very deluted white, with a tint of blue), making sure to lighten, but not flashing out the colors.
Starting on the throne
772733_sm-.jpg
then the first bolters
772734_sm-.jpg

All the bolters done
772735_sm-.jpg

Once I was pleased with the "light" I started to add color - again, making sure not to cover any more details and "just" applying color.
772736_sm-.jpg

With the yellow added, I also gave the Orks some drama.
By adding dark red light from the back, I hope to indicate fire and havoc from the Ork area
772737_sm-.jpg

Turning the additional lights off, it becomes visible :)
772738_sm-.jpg

Looking down from the throne area
772740_sm-Facing%20the%20rampage.jpg

I realized the running Ork wasn't prominent enough.
So I repaired his captured power sword and it got a glow ;)
772741_sm-.jpg

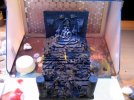
So, this is it
772739_sm-Raiders%20of%20the%20Lost%20Light%21.jpg

And that's where I left it.
Now I will leave it in the closet for the weekend - out of sight - and on Monday I will look at it again. I know there are some details to wrap up and some clean up.
But I'm very pleased with this scene.
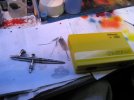
So I gave my trusted steed a good and thorough cleaning, patting it affectionately - this baby didn't let me down once :)
772742_sm-My%20trusted%20steed.jpg

The best airbrush I ever had - and I had a few, starting with a DeVilbiss 30 years ago, and Iwata HP-B, and many in between.

Well, let me know what you think of this diorama :)
Cheers
Klaus
 
That might be my next airbrush ...

I'm pretty satisfied with my Paasche Talon .
I'd like to have a finer tip .
It goes to .25 mm but it doesn't seem to spray as narrow as I think it should .


Very nice job on the light effects ;D

Cheers ,
Uru
 

Latest posts

Back
Top