Hello,
Let me share with you the build of this huge kit i started a lil while ago but that's still on th bench.
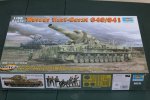
Let's go for a Trumpeter #00215 1/35, Karl mortar. I'll depict a late chassis one with the short 600 mm barrel
Here is the box :
The camo will be a 3 tone, the beast will be the "Ziu" as it was in Warsaw siege
The chassis will be down and rest on the ground as seen in firing configuration.
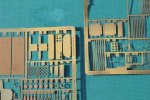
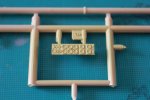
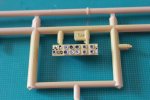
Ejector pin marks everywhere !!!!!!!!!! (2004 Trumpeter kit you idiot !)
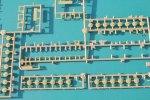
Loads of options : aluminium 600 mm rounds, photoetched parts, 2 chassis, 2 vynil tracks sets...
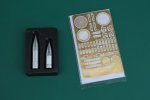
Goodies I've added
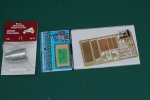
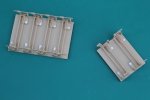
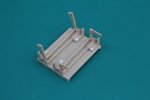
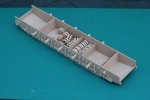
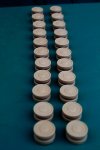
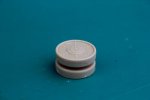
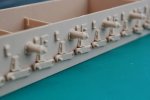
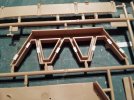
Pin marks everywhere !!!!!!!!!!!!!!!!!!!
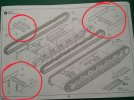
The notice does not mention any of these
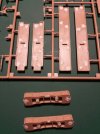
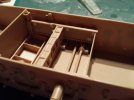
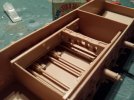
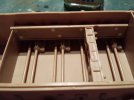
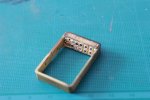
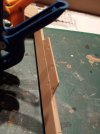
There are some uneasy marks to fill in, putty would be a mess to use there, so I used plasticard instead (0,25)
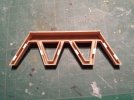
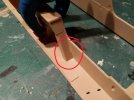
Then another seam that required its putty load
May the Putty force be with you !
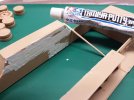
Once sanded
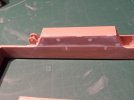
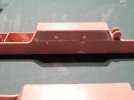
Even rail loading/unloading points needed some putty !
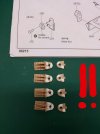
Once sanded glued in place, that was worthwhile IMHO
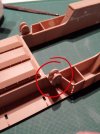
Weldings seams
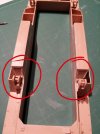
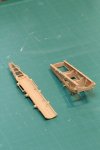
The structure where the mortar will stand. Pretty straightforward, with little putty needed :
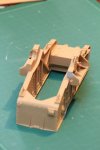
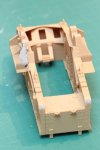
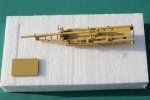
I also started the howitzer with alu gun from Jordi Rubio, kinda massive !
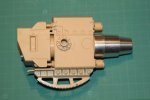
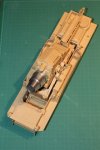
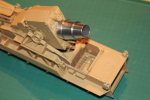
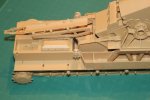
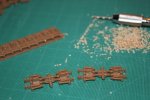
The mortar cried for a rough casting, as the original's pics show. I had a try at this texture. I started by masking off the parts that need no rough cast
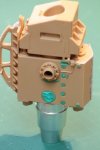
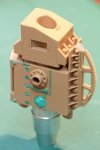
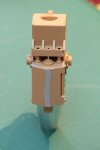
This is what I used
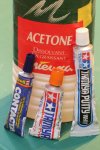
& now ladies and gentlemen :
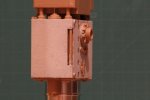
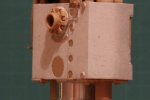
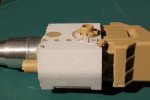
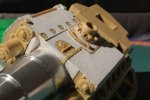
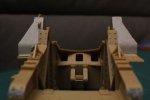
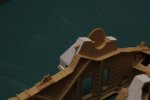
The shells dolly got its PE parts, the handles are still missing tho' :
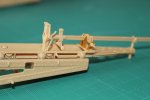
With a heavy shell on :
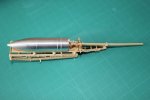
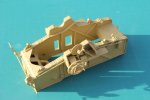
The superstructure :
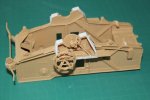
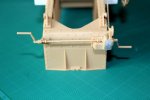
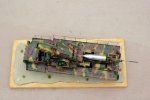
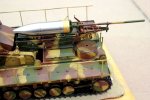
The mortar has had a homemade wiring around the gun tube as well as a red primer coating that will remain uncovered by the 3 tones german camo scheme :
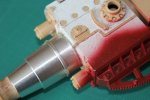
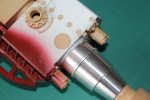
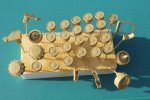
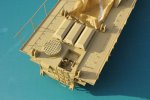
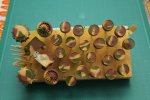
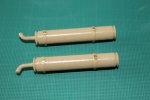
Silencers textured with cement, plus they got some PE parts :
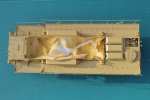
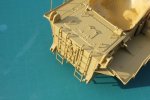
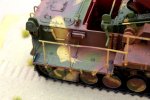
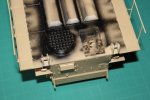
The body has been partially preshaded black, and outside platforms + rails were glued in place on both sides :
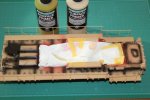
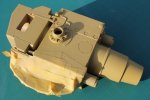
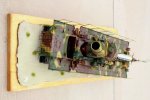
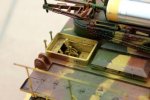
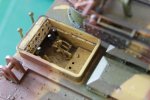
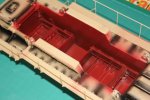
The tub's inside received the red primer after a black preshading :
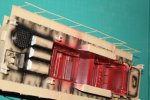
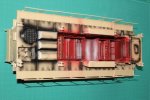
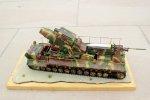
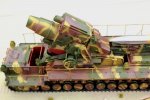
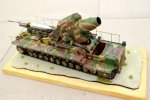
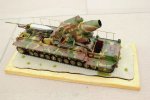
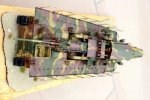
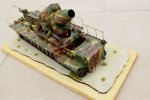
To give an idea of how it looks :
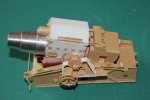
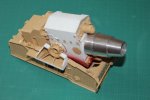
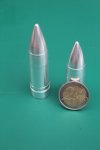
With a 2 euros coin for scale effect
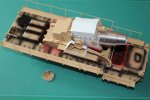
With a fig from the box :
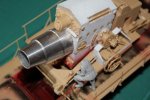
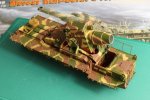
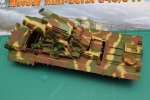
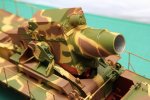
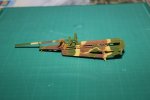
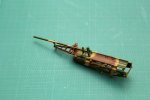
This is where I am at the moment.
Next update will be painting the mortar.
Best regards,
Richard
Let me share with you the build of this huge kit i started a lil while ago but that's still on th bench.
Let's go for a Trumpeter #00215 1/35, Karl mortar. I'll depict a late chassis one with the short 600 mm barrel
Here is the box :

The camo will be a 3 tone, the beast will be the "Ziu" as it was in Warsaw siege
The chassis will be down and rest on the ground as seen in firing configuration.
Ejector pin marks everywhere !!!!!!!!!! (2004 Trumpeter kit you idiot !)
Loads of options : aluminium 600 mm rounds, photoetched parts, 2 chassis, 2 vynil tracks sets...


Goodies I've added


Pin marks everywhere !!!!!!!!!!!!!!!!!!!

The notice does not mention any of these


There are some uneasy marks to fill in, putty would be a mess to use there, so I used plasticard instead (0,25)


Then another seam that required its putty load

May the Putty force be with you !

Once sanded


Even rail loading/unloading points needed some putty !

Once sanded glued in place, that was worthwhile IMHO

Weldings seams


The structure where the mortar will stand. Pretty straightforward, with little putty needed :


I also started the howitzer with alu gun from Jordi Rubio, kinda massive !


The mortar cried for a rough casting, as the original's pics show. I had a try at this texture. I started by masking off the parts that need no rough cast


This is what I used

& now ladies and gentlemen :


The shells dolly got its PE parts, the handles are still missing tho' :

With a heavy shell on :

The superstructure :


The mortar has had a homemade wiring around the gun tube as well as a red primer coating that will remain uncovered by the 3 tones german camo scheme :


Silencers textured with cement, plus they got some PE parts :

The body has been partially preshaded black, and outside platforms + rails were glued in place on both sides :

The tub's inside received the red primer after a black preshading :


To give an idea of how it looks :


With a 2 euros coin for scale effect

With a fig from the box :

This is where I am at the moment.
Next update will be painting the mortar.
Best regards,
Richard

