Klaus not Santa
Member
- Joined
- May 15, 2013
- Messages
- 281
Hi all,
now that I finally finished my shelf queen ATHENA I have time to tackle new ideas.
As previously mentioned I have an idea for a dio with a militarized version of the HERMES conducting an air assault and dropping off some troops.
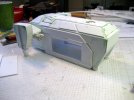
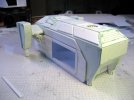
The first sketch for the MkII version shows the new nose and the chin mounted mini-gun.
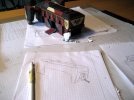
I had the mini-gun already built a few weeks ago for the "Meeting of Scouts" diorama but didn't use it. So now it will be a part of the new HERMES.
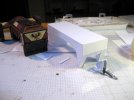
Since the pieces are almost identical to the original HERMES the build was pretty fast.
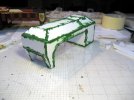
Here's a comparison between the MkI and MkII
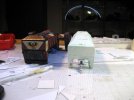
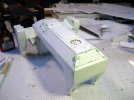
Next up were the wings and rotatable fins.
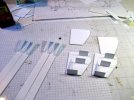
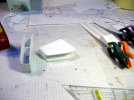
As usual the generous help of Green Putty was required
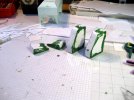
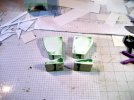
I changed the details a bit and here you can see the rear fin being rotated to a "forward" position, while the front fin is rotated to the "landing" position.
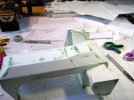
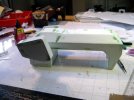
But for the diorama both will be in the landing position.
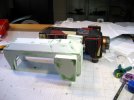
The MkII also received two auto-cannons for the wings.
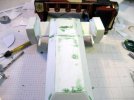
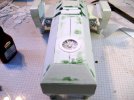
The start of the rear/main thruster.
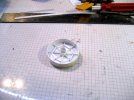
Not exactly the same as on the MkI
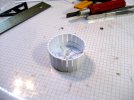
But looks similar
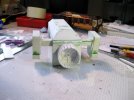
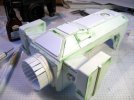
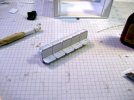
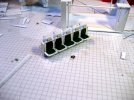
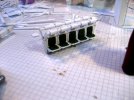
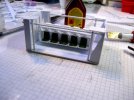
Then I built the thrusters for the nose and underbelly
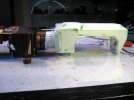
But they were too high - not looking good!
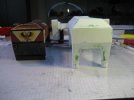
So I built another set of thrusters and they are now the same height as the MkI HERMES.
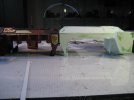
Next I added some details to the chin gun - mainly the ammo feed.
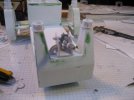
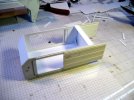
The pilots windows are also a bit different form the original ones.
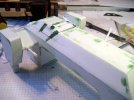
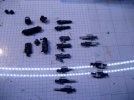
Finally I built some rocket launchers for under the wings.
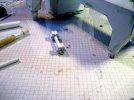
Only 7 shots each, but a nice extra punch I think.
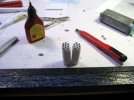
And they look good on the HERMES.
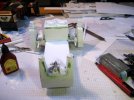
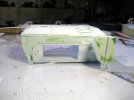
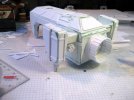
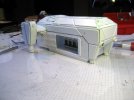
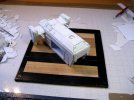
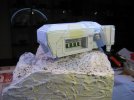
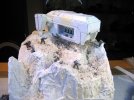
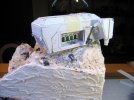
This is as far as I got
I hope you like it.
Cheers
Klaus
now that I finally finished my shelf queen ATHENA I have time to tackle new ideas.
As previously mentioned I have an idea for a dio with a militarized version of the HERMES conducting an air assault and dropping off some troops.
The first sketch for the MkII version shows the new nose and the chin mounted mini-gun.

I had the mini-gun already built a few weeks ago for the "Meeting of Scouts" diorama but didn't use it. So now it will be a part of the new HERMES.

Since the pieces are almost identical to the original HERMES the build was pretty fast.

Here's a comparison between the MkI and MkII

Next up were the wings and rotatable fins.


As usual the generous help of Green Putty was required


I changed the details a bit and here you can see the rear fin being rotated to a "forward" position, while the front fin is rotated to the "landing" position.


But for the diorama both will be in the landing position.

The MkII also received two auto-cannons for the wings.

The start of the rear/main thruster.

Not exactly the same as on the MkI

But looks similar

Then I built the thrusters for the nose and underbelly

But they were too high - not looking good!

So I built another set of thrusters and they are now the same height as the MkI HERMES.

Next I added some details to the chin gun - mainly the ammo feed.

The pilots windows are also a bit different form the original ones.

Finally I built some rocket launchers for under the wings.

Only 7 shots each, but a nice extra punch I think.

And they look good on the HERMES.

This is as far as I got
I hope you like it.
Cheers
Klaus

